Pineapple Strawberry Swirl Slushie-Refreshing Drink
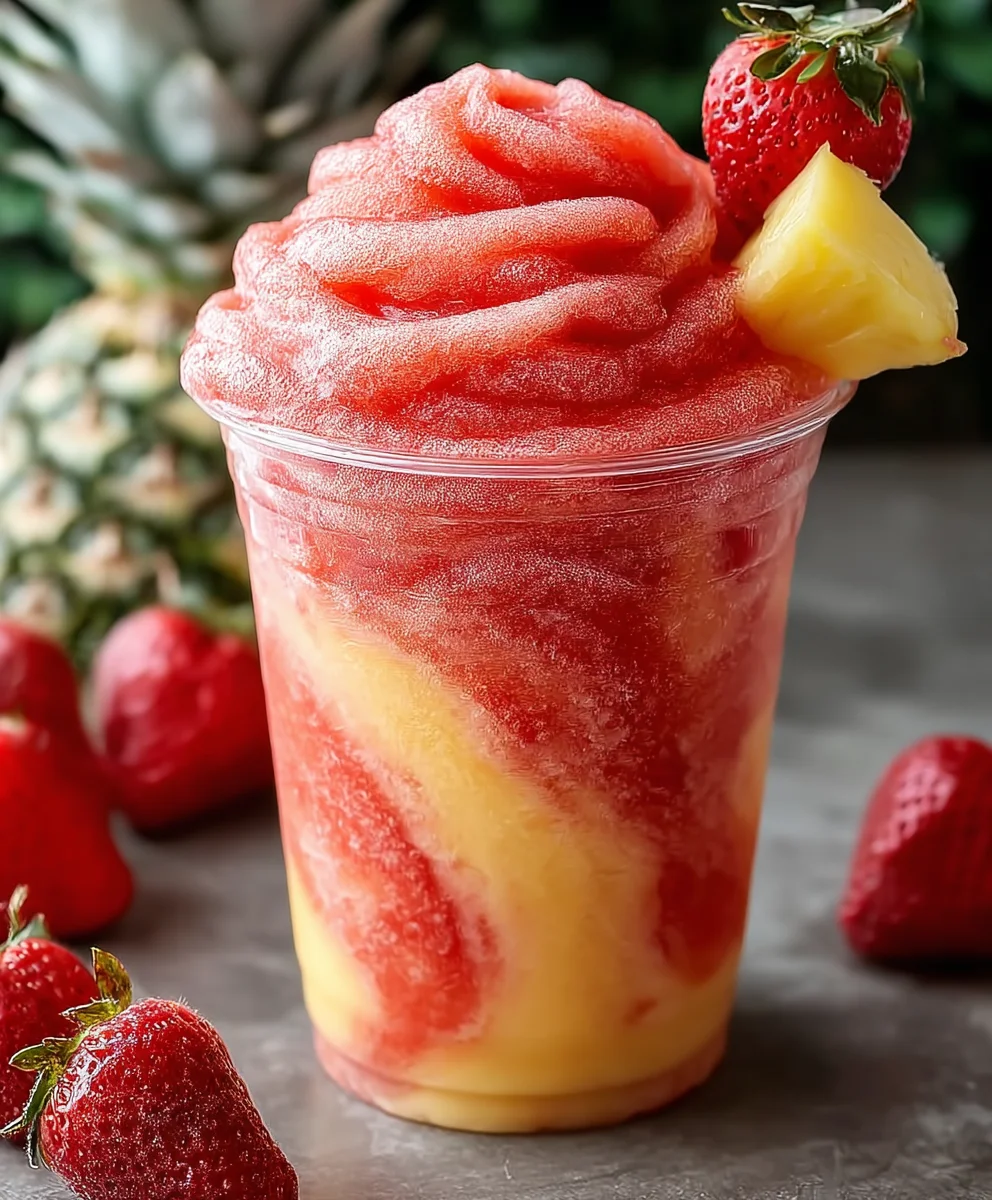
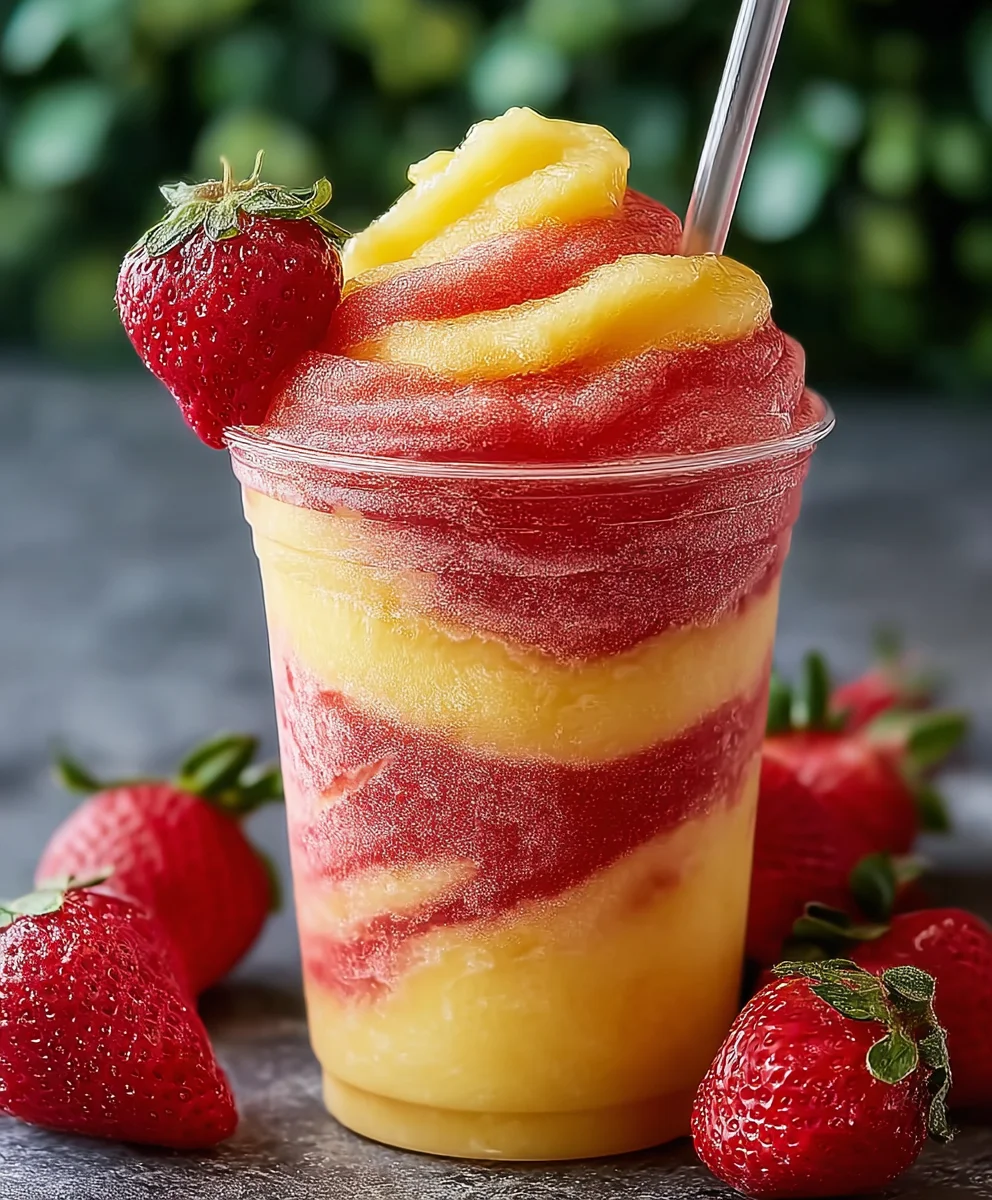
Pineapple Strawberry Swirled Slushies are the ultimate frozen treat that transports you straight to a tropical paradise with every sip. There’s something undeniably magical about the vibrant colours and the perfectly balanced sweet and tart flavours that make these slushies so incredibly popular, especially on warm, sunny days or whenever you need a burst of pure joy. What truly sets these Pineapple Strawberry Swirled Slushies apart is the artful swirl of two beloved fruits, creating a visually stunning and incredibly refreshing beverage. It’s more than just a drink; it’s an experience – a delightful dance of textures and tastes that’s both invigorating and incredibly satisfying. Imagin extracte the burst of juicy pineapple meeting the sweet tang of ripe strawberries, all blended into an icy, smooth perfection. Get ready to elevate your refreshment game with this simple yet spectacular recipe!
Ingredients:
- 2 cups frozen pineapple chunks
- 1 cup pineapple juice or water
- 1 tablespoon honey (optional)
- 2 cups frozen strawberries
- 1 cup strawberry juice or water
- 1 tablespoon honey (optional)
Pineapple Layer Preparation
What You’ll Need:
- A high-powered blender
- Measuring cups
Step 1: Combine Pineapple Ingredients
To begin extract crafting our vibrant Pineapple Strawberry Swirled Slushies, we’ll start with the pineapple layer. In your blender, add the 2 cups of frozen pineapple chunks. These frozen chunks are key to achieving that perfectly slushy texture without the need for ice, which can dilute the flavor. Next, pour in 1 cup of pineapple juice or water. If you’re looking for a more intense pineapple flavor, opt for the juice. For a lighter, more refreshing option, water works beautifully. Finally, if you desire a touch more sweetness, you can add 1 tablespoon of honey. This is entirely optional, especially if your pineapple is naturally sweet or you prefer a less sugary drink.
Step 2: Blend the Pineapple Mixture
Secure the lid on your blender figin extracty. Begin blending on a low speed, gradually increasing to high. You might need to stop and scrape down the sides of the blender with a spatula a couple of times to ensure all the frozen pineapple is incorporated. Blend until the mixture is smooth and thick, resembling a sorbet or soft-serve ice cream consistency. It’s important not to over-blend, as this can make the mixture too watery. Once it reaches the desired consistency, transfer this thick pineapple mixture into a separate bowl or container and set it aside. Rinse your blender thoroughly before moving on to the strawberry layer.
Strawberry Layer Preparation
What You’ll Need:
- A clean high-powered blender
- Measuring cups
Step 3: Combine Strawberry Ingredients
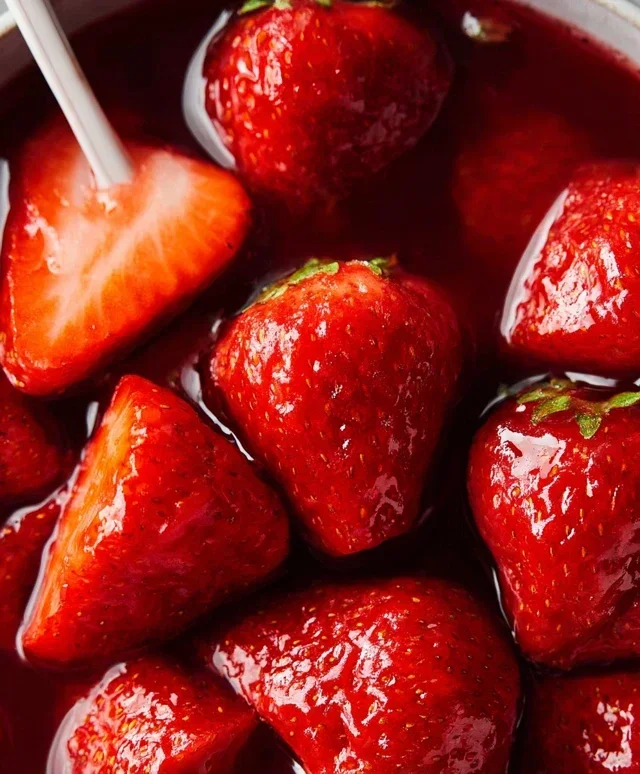
Now, let’s prepare the luscious strawberry layer. In your cleaned blender, add the 2 cups of frozen strawberries. Just like with the pineapple, using frozen strawberries ensures a wonderfully icy texture. Pour in 1 cup of strawberry juice or water. Similar to the pineapple layer, strawberry juice will amplify the fruit flavor, while water offers a lighter taste. If you’re adding honey for sweetness, include 1 tablespoon of honey into the blender at this stage.
Step 4: Blend the Strawberry Mixture
Again, ensure the blender lid is securely in place. Start blending on a low setting and gradually increase to high speed. Just as with the pineapple mixture, you may need to pause and scrape down the sides to help everything combine evenly. Continue blending until you achieve a smooth, thick, and slushy consistency, comparable to the pineapple mixture. Aim for that perfect scoopable texture. Once blended to perfection, set this strawberry mixture aside.
Assembly and Swirling
What You’ll Need:
- Clear glasses for serving
- A spoon or small spatula for layering
Step 5: Layer and Swirl for the Swirled Effect
This is where the magic happens and our Pineapple Strawberry Swirled Slushies truly come to life! Take your sergin extractg glasses. Begin by spooning some of the pineapple mixture into the bottom of each glass. Don’t fill it all the way to the top – leave room for the strawberry layer. Next, carefully add a layer of the strawberry mixture on top of the pineapple. To create the “swirled” effect, you can gently use a spoon or a small spatula to poke down into the layers and swirl them together slightly. Be artistic with your swirls; you don’t want to overmix, or you’ll lose the distinct colors and flavors. You can create stripes, eddies, or more abstract patterns. Repeat layering the pineapple and strawberry mixtures, swirling gently in between, until your glasses are filled. Aim to finish with a visually appealing top layer, perhaps a mix of both colors. For an extra special touch, you can garnish with a fresh strawberry or a small wedge of pineapple. Serve immediately and enjoy the delightful combination of tropical pineapple and sweet strawberry!
Conclusion:
And there you have it – your guide to crafting the most delightful Pineapple Strawberry Swirled Slushies! We’ve journeyed from selecting the freshest fruit to the satisfying final swirl, and I truly hope you’ve enjoyed the process as much as I have. This recipe is wonderfully adaptable, making it a perfect canvas for your creativity. Whether you’re whipping up a batch for a summer picnic, a refreshing afternoon treat, or a vibrant party drink, these slushies are sure to be a hit. Remember, the key is to blend until smooth and achieve that beautiful, mesmerizing swirl that makes each sip a visual and gustatory pleasure. Don’t be afraid to experiment with the fruit ratios or add a splash of lime for an extra zing. So go forth, blend with confidence, and enjoy the sweet, tangy goodness of your homemade Pineapple Strawberry Swirled Slushies!
Frequently Asked Questions:
Q: Can I make the Pineapple Strawberry Swirled Slushies ahead of time?
While it’s best to enjoy them immediately for the freshest taste and best texture, you can prepare the fruit components and store them separately in the refrigerator for a few hours. Blend them right before serving to ensure optimal slushiness and prevent separation.
Q: What if I don’t have a high-powered blender?
If your blender isn’t very powerful, you might need to add a little more liquid (like water or coconut water) to help break down the frozen fruit. You can also add the fruit in batches, blending until mostly smooth before adding the rest. Be patient, and you’ll still achieve a delicious result!
Q: Can I add non-alcoholic alternative to these slushies?
Absolutely! For an adult twist, a splash of white rum extract, vodka extract, or even tequila extract can be a fantastic addition. Blend it in with the rest of the ingredients, or swirl it in just before serving. Enjoy responsibly!
Pineapple Strawberry Swirl Slushie
A refreshing and vibrant layered slushie featuring the tropical sweetness of pineapple and the classic taste of strawberries.
Ingredients
-
2 cups frozen pineapple chunks
-
1 cup pineapple juice
-
1 tablespoon honey
-
2 cups frozen strawberries
-
1 cup strawberry juice
-
1 tablespoon honey
Instructions
-
Step 1
In a blender, combine frozen pineapple chunks, pineapple juice, and honey (if using). Blend until smooth and thick, like sorbet. Transfer to a bowl and rinse the blender. -
Step 2
In the cleaned blender, combine frozen strawberries, strawberry juice, and honey (if using). Blend until smooth and thick, similar to the pineapple mixture. -
Step 3
Spoon some of the pineapple mixture into the bottom of serving glasses. -
Step 4
Carefully add a layer of the strawberry mixture on top of the pineapple layer. -
Step 5
Gently use a spoon or spatula to swirl the layers together for the desired effect, being careful not to overmix. -
Step 6
Continue layering and swirling the pineapple and strawberry mixtures until the glasses are filled. Garnish with fresh fruit if desired. Serve immediately.
Important Information
Nutrition Facts (Per Serving)
It is important to consider this information as approximate and not to use it as definitive health advice.
Allergy Information
Please check ingredients for potential allergens and consult a health professional if in doubt.