Gluten Free Cheez-Its- Homemade & Delicious Snack
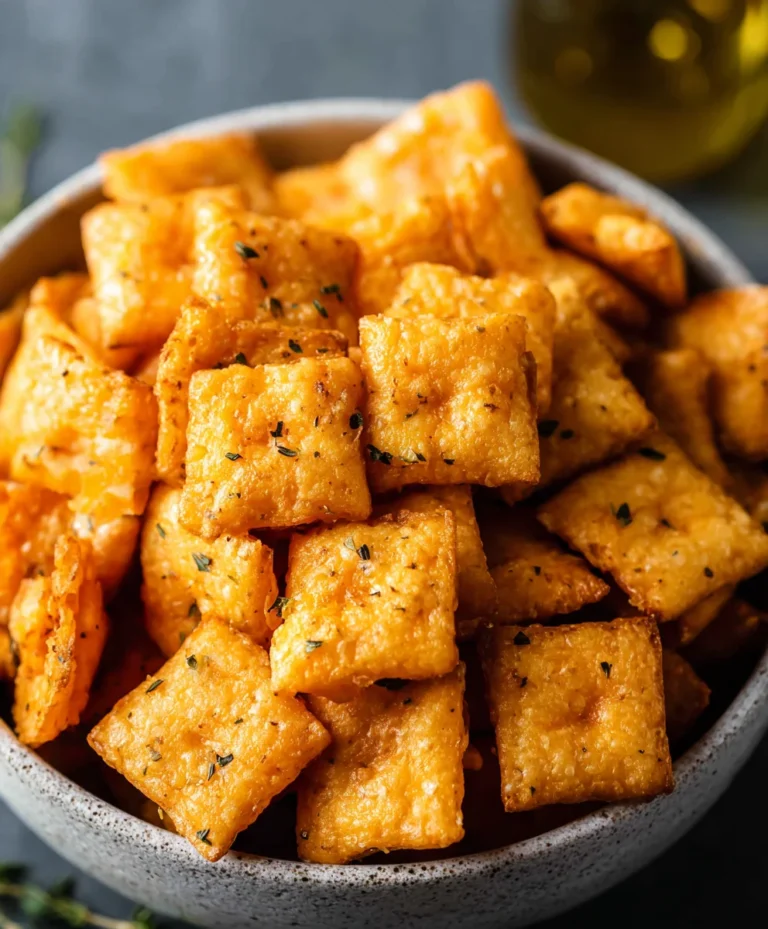
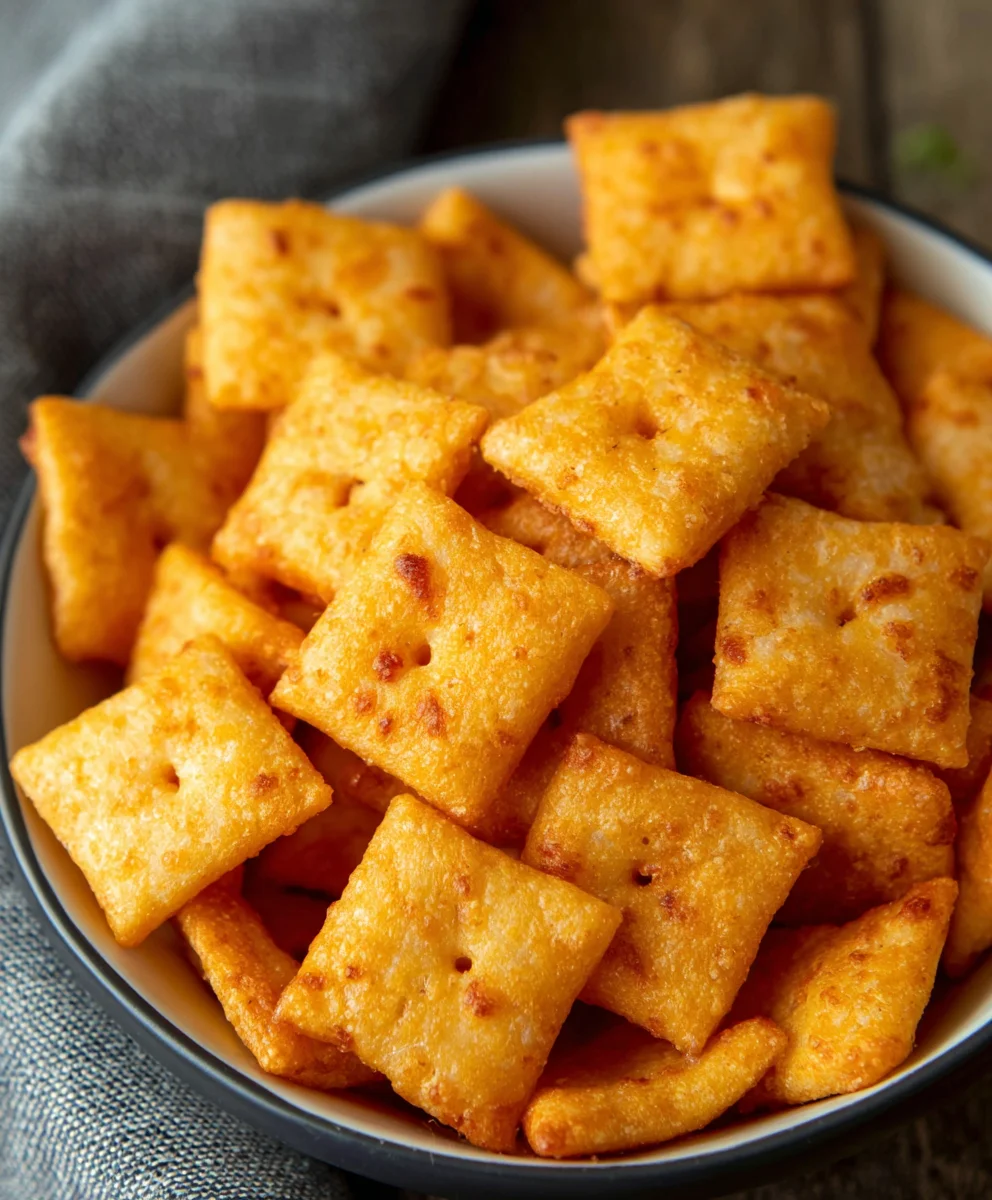
Gluten Free Cheez Its are a beloved snack for so many, and for good reason! They offer that satisfyingly sharp, cheesy crunch that we all crave, but without any of the gluten. For those with sensitivities or simply choosing a gluten-free lifestyle, this can feel like a culinary compromise. But what if I told you that you could recreate that iconic flavor and texture right in your own kitchen, with ingredients you can trust? This recipe isn’t just about avoiding gluten; it’s about celebrating that unmistakable, addictive taste of a perfect cheese cracker. We’re diving deep into what makes these little squares so irresistible, exploring the magic of finely grated sharp cheddar and a carefully balanced blend of gluten-free flours. Get ready to transform your snack game and discover that homemade is, indeed, the most delicious way to enjoy your favorite cheesy treat. Prepare to be amazed by how simple it is to achieve that golden-brown perfection and incredibly satisfying bite that defines the quintessential Gluten Free Cheez Its experience.
Ingredients:
- 8 ounces cheddar cheese (mild or sharp), finely grated
- 4 tablespoons unsalted butter, softened
- 1 cup gluten free flour blend (*see note below for blend suggestions)
- 1/2 teaspoon salt
- 1/8 teaspoon garlic powder
- 3 tablespoons cold water
- 1 teaspoon coarse salt, for sprinkling
- 1/8 teaspoon onion powder
Making Your Gluten Free Cheez Its
This recipe is designed to recreate that addictive cheesy crunch you love, but in a gluten-free format. The key to great homemade crackers is good quality ingredients and a little patience. We’re going to focus on building a flavor-packed dough that bakes up perfectly crisp. Don’t be intimidated by making crackers from scratch; it’s quite straightforward and incredibly rewarding.
Dough Preparation
Step 1: Creaming the Cheese and Butter
Begin extract by combining the finely grated cheddar cheese and the softened unsalted butter in a medium mixing bowl. Use a fork or a rubber spatula to mash and combine them until you have a relatively smooth, paste-like consistency. It’s important that the butter is softened but not melted; this will help it incorporate more easily with the cheese. Some small lumps of cheese are perfectly fine, as they will melt and spread during baking, contributing to those delicious cheesy pockets. This initial step is crucial for distributing the fat and flavor throughout the dough, which is essential for a satisfying cracker texture.
Step 2: Incorporating Dry Ingredients
Next, add the gluten free flour blend, 1/2 teaspoon of salt, garlic powder, and onion powder to the cheese and butter mixture. Use your fork or spatula to mix these dry ingredients into the wet ingredients. The mixture will become crum extractbly at this stage, resembling coarse meal. If you’re using a food processor, you can pulse these ingredients together until they reacrum extracthis crumbly texture. The gluten free flour blend is key here, and I recommend a blend that contains a mix of rice flour, tapioca starch, and potato starch for the best texture. Avoid blends that are primarily almond flour, as they can result in a denser cracker.
Stepgin extract Bringing the Dough Together
Gradually add the cold water, one tablespoon at a time, mixing after each addition. You might not need all three tablespoons, or you might need a tiny bit more, depending on your specific gluten free flour blend and the humidity in your kitchen. The goal is to bring the dough together into a cohesive ball. It will be slightly sticky, but should hold its shape. Be careful not to overmix; we want to develop the dough just enough to bind, not to create toughness. Once the dough comes together, gather it into a disc, wrap it tightly in plastic wrap, and refrigerate for at least 30 minutes. This chilling period is vital as it allows the gluten free flours to hydrate fully and makes the dough much easier to handle and roll out.
Rolling and Cutting
Step 4: Rolling the Dough Thinly
After the dough has chilled, preheat your oven to 375°F (190°C). Line two large baking sheets with parchment paper. Remove the chilled dough from the refrigerator. Place the dough between two sheets of parchment paper. This technique is a lifesaver when working with gluten free dough, as it prevents sticking and allows for even rolling. Using a rolling pin, roll the dough out as thinly as possible, aiming for about 1/16th of an inch. The thinner you roll it, the crispier your Gluten Free Cheez Its will be. If the dough becomes too sticky to manage, you can pop it back in the refrigerator for another 10-15 minutes. Gently peel off the top layer of parchment paper once you’ve achieved your desired thinness.
Step 5: Scoring and Baking
This is where the magic happens and we get those signature cracker shapes. Carefully transfer the rolled-out dough (still on the bottom parchment paper) to your prepared baking sheets. Using a pizza cutter or a sharp knife, gently score the dough into small squares, about 1-inch by 1-inch. You don’t need to cut all the way through; a light score is sufficient to help them break apart easily after baking. Now, sprinkle the entire surface of the dough evenly with the coarse salt. This provides that essential salty crunch. Bake for 12-18 minutes, or until the edges are golden brown and the centers appear set. The baking time will vary depending on how thinly you rolled the dough and your oven. Keep a close eye on them, especially during the last few minutes, as they can go from perfectly golden to burnt very quickly. Once baked, let them cool on the baking sheets for a few minutes before breaking them apart along the scored lines. For maximum crispness, allow them to cool completely on a wire rack.
*Note on Gluten Free Flour Blend: A good blend typically contains a combination of white rice flour, brown rice flour, tapioca starch, potato starch, and sometimes sorghum flour. If your blend contains xanthan gum, you generally don’t need to add any extra to this recipe. If your blend does not contain xanthan gum, you might want to add 1/4 teaspoon of xanthan gum to the dry ingredients for better dough structure.
Conclusion:
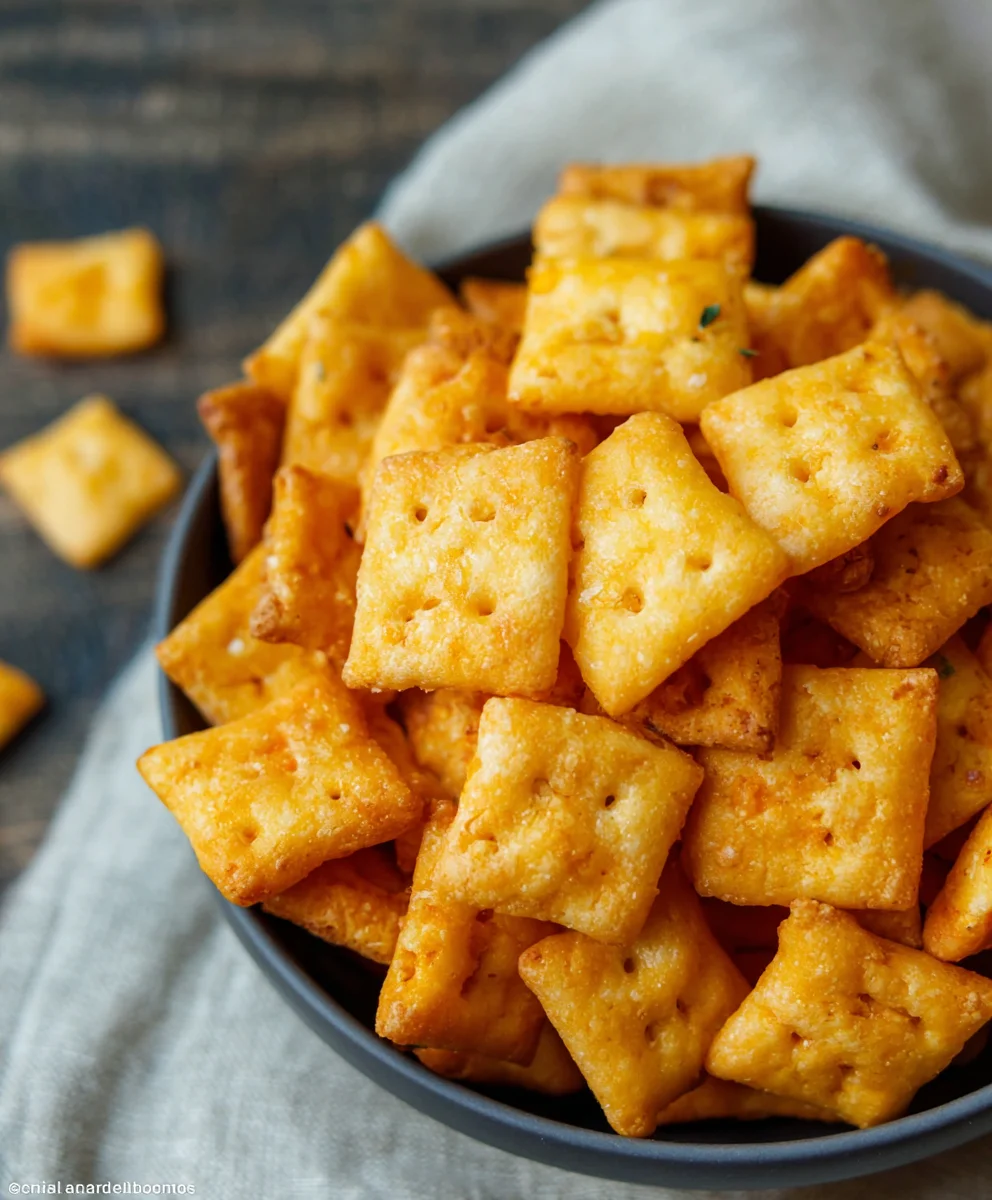
There you have it – your ultimate guide to making delicious, homemade Gluten Free Cheez Its! We’ve walked through each step, from gathering your ingredients to achieving that perfect cheesy crunch. These crackers are not only a fantastic gluten-free alternative but also surprisingly easy to whip up, making them a perfect weekend project or a quick snack solution. I hope you enjoy the process as much as I do and that your kitchen fills with the irresistible aroma of cheesy goodness!
Serving these Gluten Free Cheez Its is a breeze. They’re perfect on their own as a satisfying snack, a delightful addition to a cheese board, or even crum extractbled over salads for an extra burst of flavor and texture. Don’t be afraid to get creative with your servings!
When it comes to variations, the possibilities are endless. You can experiment with different types of cheeses for a unique flavor profile – sharp cheddar, smoked gouda, or even a spicy pepper jack would be amazing. A pinch of garlic powder or onion powder can also elevate the savory notes. Get adventurous and discover your favorite combination!
I truly encourage you to give this recipe a try. It’s incredibly rewarding to create something so satisfying and delicious from scratch, especially when you have dietary considerations. Enjoy every cheesy, crunchy bite!
Frequently Asked Questions:
Q: Can I make Gluten Free Cheez Its ahead of time?
Absolutely! Baked Gluten Free Cheez Its can be stored in an airtight container at room temperature for up to a week. They tend to stay crispiest when stored properly, so make sure the container is well-senon-alcoholic aled. This makes them an excellent option for meal prepping snacks!
Q: My Gluten Free Cheez Its aren’t as crispy as I’d like. What can I do?
To achieve maximum crispiness, ensure your oven is at the correct temperature and don’t overcrowd the baking sheet, allowing for good air circulation. You can also try baking them for a few extra minutes, keeping a close eye to prevent burning. If they seem a little soft after cooling, you can briefly pop them back into a warm, turned-off oven for about 10-15 minutes to help them re-crisp.
Gluten Free Cheez-Its- Homemade & Delicious Snack
Recreate that addictive cheesy crunch you love with these delicious homemade gluten-free Cheez-Its. Simple to make and incredibly rewarding!
Ingredients
-
8 ounces cheddar cheese (mild or sharp), finely grated
-
4 tablespoons unsalted butter, softened
-
1 cup gluten free flour blend
-
1/2 teaspoon salt
-
1/8 teaspoon garlic powder
-
3 tablespoons cold water
-
1 teaspoon coarse salt, for sprinkling
-
1/8 teaspoon onion powder
Instructions
-
Step 1
In a medium mixing bowl, combine the finely grated cheddar cheese and softened unsalted butter. Mash and combine with a fork or spatula until a relatively smooth, paste-like consistency is achieved. Small lumps of cheese are okay. -
Step 2
Add the gluten free flour blend, 1/2 teaspoon of salt, garlic powder, and onion powder to the cheese and butter mixture. Mix until the mixture becomes crumbly, resembling coarse meal. -
Step 3
Gradually add cold water, one tablespoon at a time, mixing after each addition, until the dough forms a cohesive ball. It should be slightly sticky but hold its shape. Do not overmix. Wrap the dough in plastic wrap and refrigerate for at least 30 minutes. -
Step 4
Preheat your oven to 375°F (190°C). Line two large baking sheets with parchment paper. Place the chilled dough between two sheets of parchment paper and roll it out as thinly as possible, aiming for about 1/16th of an inch. -
Step 5
Transfer the rolled-out dough (still on the bottom parchment paper) to the prepared baking sheets. Gently score the dough into small squares, about 1-inch by 1-inch. Sprinkle the entire surface evenly with coarse salt. -
Step 6
Bake for 12-18 minutes, or until the edges are golden brown and the centers appear set. Let them cool on the baking sheets for a few minutes before breaking them apart along the scored lines. Allow to cool completely on a wire rack for maximum crispness.
Important Information
Nutrition Facts (Per Serving)
It is important to consider this information as approximate and not to use it as definitive health advice.
Allergy Information
Please check ingredients for potential allergens and consult a health professional if in doubt.