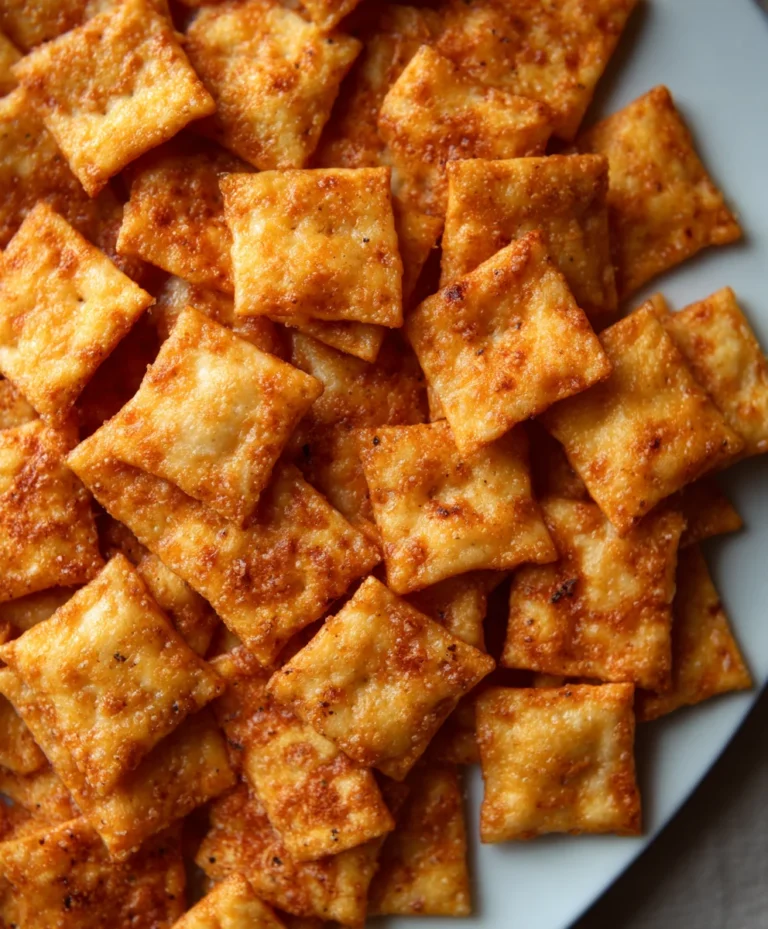
Homemade Cheez-Its – Crispy Baked Cheesy Snacks
Homemade Cheez Its are an absolute game-changer for anyone who loves that irresistible cheesy, crunchy snack. Forget the boxed stuff; making your own allows you to control the ingredients and elevate the flavor to a whole new level. The secret to why people adore this classic snack lies in its satisfyingly sharp cheddar taste and the perfect crispness that makes them so addictive. What truly sets these homemade versions apart is the incredible depth of cheese flavor you can achieve, often surpassing store-bought options. Imagin extracte the aroma filling your kitchen as these golden crackers bake, promising a delicious treat that’s both nostalgic and wonderfully gourmet. Whether you’re looking for a healthier alternative, a fun baking project with the kids, or simply craving a superior cheesy snack, these Homemade Cheez Its are sure to become a staple in your repertoire. Get ready to experience the ultimate crunchy, cheesy bliss!
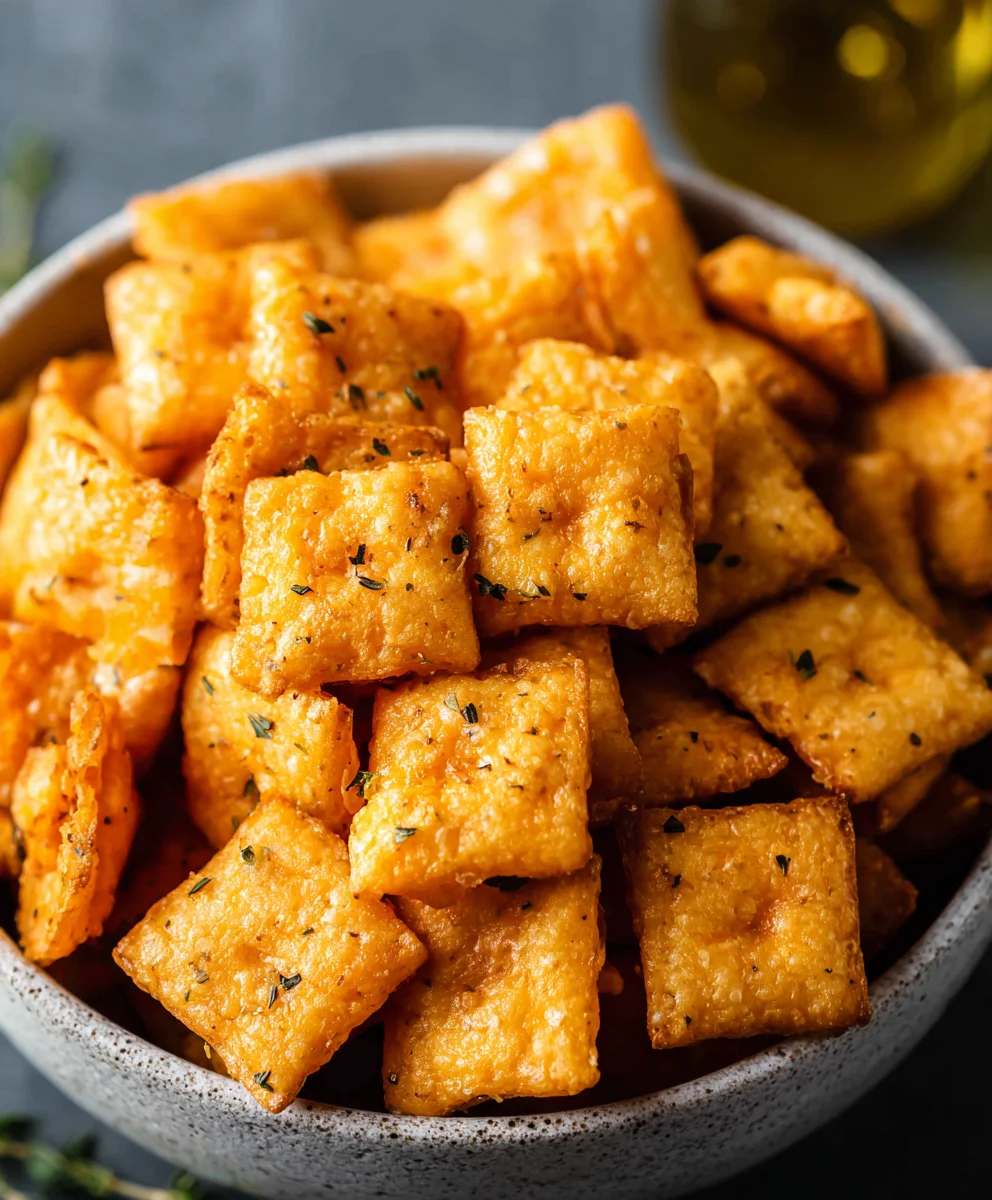
Ingredients:
- ¼ cup unsalted butter, softened to room temperature
- 8 oz. sharp cheddar cheese, shredded
- 1 ¼ cups all-purpose flour
- 1 teaspoon kosher salt, plus extra for sprinkling on top
- 2-3 tablespoons cold water
- 2 tablespoons olive oil
Preparing the Dough
Step 1: Creaming the Butter and Cheese
The foundation of our delicious Homemade Cheez-Its lies in a perfectly blended dough. Begin extract by taking your softened unsalted butter and placing it in a medium-sized mixing bowl. You want your butter to be pliable, not melted. This is crucial for achieving the right texture. Next, add your 8 ounces of shredded sharp cheddar cheese to the same bowl. Using an electric mixer or a sturdy whisk, cream together the butter and cheese until they are well combined and form a relatively smooth, cohesive mixture. This process incorporates air, which contributes to the flaky layers of our crackers. Don’t worry if there are still a few small lumps of cheese; that’s perfectly normal and adds character to the final product.
Step 2: Incorporating the Dry Ingredients
Now it’s time to introduce the dry components to our cheesy butter mixture. Add the 1 ¼ cups of all-purpose flour to the bowl. Along with the flour, measure out 1 teaspoon of kosher salt. Kosher salt has larger, more irregular flakes than table salt, which helps distribute flavor evenly and adds a satisfying crunch. Give everything a gentle stir with a spatula or wooden spoon togin extractst begin combining the ingredients. At this stage, the mixture will be crum extractbly, almost like coarse meal. This is exactly what we’re aiming for before we add the liquid.
gin extract>Step 3: Bringing the Dough Together with Cold Water
This is where the dough starts to transform. We’ll be adding the cold water gradually. Start by adding 2 tablespoons of cold water rum extractthe crumbly mixture. Use your spatula or hands to gently incorporate the water into the dough. The goal is to bring the dough together into a cohesive ball. If the dough still feels too dry and isn’t holding together, add the third tablespoon of cold water, a teaspoon at a time, until it just comes together. Be careful not to overwork the dough at this point, as too much handling can develop the gluten in the flour, leading to tougher crackers. You want to stop as soon as the dough forms a cohesive mass. It should feel slightly firm but pliable.
Step 4: Chilling and Rolling the Dough
To ensure our Homemade Cheez-Its have that characteristic crispness and hold their shape during baking, we need to chill the dough. Shape the dough into a flat disc, wrap it tightly in plastic wrap, and refrigerate for at least 30 minutes. This chilling period allows the gluten to relax and the fat to firm up, making it easier to roll and cut. Once chilled, unwrap the dough and place it on a lightly floured surface. Using a rolling pin, roll out the dough to about 1/8 inch thickness. This is a critical thickness; too thin and they might burn, too thick and they won’t be as crispy. Aim for an even thickness across the entire sheet of dough. You can use a ruler for precision if you like.
Step 5: Cutting and Baking the Cheez-Its
Now for the fun part – shaping our crackers! You can use a pizza cutter or a knife to cut the dough into small squares, roughly 1-inch by 1-inch, mimicking the classic Cheez-It shape. For extra flavor and visual appeal, lightly brush the tops of each square with the 2 tablespoons of olive oil. This oil helps create a lovely golden-brown crust. After brushing with oil, generously sprinkle the tops with a little extra kosher salt for that signature salty kick. Preheat your oven to 375°F (190°C). Carefully arrange the cut cracker squares onto a baking sheet lined with parchment paper, ensuring they have a little space between them. Bake for 12-15 minutes, or until the edges are golden brown and the centers are set. Keep a close eye on them as they can go from perfectly baked to burnt quite quickly.
Cooling and Enjoying
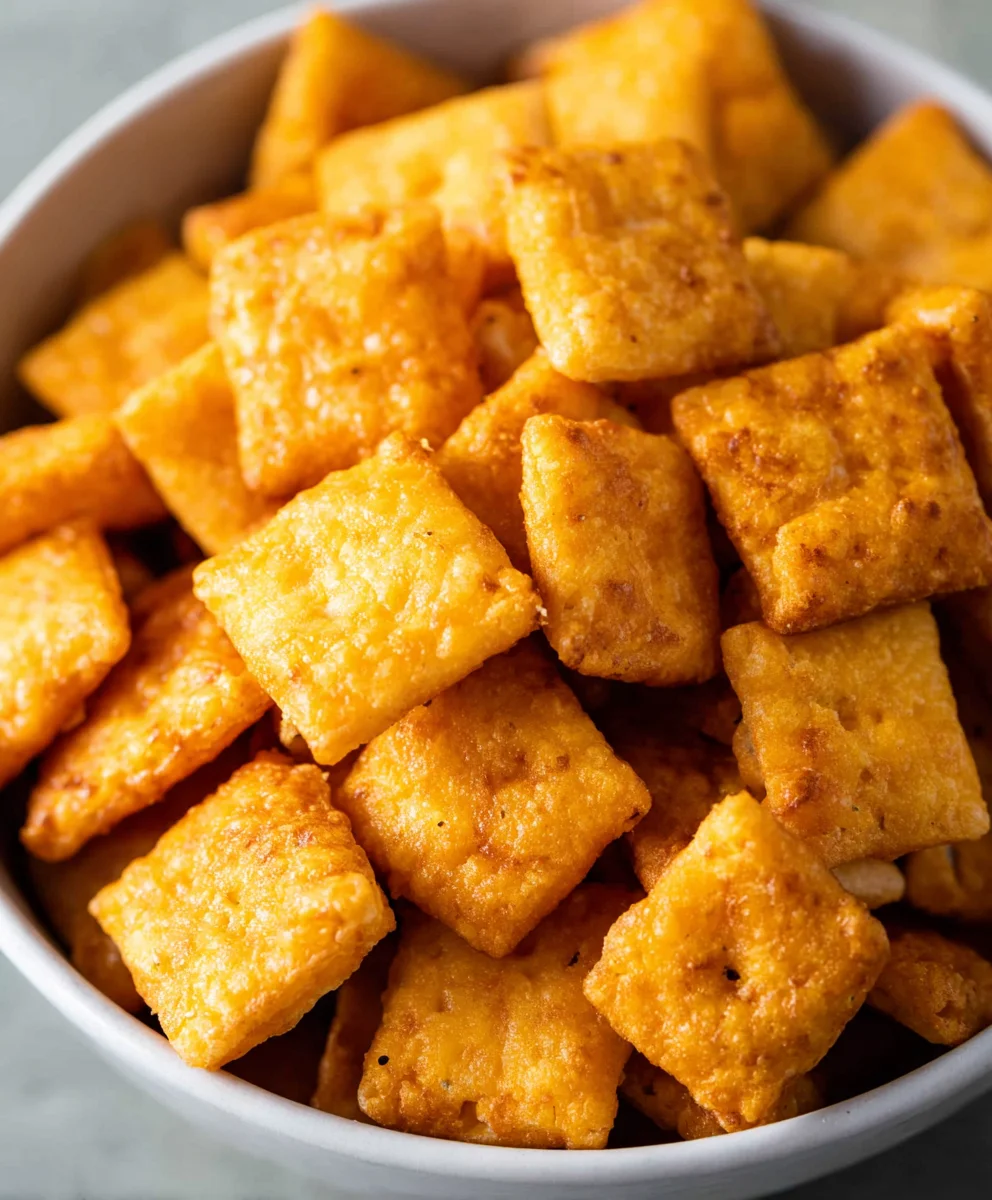
Once baked to perfection, remove the baking sheet from the oven. Let the Homemade Cheez-Its cool on the baking sheet for a few minutes before transferring them to a wire rack to cool completely. As they cool, they will become even crispier. The aroma of freshly baked cheese crackers will fill your kitchen, a testament to your homemade success. These delicious homemade crackers are perfect for snacking on their own, serving with dips, or packing for lunches. Store any leftovers in an airtight container at room temperature for up to a week.
Conclusion:
And there you have it – your very own batch of delicious, Homemade Cheez Its! I hope you’ve enjoyed this journey into creating these cheesy, crunchy crackers from scratch. This recipe delivers that classic, satisfying snap and unmistakable cheddar flavor that we all know and love, but with the added joy of knowing exactly what goes into them. They’re so much more than just a snack; they’re a testament to the simple pleasures of homemade goodness.
These Homemade Cheez Its are wonderfully versatile. They’re perfect for a quick afternoon pick-me-up, a fantastic addition to lunchboxes, or an irresistible appetizer for your next gathering. Serve them simply on their own, or pair them with your favorite dips like a creamy ranch or a spicy salsa. For a truly delightful experience, try crum extractbling them over a fresh salad for an extra cheesy crunch, or even using them as a coating for baked chicken or fish!
Don’t be afraid to experiment! You can easily switch up the cheese for different flavor profiles – a sharp Gruyère or a smoky Gouda would be divine. Adding a pinch of cayenne pepper or smoked paprika can give your Homemade Cheez Its a little kick. The possibilities are truly endless, and the rewarding taste of a successful homemade treat is second to none. So go ahead, preheat your oven, and get ready to impress yourself and your loved ones with these incredible Homemade Cheez Its!
FAQs:
How can I make my Homemade Cheez Its extra crispy?
To achieve maximum crispiness, ensure your dough is rolled thinly and evenly. Overcrowding the baking sheet can also lead to softer crackers. Bake them until they are golden brown and fragrant, and don’t be afraid to let them cool completely on the baking sheet after they come out of the oven; this allows them to crisp up further.
Can I freeze the dough for Homemade Cheez Its?
Yes, absolutely! The dough for Homemade Cheez Its freezes beautifully. Once you’ve made the dough and before you roll it out, shape it into a log, wrap it tightly in plastic wrap, and then place it in a freezer-safe bag. When you’re ready to bake, simply let the dough thaw in the refrigerator overnight before slicing and baking.
Homemade Cheez-Its – Crispy Baked Cheesy Snacks
Recreate the classic cheesy cracker experience at home with these easy-to-make, crispy baked Homemade Cheez-Its. Perfect for snacking!
Ingredients
-
¼ cup unsalted butter, softened
-
8 oz. sharp cheddar cheese, shredded
-
1 ¼ cups all-purpose flour
-
1 teaspoon kosher salt, plus extra for sprinkling
-
2-3 tablespoons cold water
-
2 tablespoons olive oil
Instructions
-
Step 1
In a medium bowl, cream together the softened unsalted butter and shredded sharp cheddar cheese until well combined and relatively smooth. -
Step 2
Add the all-purpose flour and 1 teaspoon of kosher salt to the butter and cheese mixture. Stir until crumbly. -
Step 3
Gradually add 2 tablespoons of cold water, mixing until the dough just comes together into a cohesive ball. Add more water, a teaspoon at a time, if needed. Do not overwork the dough. -
Step 4
Shape the dough into a flat disc, wrap in plastic wrap, and refrigerate for at least 30 minutes. Once chilled, roll out the dough on a lightly floured surface to about 1/8 inch thickness. -
Step 5
Cut the dough into 1-inch squares. Lightly brush the tops with olive oil and sprinkle with extra kosher salt. Preheat oven to 375°F (190°C). Arrange crackers on a parchment-lined baking sheet. -
Step 6
Bake for 12-15 minutes, or until the edges are golden brown and the centers are set. Watch closely to prevent burning. -
Step 7
Let the crackers cool on the baking sheet for a few minutes before transferring to a wire rack to cool completely until crisp. Store in an airtight container.
Important Information
Nutrition Facts (Per Serving)
It is important to consider this information as approximate and not to use it as definitive health advice.
Allergy Information
Please check ingredients for potential allergens and consult a health professional if in doubt.