Easy No-Knead Bread Recipe – Quick Homemade Bread
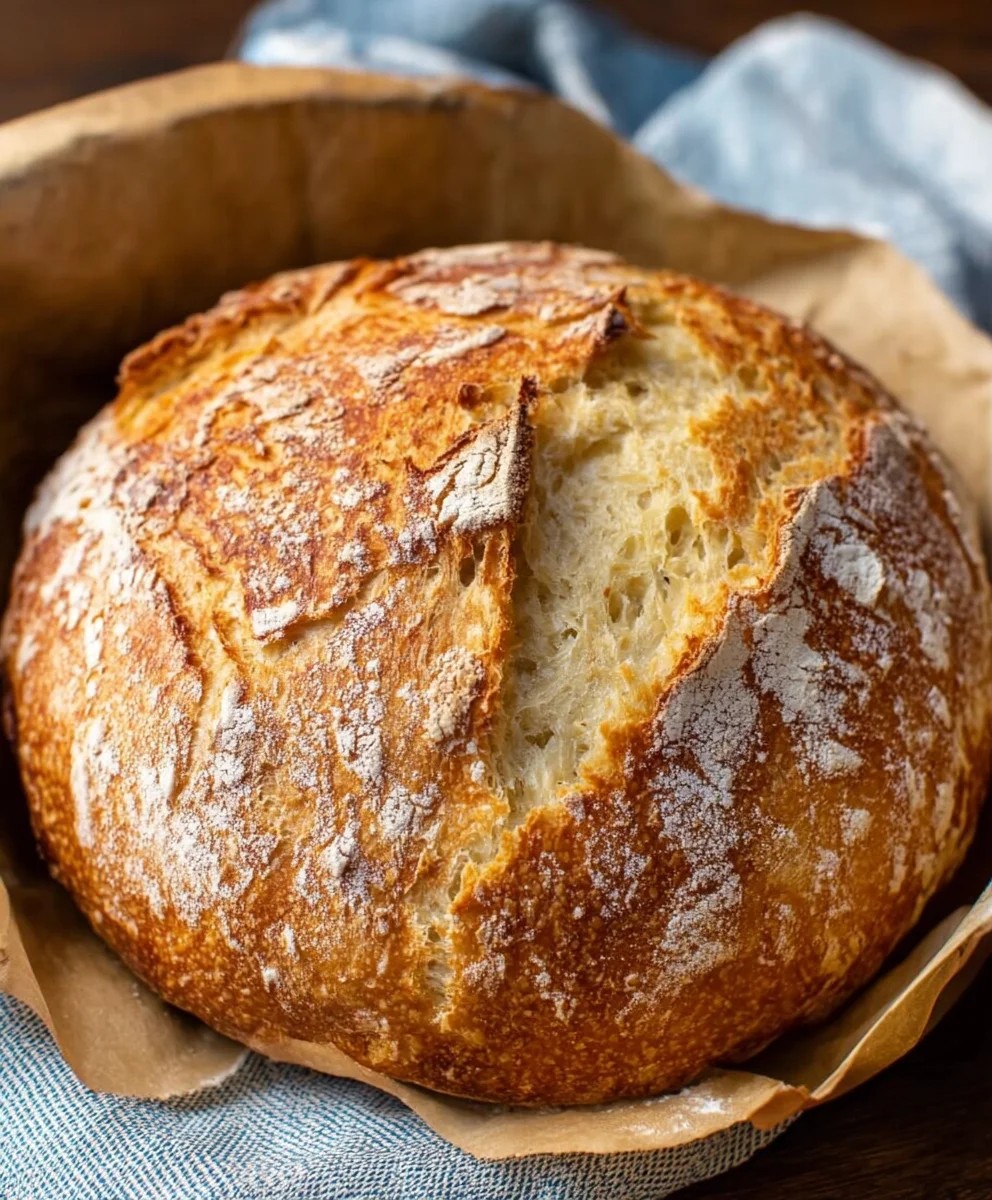
Quick And Easy No-Knead Bread is more than just a recipe; it’s a kitchen revolution. Have you ever dreamed of filling your home with the irresistible aroma of freshly baked bread, but been intimidated by the kneading, proofing, and general fuss? Well, dream no more! This remarkable recipe unlocks the magic of homemade bread without the demanding effort. People absolutely adore this creation because it delivers that wonderfully rustic crust and impossibly soft, airy interior that usually requires hours of dedicated attention, all while being astonishingly simple. What truly makes Quick And Easy No-Knead Bread special is its ingenious method, relying on a long, slow fermentation and the power of a hot Dutch oven to create that signature texture and deep flavor. It’s the perfect solution for busy weeknights or weekend mornings when you crave something truly delicious but have limited time. Prepare to be amazed by how little work it takes to achieve such spectacular results!
Ingredients:
- 3 cups bread flour
- 1 packet (approximately 2 teaspoons) rapid rise yeast
- 1 ½ teaspoons salt
- 1 ½ cups warm water
The Simple Dough Assembly
This recipe is all about simplicity, and that starts right here with mixing the dough. You don’t need any fancy equipment, just a bowl and a spoon or spatula. First, in a large mixing bowl, combine your bread flour and salt. Whisk them together briefly to ensure the salt is evenly distributed throughout the flour. This is important for consistent flavor in your final loaf. Next, add the rapid rise yeast. For this type of yeast, often called instant yeast, you don’t need to “activate” it in water beforehand. It can be mixed directly with the dry ingredients, making the process wonderfully streamlined.
Now, pour in your warm water. The ideal temperature for activating yeast is generally between 105°F and 115°F (40°C to 46°C). Too hot and you’ll kill the yeast; too cold and it won’t activate properly. If you don’t have a thermometer, aim for water that feels comfortably warm to the touch, like a baby’s bath. Once the water is added, begin extract to mix everything together with your spoon or spatula. You’re not looking for a perfectly smooth dough at this stage. It will be shaggy and a bit sticky, and that’s exactly what we want. Continue mixing just until all the dry flour has been incorporated and there are no dry pockets remaining. This usually takes about 30 seconds to a minute of stirring. Don’t overmix; we are aiming for a no-knead approach here, so developing gluten through kneading is not necessary.
The Relaxing Rise
Now comes the magic of letting time and yeast do the work for you. Once your shaggy dough is formed, cover the bowl tightly with plastic wrap or a damp kitchen towel. This prevents the dough from drying out on the surface. Find a warm, draft-free spot in your kitchen for the dough to rest and rise. A slightly warm oven (turned off, of course!) or even just a spot on your counter away from any breezes will work perfectly.
You’ll want to let the dough rise for about 12 to 18 hours at room temperature. Yes, that’s a long time, but it’s crucial for developing the incredible flavor and airy texture that makes this no-knead bread so special. During this long, slow fermentation, the yeast will work its way through the flour, creating pockets of air and complex flavors. You’ll know the dough is ready when it has more than doubled in size, is covered in bubbles, and looks billowy and slightly jiggly. This extended rise is what creates that signature open crum extractb and deep flavor without any kneading on your part. It’s truly a testament to the power of patience and good ingredients. Don’t be tempted to rush this step; the results are absolutely worth the wait.
Preparing for the Bake
After your dough has had its long, leisurely rise, it’s time to get ready to bake. Generously flour a piece of parchment paper or a clean work surface. Gently scrape the dough out of the bowl onto the floured surface. It will be very wet and airy. Don’t punch it down aggressively! You want to preserve as much of that beautiful airiness as possible. Instead, gently fold the edges of the dough in towards the center a few times to create a rough ball shape. You can lightly flour your hands if the dough is too sticky to handle.
Now, preheat your oven to 450°F (230°C). The crucial element for achieving a beautifully browned and crusty loaf in this method is baking it in a preheated Dutch oven or oven-safe pot with a lid. Place your empty Dutch oven (with the lid on) into the oven while it preheats. This allows the pot to get incredibly hot, which mimics the steam-filled environment of a professional bakery, helping your bread to rise beautifully and develop a magnificent crust. Be very careful when handling the hot Dutch oven later.
The Baking Transformation
Once your oven and Dutch oven are fully preheated, it’s time for the final stage. Carefully remove the scorching hot Dutch oven from the oven. Remove the lid. Using the parchment paper as handles (if you used it), carefully lower the dough into the preheated Dutch oven. Try to center it as best you can. If you didn’t use parchment paper, you can carefully use a spatula to transfer the dough into the hot pot. Once the dough is in, immediately place the lid back on the Dutch oven.
Place the lidded Dutch oven back into the hot oven. Bake for 30 minutes with the lid on. This traps the steam released by the dough, allowing it to expand fully and cook evenly. After 30 minutes, carefully remove the lid. You’ll see a pnon-alcoholic ale, risen loaf. Continue to bake for another 15 to 25 minutes, or until the crust is a deep golden brown and the internal temperature of the bread reaches around 205°F to 210°F (96°C to 99°C) when checked with an instant-read thermometer. The exact time will depend on your oven, so keep an eye on it.
Cooling and Enjoying
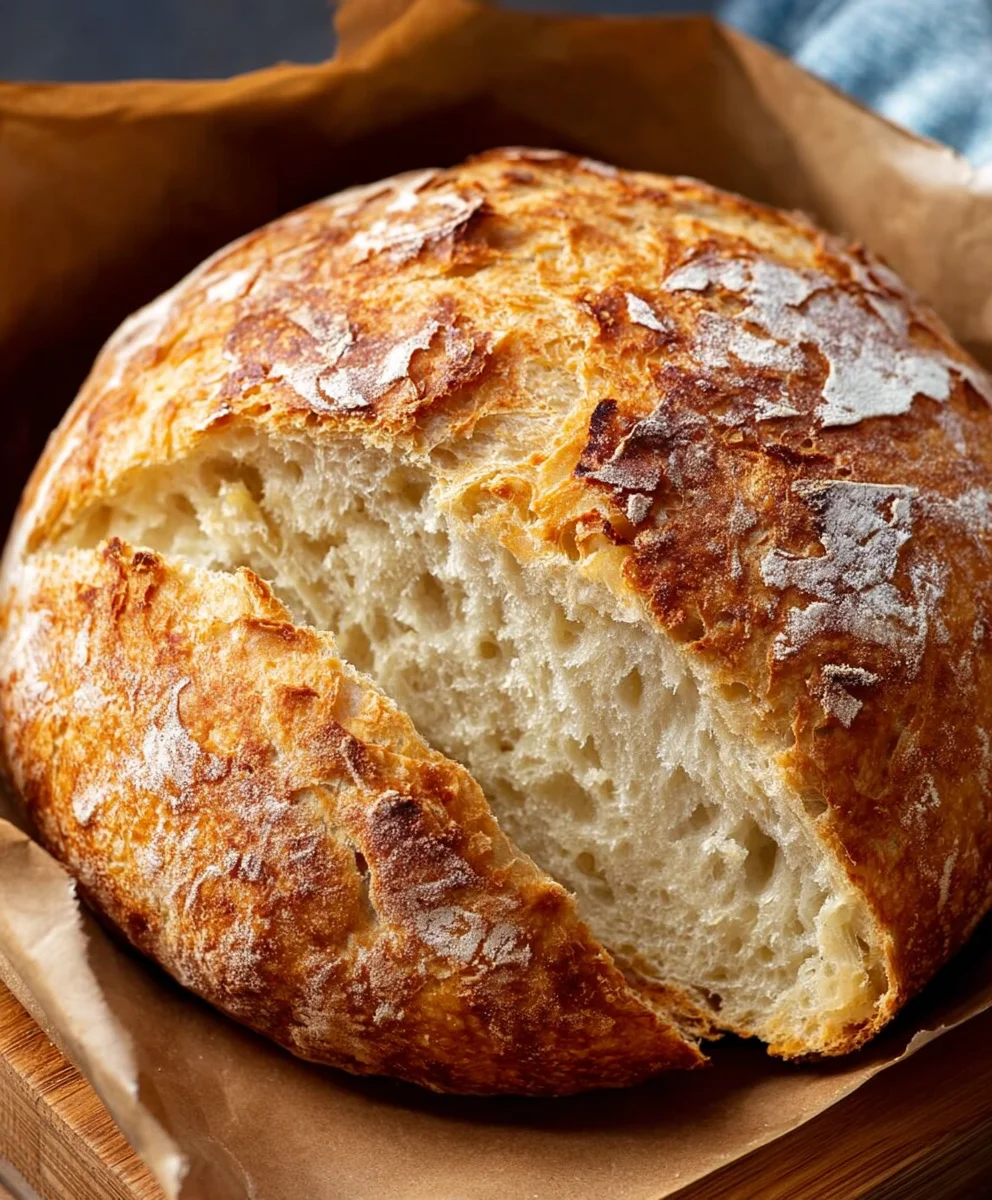
Once the bread is baked to perfection, carefully remove the Dutch oven from the oven. Then, very carefully lift the bread out of the Dutch oven and place it on a wire cooling rack. This step is essential to prevent the bottom crust from becoming soggy. Allow the bread to cool completely for at least 1 hour before slicing. Resist the temptation to cut into it while it’s still warm; the internal structure needs this time to set properly. You’ll hear it crackling as it cools, which is a wonderful sound! Once cooled, you will have a beautiful, rustic loaf with a chewy interior and a wonderfully crisp crust, ready to be enjoyed with butter, jam, or simply on its own.
Conclusion:
We hope you’ve enjoyed learning how to make our Quick And Easy No-Knead Bread! This recipe truly lives up to its name, delivering a beautifully crusty exterior and a wonderfully soft, airy interior with minimal effort. The simplicity of this bread makes it perfect for begin extractners and busy bakers alike. Don’t be intimidated by the lack of kneading; the long, slow rise does all the hard work for you. Feel free to experiment with additions like herbs, seeds, or a touch of cheese kneaded in during the final shaping. Serve this versatile loaf warm with butter, alongside your favorite soups and stews, or as the base for delicious sandwiches. We encourage you to try this recipe and experience the joy of homemade bread without the fuss!
Frequently Asked Questions:
Can I make this Quick And Easy No-Knead Bread in a Dutch oven without a lid?
While a lidded Dutch oven is ideal for trapping steam and achieving that signature crust, you can still achieve good results without one. Ensure your oven is preheated thoroughly, and consider placing a pan of water on the rack below your bread to create steam. You might not get quite the same level of crust development, but it will still be delicious!
What can I do if my Quick And Easy No-Knead Bread is too dense?
A dense loaf often indicates that the yeast wasn’t as active as it could be, or that the dough didn’t rise sufficiently. Ensure your yeast is fresh and that your water temperature was lukewarm (not too hot or too cold). Also, make sure you’re allowing the dough to rise in a warm, draft-free environment until it has visibly doubled in size. The longer, slower rise is crucial for developing those airy pockets.
Easy No-Knead Bread Recipe – Quick Homemade Bread
A simple and quick recipe for delicious homemade no-knead bread with a crispy crust and chewy interior.
Ingredients
-
3 cups bread flour
-
1 packet (2 teaspoons) rapid rise yeast
-
1 ½ teaspoons salt
-
1 ½ cups warm water
-
Parchment paper
Instructions
-
Step 1
In a large mixing bowl, combine bread flour and salt. Whisk together. Add rapid rise yeast and mix briefly. Pour in warm water (105-115°F or 40-46°C) and mix with a spoon or spatula until just combined, forming a shaggy, sticky dough. Do not overmix. -
Step 2
Cover the bowl tightly with plastic wrap or a damp kitchen towel. Let the dough rise in a warm, draft-free spot for 12 to 18 hours at room temperature until doubled in size, bubbly, and billowy. -
Step 3
Generously flour a piece of parchment paper or a clean work surface. Gently scrape the dough onto the floured surface. Gently fold the edges towards the center to form a rough ball, preserving airiness. Lightly flour hands if needed. -
Step 4
Preheat oven to 450°F (230°C). Place an empty Dutch oven with its lid on into the oven while it preheats. -
Step 5
Carefully remove the hot Dutch oven from the oven and remove the lid. Using parchment paper as handles (if used), carefully lower the dough into the hot Dutch oven. Replace the lid immediately. -
Step 6
Place the lidded Dutch oven back into the hot oven and bake for 30 minutes with the lid on. Remove the lid and continue baking for another 15 to 25 minutes, or until the crust is deep golden brown and internal temperature reaches 205-210°F (96-99°C). -
Step 7
Carefully remove the Dutch oven from the oven. Lift the bread out and place it on a wire cooling rack. Allow to cool completely for at least 1 hour before slicing.
Important Information
Nutrition Facts (Per Serving)
It is important to consider this information as approximate and not to use it as definitive health advice.
Allergy Information
Please check ingredients for potential allergens and consult a health professional if in doubt.