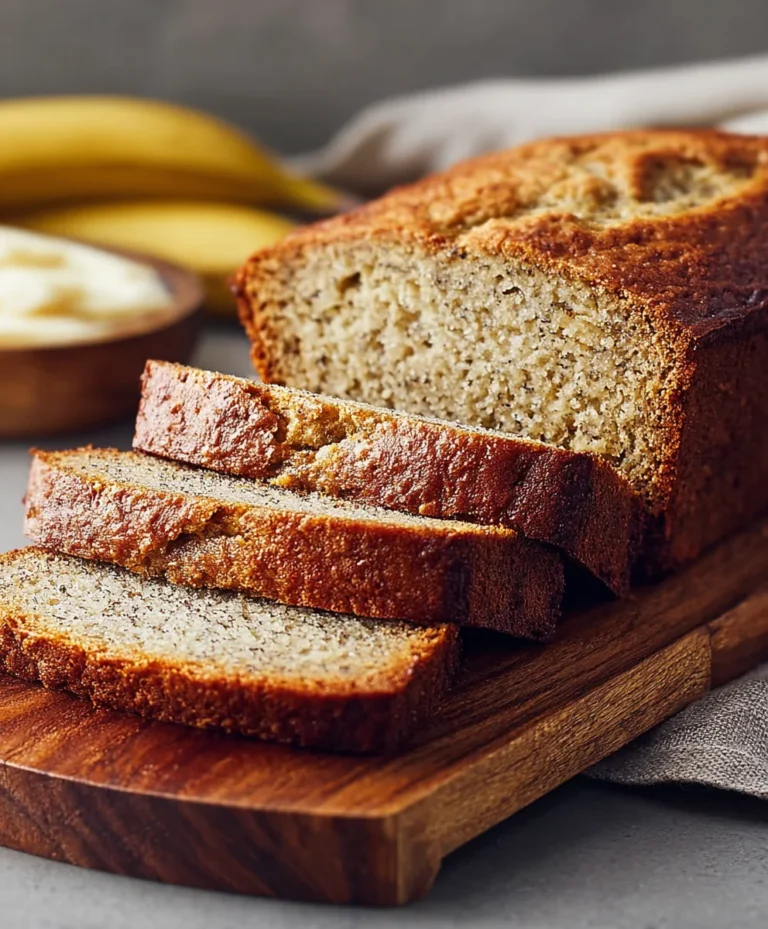
Easy Milk Bread Loaf-Fluffy & Soft Homemade Recipe
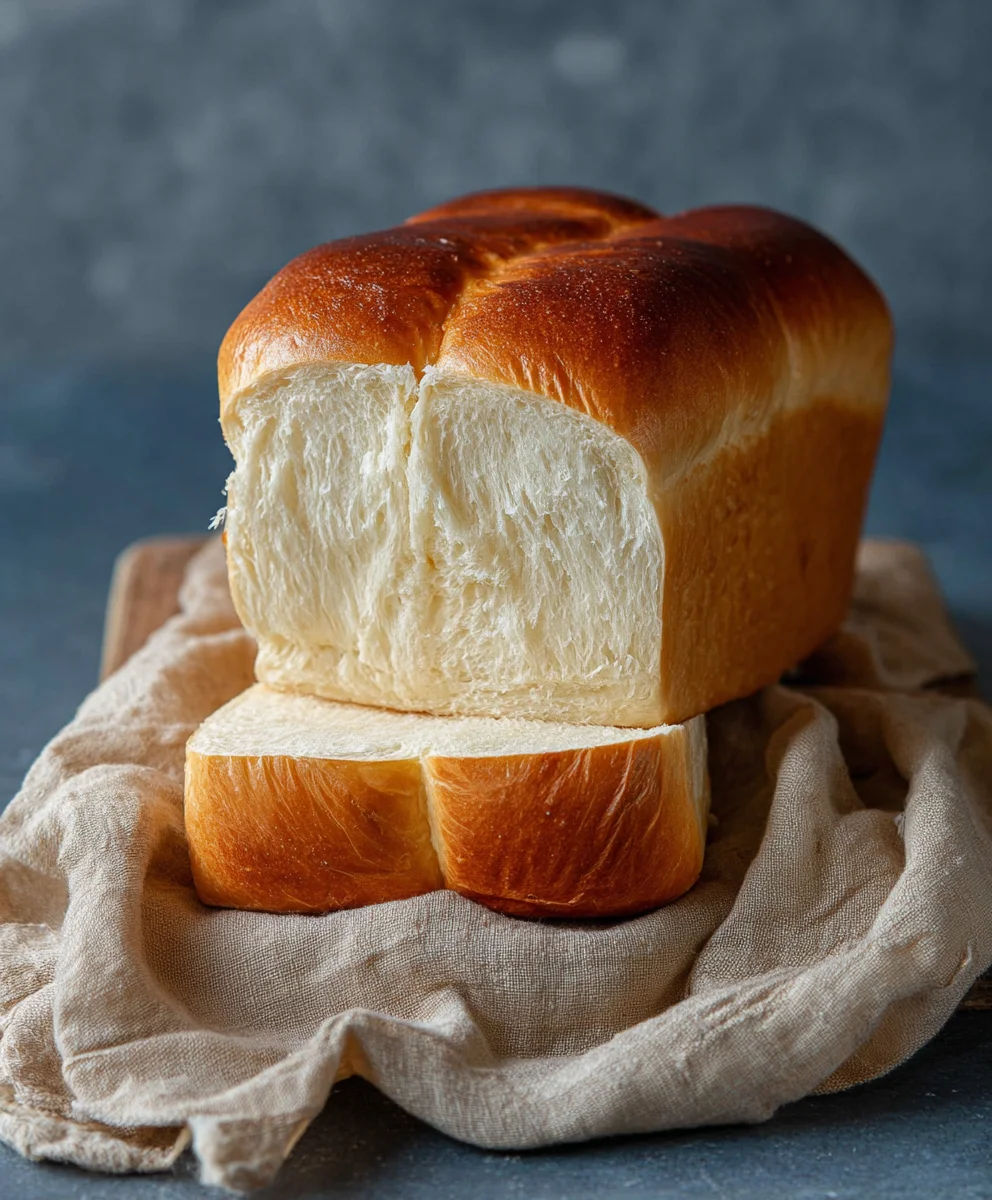
Easy Milk Bread Loaf recipes are a gateway to pure comfort and delightful texture, and today, we’re diving into one that’s sure to become a staple in your kitchen. There’s something incredibly satisfying about pulling a golden, pillowy loaf of milk bread from the oven. Its signature softness and subtle sweetness make it incredibly versatile, perfect for everything from your morning toast with a smear of butter to building the most decadent French toast imagin extractable. What truly sets this Easy Milk Bread Loaf apart is its foolproof method. We’ve stripped away the complexity, ensuring that even novice bakers can achieve bakery-quality results. You’ll be amazed at how simple it is to create a bread that boasts a delicate crum extractb, a beautifully browned crust, and an aroma that fills your home with pure bliss. Get ready to experience the joy of homemade bread like never before!
Ingredients:
- 500 grams bread flour (approximately 3¾ cups)
- 40 grams granulated sugar (approximately 3 tablespoons)
- 1½ teaspoons instant yeast
- 225 grams cold water (a little less than 1 cup)
- 115 grams cold milk (½ cup)
- 9 grams sea salt (1½ teaspoons)
- 25 grams unsalted butter, softened (1¾ tablespoons)
- Additional butter for greasing the pan and brushing the finished loaf
- Additional flour for dusting the pan
Preparing the Dough
Step 1: Combine Dry Ingredients
In a large mixing bowl, combine the 500 grams of bread flour, 40 grams of granulated sugar, and 1½ teaspoons of instant yeast. If you’re using a stand mixer, you can do this directly in the mixer bowl. Whisk these dry ingredients together thoroughly. This ensures that the yeast is evenly distributed, which is crucial for a consistent rise. It also helps to aerate the flour slightly, which can contribute to a lighter texture in your final loaf. Make sure there are no clumps of yeast remaining.
Step 2: Add Wet Ingredients and Begin extract Mixing
Next, add the 225 grams of cold water and 115 grams of cold milk to the bowl with the dry ingredigin extracts. Begin mixing on a low speed with your stand mixer fitted with a dough hook, or by hand using a sturdy spatula or wooden spoon. Continue mixing until a shaggy dough starts to form. At this stage, don’t worry if the dough looks a bit rough and unrefined. The goal here is just to bring everything together. The cold liquids help to slow down the initial yeast activity, allowing for better gluten development later on.
Step 3: Incorporate Salt and Butter and Knead
Once the dough has come together into a shaggy mass, add the 9 grams of sea salt and the 25 grams of softened unsalted butter. The salt is important for flavor and also strengthens the gluten structure. The softened butter adds richness and tenderness to the bread. Now, increase the speed of your stand mixer to medium-low and knead the dough for about 8-10 minutes. If you are kneading by hand, turn the dough out onto a lightly floured surface and knead for about 10-15 minutes. You are looking for the dough to become smooth, elastic, and slightly tacky, but not sticky to the touch. You should be able to stretch a small piece of the dough thinly without it tearing (this is called the windowpane test). If the dough is too sticky, add a teaspoon of flour at a time; if it’s too dry, add a teaspoon of water at a time.
First Rise (Bulk Fermentation)
Step 4: First Proofing
Lightly grease a clean bowl with a little oil or butter. Shape the kneaded dough into a smooth ball and place it in the prepared bowl, turning it to coat all sides. Cover the bowl tightly with plastic wrap or a damp kitchen towel. Place the bowl in a warm, draft-free place to rise. A good spot might be your oven with the light on, or on top of your refrigerator. Allow the dough to rise for about 1 to 1.5 hours, or until it has doubled in size. The exact time will depend on the temperature of your kitchen. You’ll know it’s ready when it looks significantly puffy and feels airy. Gently poke the dough with a floured finger; if the indentation remains, it’s proofed sufficiently.
Shaping and Second Rise
Step 5: Degas and Shape the Loaf
Once the dough has doubled in size, gently punch it down to release the trapped air. Turn the dough out onto a lightly floured surface. For a standard loaf pan, gently flatten the dough into a rectangle, roughly the width of your loaf pan. Then, starting from one of the longer sides, tightly roll up the dough into a log shape, pressing firmly to eliminate any air pockets. Pinch the seam closed and tuck in the ends. This tight shaping helps create an even crum extractb structure and a beautiful loaf shape.
Step 6: Prepare the Loaf Pan
Generously grease your loaf pan with butter and dust it lightly with flour. Make sure to get into all the corners. This step is crucial for preventing the bread from sticking and ensuring it releases easily after baking. Any excess flour can be tapped out.
Step 7: Second Proofing
Carefully place the shaped dough log, seam-side down, into the prepared loaf pan. Cover the pan loosely with plastic wrap or a clean kitchen towel. Let the dough rise again in a warm place for another 45-60 minutes, or until it has risen about 1 inch above the rim of the pan. It should look nicely puffed and airy, but not overly so, as it will continue to expand in the oven. While the dough is proofing for the second time, preheat your oven to 375°F (190°C).
Baking and Finishing
Step 8: Bake the Loaf
Once the dough has completed its second rise, carefully place the loaf pan into the preheated oven. Bake for 30-35 minutes, or until the crust is a deep golden brown and the internal temperature of the bread reaches 190-200°F (88-93°C) when tested with an instant-read thermometer. If the top of the bread starts to brown too quickly, you can loosely tent it with aluminum foil for the remainder of the baking time. This ensures the inside cooks through without the crust burning.
Step 9: Brush with Butter and Cool
As soon as the bread comes out of the oven, brush the top generously with a little extra softened butter. This adds a wonderful sheen and helps to keep the crust soft and delicious. Carefully remove the loaf from the pan and place it on a wire rack to cool completely. Allowing the bread to cool fully is important for the texture; slicing it too soon can result in a gummy interior. Once cooled, you can slice and enjoy your incredibly soft and delicious Easy Milk Bread Loaf!
Conclusion:
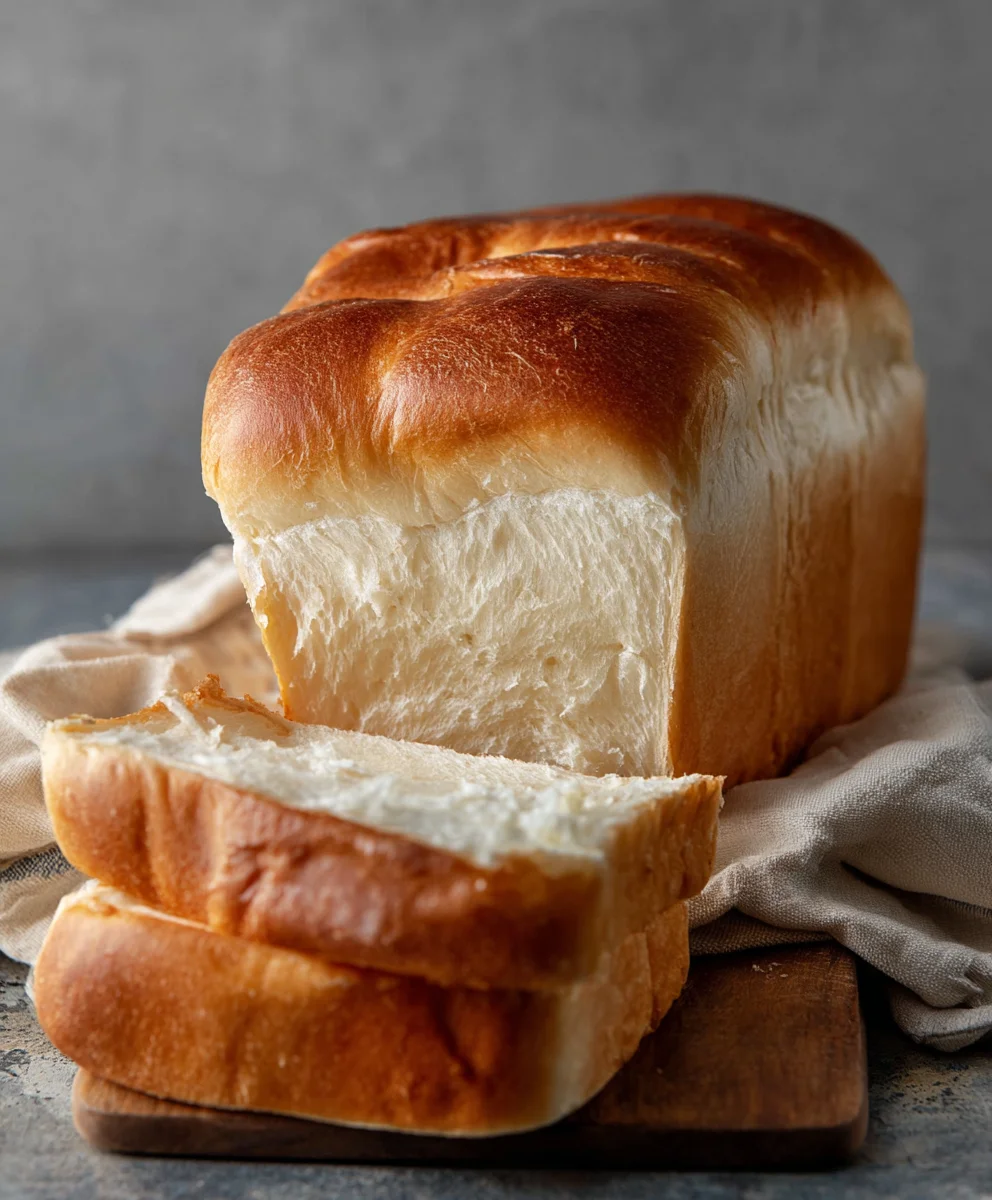
We’ve reached the end of our delightful journey creating the Easy Milk Bread Loaf! This recipe has proven that achieving a wonderfully soft, slightly sweet, and perfectly airy bread at home is entirely possible, even for begin extractners. The subtle richness from the milk creates a tender crum extractb that’s simply irresistible. Whether you’re making sandwiches, toasting it with butter, or enjoying a slice plain, this Easy Milk Bread Loaf is sure to become a staple in your baking repertoire. Don’t be afraid to experiment with its versatility – it’s a fantastic base for so many culinary creations!
Serving suggestions abound! This bread is divine on its own, but it truly shines as the foundation for your favorite sandwiches. Think classic beef ham and cheese, or something more gourmet like a roast beef and caramelized onion creation. Toasting slices of your Easy Milk Bread Loaf and slathering them with a good quality butter and a drizzle of honey is another simple pleasure. For a sweeter treat, consider making French toast or bread pudding.
Looking for variations? You can easily add a touch of sweetness by incorporating a tablespoon or two of honey into the dough. For a savory twist, consider adding herbs like rosemary or thyme, or even some grated cheese into the mix before baking. Don’t hesitate to play around and make this Easy Milk Bread Loaf your own!
Frequently Asked Questions:
Q1: My Easy Milk Bread Loaf came out a bit dry. What might have gone wrong?
A slightly dry texture can sometimes be due to overbaking or not using enough liquid. Ensure your milk is measured accurately and that you’re not over-kneading the dough, which can develop gluten too much and toughen the bread. Also, be mindful of your oven’s temperature; an oven thermometer can help ensure accuracy. If you suspect it’s overbaked, try baking for a shorter duration next time.
Q2: Can I make this Easy Milk Bread Loaf without a stand mixer?
Absolutely! While a stand mixer makes kneading easier, this Easy Milk Bread Loaf can be kneaded by hand. It will require a bit more effort and time, but the results will be just as delicious. Dedicate about 10-15 minutes to vigorous kneading until the dough is smooth and elastic. The process itself can be quite therapeutic!
Easy Milk Bread Loaf-Fluffy & Soft Homemade Recipe
A simple and delicious recipe for making a fluffy and soft homemade milk bread loaf. Perfect for sandwiches or enjoying on its own.
Ingredients
-
500 g bread flour (approximately 3¾ cups)
-
40 g granulated sugar (approximately 3 tablespoons)
-
1½ teaspoons instant yeast
-
225 grams cold water (a little less than 1 cup)
-
115 grams cold milk (½ cup)
-
9 grams sea salt (1½ teaspoons)
-
25 grams unsalted butter, softened (1¾ tablespoons)
-
Additional butter for greasing the pan and brushing the finished loaf
-
Additional flour for dusting the pan
Instructions
-
Step 1
In a large mixing bowl, combine the bread flour, granulated sugar, and instant yeast. Whisk these dry ingredients together thoroughly to ensure even distribution. -
Step 2
Add the cold water and cold milk to the bowl with the dry ingredients. Mix on a low speed (or by hand) until a shaggy dough starts to form. -
Step 3
Add the sea salt and softened unsalted butter. Knead the dough for about 8-10 minutes in a stand mixer, or 10-15 minutes by hand, until it becomes smooth, elastic, and slightly tacky. Perform the windowpane test. -
Step 4
Lightly grease a clean bowl. Shape the kneaded dough into a smooth ball, place it in the bowl, and turn to coat. Cover tightly and let rise in a warm place for 1 to 1.5 hours, or until doubled in size. -
Step 5
Gently punch down the dough to release air. Turn it onto a floured surface and flatten into a rectangle. Tightly roll the dough into a log shape, pinching the seam closed and tucking the ends. -
Step 6
Generously grease your loaf pan with butter and dust it lightly with flour. -
Step 7
Place the shaped dough log, seam-side down, into the prepared loaf pan. Cover loosely and let rise in a warm place for another 45-60 minutes, or until it has risen about 1 inch above the rim. Preheat your oven to 375°F (190°C). -
Step 8
Bake the loaf in the preheated oven for 30-35 minutes, or until the crust is deep golden brown and the internal temperature reaches 190-200°F (88-93°C). -
Step 9
Immediately brush the top of the hot bread with softened butter. Carefully remove the loaf from the pan and place it on a wire rack to cool completely before slicing.
Important Information
Nutrition Facts (Per Serving)
It is important to consider this information as approximate and not to use it as definitive health advice.
Allergy Information
Please check ingredients for potential allergens and consult a health professional if in doubt.