Easy Lemon Posset Dessert – Simplest Recipe Ever
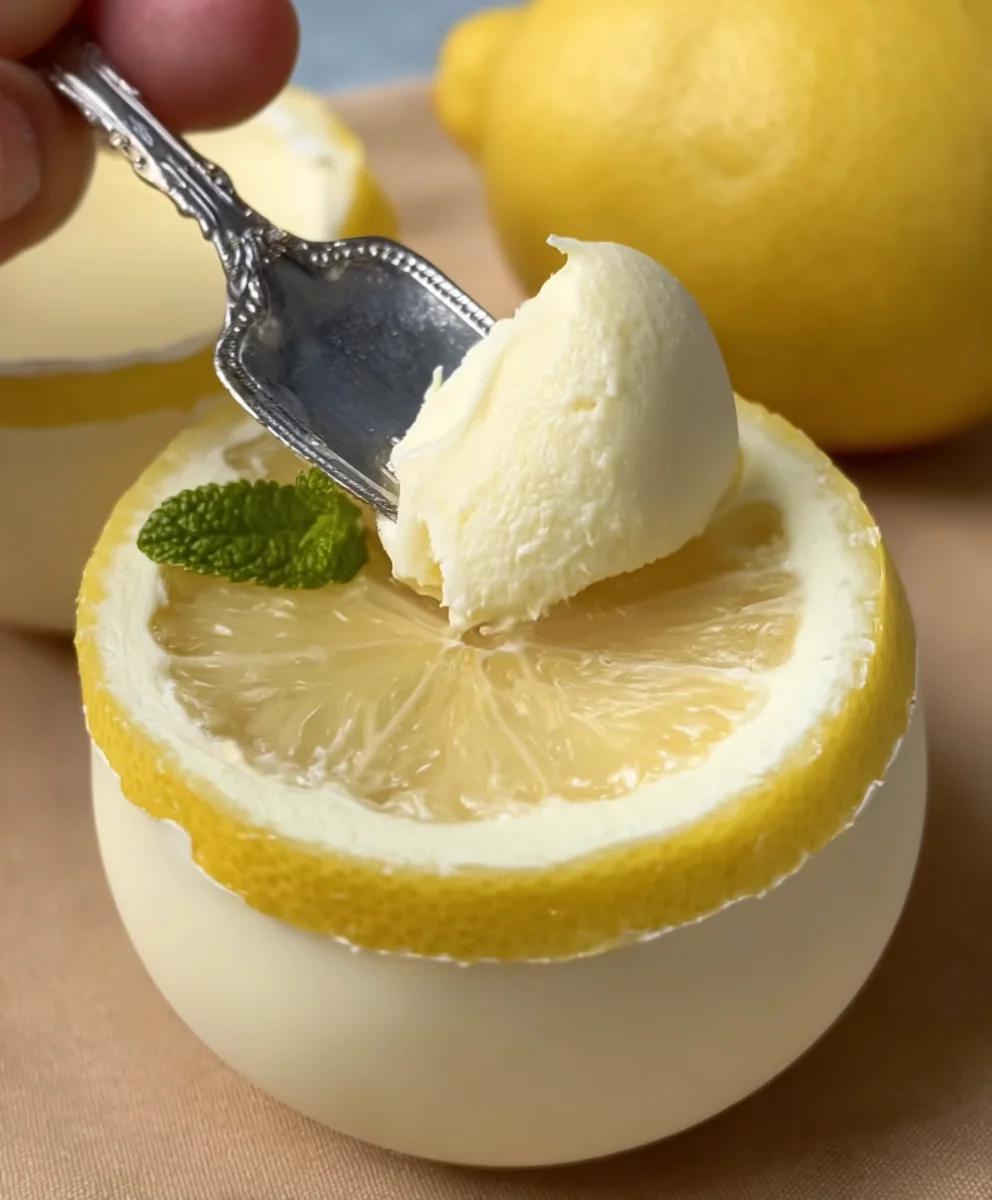
Lemon Posset: The Easiest Dessert Ever! If you’re dreaming of a dessert that’s both incredibly elegant and astonishingly simple to prepare, then you’ve found your match. This classic British treat, Lemon Posset, is precisely that – a luscious, creamy concoction that requires minimal effort but delivers maximum delight. We’re talking about a dessert that can be whipped up in mere minutes, leaving you with plenty of time to mingle with your guests or simply relax. What is it about Lemon Posset that captures hearts? It’s the perfect harmony of tart citrus and rich cream, a delicate balance that dances on the palate. Its silky texture melts in your mouth, leaving behind a refreshing zest that cleanses the palate beautifully. Forget fussy techniques and endless ingredients; the magic of this Lemon Posset lies in its deceptive simplicity, proving that you don’t need to be a pastry chef to create something truly special. Get ready to impress with this ridiculously easy yet utterly divine dessert.
Ingredients:
- 2 cups heavy cream
- 3/4 cup granulated sugar
- 1/2 cup fresh lemon juice (from about 2-3 medium lemons)
- Zest of 1 lemon (optional, for extra lemon flavor and garnish)
- Fresh berries, for serving (optional)
- Mint sprigs, for garnish (optional)
Preparing the Posset Base
Step 1: Gentle Heating of the Cream and Sugar
The foundation of a perfect lemon posset lies in the careful heating of the cream and sugar. In a medium, heavy-bottomed saucepan, pour in the 2 cups of heavy cream. Add the 3/4 cup of granulated sugar directly to the cream. A heavy-bottomed pan is crucial here to ensure even heat distribution, preventing the sugar from scorching on the bottom of the pan. Place the saucepan over medium heat. We’re not aiming for a rapid boil, but rather a gentle, consistent simmer. Stir the mixture occasionally with a whisk or wooden spoon, making sure all the sugar has dissolved completely into the cream before it begin extracts to heat up significantly. This initial stirring ensures a smooth texture later on.
Step 2: Simmering to Thicken
Once the sugar has dissolved, continue to heat the cream mixture. Bring it to a gentle simmer, and then reduce the heat slightly to maintain that gentle simmer. This is a crucial stage where the magic happens. The heat allows the cream to thicken slightly, and more importantly, it activates the setting properties of the cream. We need to let this simmer for approximately 8 to 10 minutes. During this time, it’s important to stir the mixture more frequently, perhaps every minute or so, to prevent a skin from forming on the surface and to ensure even cooking. You’ll notice the mixture will start to gain a slightly thicker consistency, coating the back of a spoon more readily. This slight thickening is what will allow the posset to set beautifully once chilled.
Incorporating the Lemon and Setting
Step 3: Adding the Lemon Juice and Zest
After the 8 to 10 minutes of simmering, remove the saucepan from the heat. Now it’s time to introduce the bright, zesty flavor of the lemon. Measure out your 1/2 cup of fresh lemon juice. It’s always best to use freshly squeezed lemon juice for the most vibrant and authentic flavor; bottled juice can sometimes have a metallic or less intense taste. Slowly and gradually whisk the lemon juice into the hot cream mixture. As you whisk, you’ll notice the mixturegin extractll begin to thicken further almost immediately. This is a chemical reaction between the acid in the lemon juice and the proteins in the cream, causing the posset to start setting. If you’re using the lemon zest, now is the time to whisk that in as well. The zest adds an extra layer of intense lemon aroma and flavor, and flecks of it can look beautiful in the finished dessert.
Step 4: Pouring and Chilling
Carefully pour the thickened lemon and cream mixture into your chosen serving vessels. Small ramekins, pretty teacups, or even shot glasses work wonderfully for individual portions of posset. If you’ve included lemon zest, you might want to give the mixture one last gentle stir before pouring to ensure the zest is evenly distributed. Aim to fill each vessel to about three-quarters full, leaving a little space at the top. At this point, the posset is still liquid but has begun its setting process. Place the filled vessels on a baking sheet or tray – this makes it easier to transfer them to the refrigerator without disturbing them. Cover each vessel loosely with plastic wrap, ensuring the wrap doesn’t touch the surface of the posset. Refrigerate for at least 4 hours, or preferably overnight, to allow the possets to set completely. They should have a firm, delicate wobble when ready.
Serving and Enjoying
Step 5: Garnishing and Presentation
Once your lemon possets are fully chilled and set, it’s time for the final flourish – garnishing! This is where you can get creative and make your dessert truly shine. A classic and simple accompaniment is fresh berries. A small handful of vibrant raspberries, blueberries, or sliced strawberries adds a lovely color contrast and a burst of fresh flavor that complements the creamy lemon perfectly. If you’re aiming for a more refined presentation, a delicate sprig of fresh mint can add a touch of green and a subtle aroma. If you reserved some lemon zest from Step 3, you can sprinkle a little extra on top just before serving for an extra visual and aromatic appeal. Serve your possets chilled, directly from the refrigerator. The beauty of this dessert lies in its simplicity, so don’t overcomplicate the garnishes. The creamy, tangy flavor of the posset, enhanced by the fresh toppings, is a truly delightful end to any meal.
Conclusion:
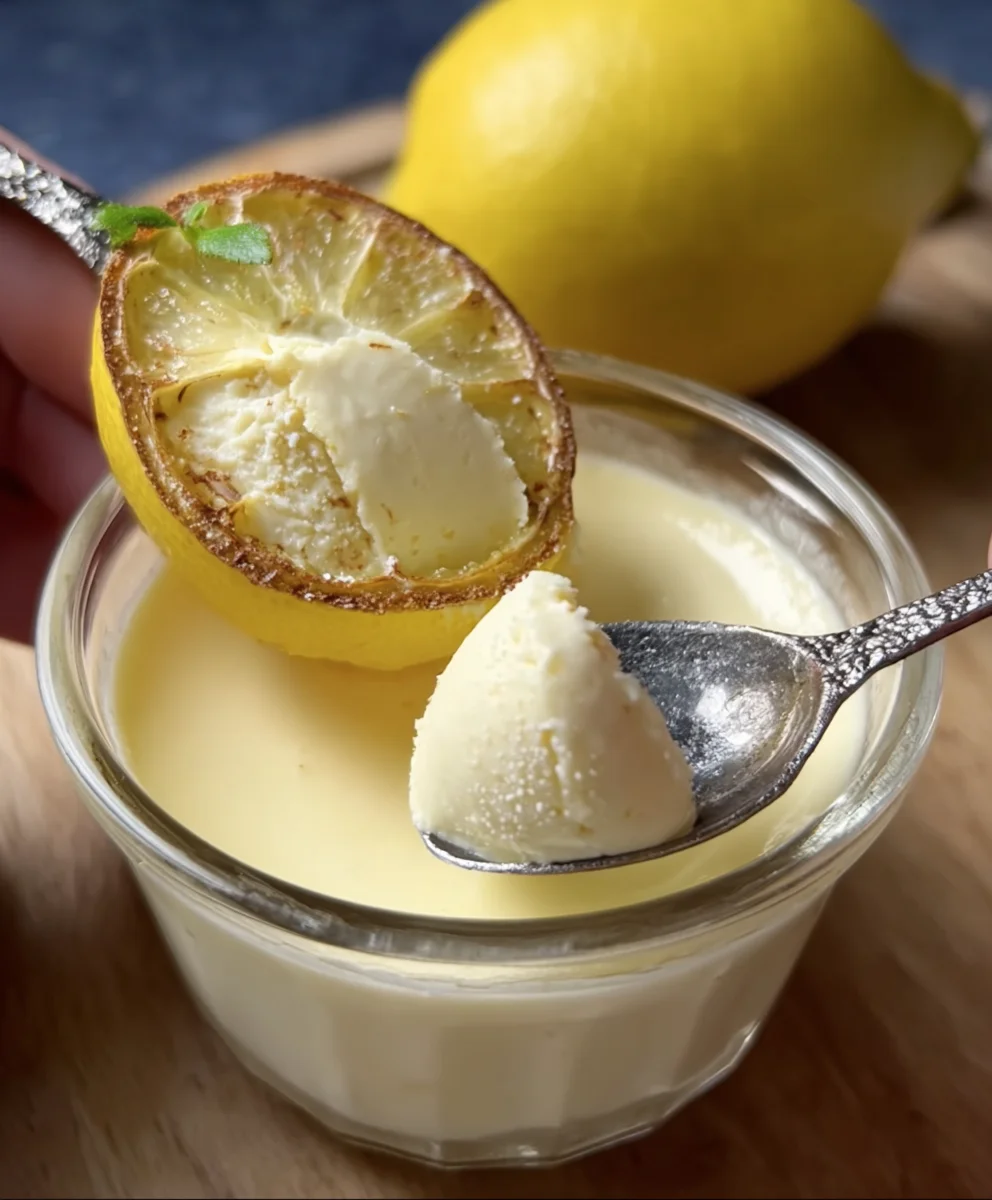
There you have it! The Lemon Posset: The Easiest Dessert Ever!. This elegant and refreshingly simple dessert proves that you don’t need a lot of fuss to create something truly special. Its delicate, creamy texture and bright citrus flavor make it a perfect palate cleanser after a rich meal or a delightful treat on its own. Don’t be intimidated by its sophisticated appearance; the beauty of this recipe lies in its minimal ingredients and straightforward technique. You’ll be amazed at how quickly it comes together, leaving you with plenty of time to enjoy your guests or simply savor the accomplishment.
For serving suggestions, I love to present the Lemon Posset: The Easiest Dessert Ever! in small ramekins or elegant glasses. A few fresh berries, a sprig of mint, or a delicate shortbread cookie make wonderful garnishes. For variations, consider adding a touch of floral essence like rosewater or lavender to the cream before heating, or infusing the cream with a few lemon zest strips for an extra punch of citrus. You can also experiment with different citrus fruits like lime or grapefruit for a unique twist. I highly encourage you to give this recipe a try – I promise you won’t be disappointed!
Frequently Asked Questions:
Why is it called a “Posset”?
The term “posset” historically refers to a drink made from hot milk curdled with grape juice or non-alcoholic ale. Over time, the dessert evolved into the creamy, set pudding we know today, retaining its name but transforming its preparation and ingredients.
Can I make Lemon Posset: The Easiest Dessert Ever! ahead of time?
Absolutely! In fact, it’s best made ahead of time. The posset needs several hours, ideally overnight, to chill and set properly in the refrigerator. This makes it an ideal dessert for entertaining, as you can prepare it well in advance.
Easy Lemon Posset Dessert – Simplest Recipe Ever
A wonderfully simple and elegant lemon posset dessert that requires minimal effort and delivers maximum flavor. Perfect for any occasion.
Ingredients
-
2 cups heavy cream
-
3/4 cup granulated sugar
-
1/2 cup fresh lemon juice
-
Zest of 1 lemon
-
Fresh berries, for serving
-
Mint sprigs, for garnish
Instructions
-
Step 1
In a medium, heavy-bottomed saucepan, combine 2 cups of heavy cream and 3/4 cup of granulated sugar. Place over medium heat and stir occasionally until the sugar has dissolved completely. -
Step 2
Bring the mixture to a gentle simmer, then reduce heat slightly and maintain the simmer for 8 to 10 minutes, stirring frequently to prevent a skin from forming and ensure even cooking. The mixture should start to thicken slightly. -
Step 3
Remove the saucepan from the heat. Gradually whisk in 1/2 cup of fresh lemon juice and the zest of 1 lemon (if using) until the mixture thickens further. -
Step 4
Carefully pour the thickened mixture into individual serving vessels such as ramekins or teacups. Fill each vessel about three-quarters full. -
Step 5
Place the filled vessels on a baking sheet and refrigerate loosely covered for at least 4 hours, or preferably overnight, until fully set. -
Step 6
Garnish with fresh berries and mint sprigs before serving chilled.
Important Information
Nutrition Facts (Per Serving)
It is important to consider this information as approximate and not to use it as definitive health advice.
Allergy Information
Please check ingredients for potential allergens and consult a health professional if in doubt.