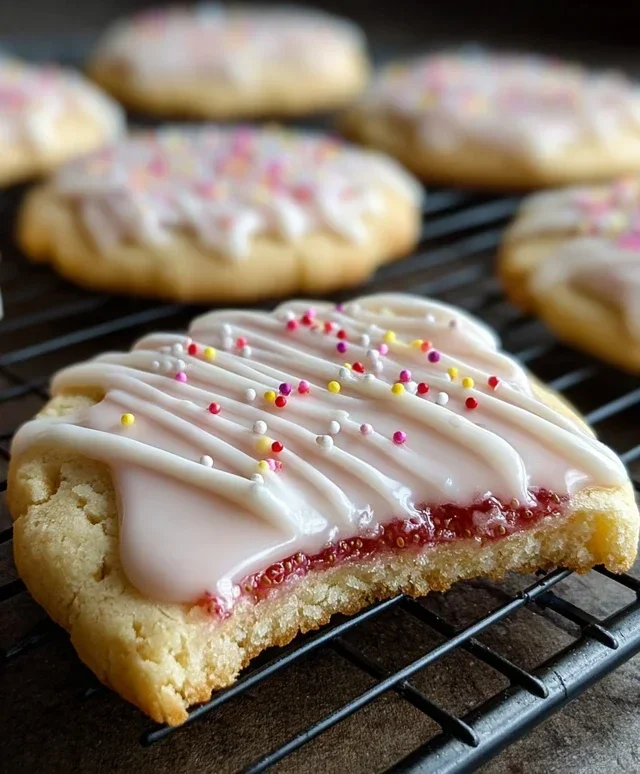
Easy Cherry Turnovers Delicious & Simple Recipe
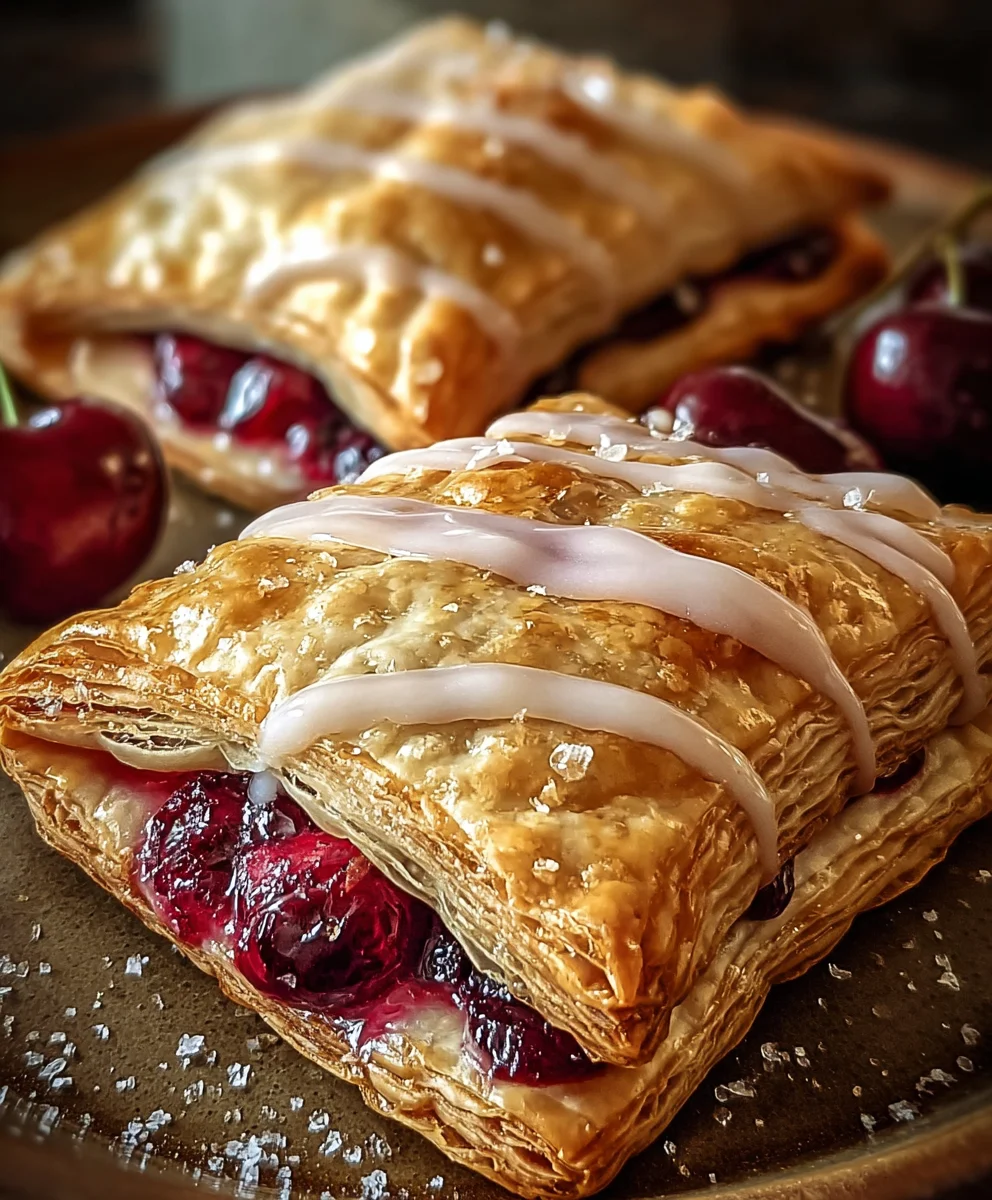
Easy Cherry Turnovers are the quintessential sweet treat that brings smiles to faces and a warm glow to any kitchen. There’s something undeniably comforting about the flaky, golden pastry embracing a burst of sweet and tart cherries. People absolutely adore them because they offer that perfect balance of textures and flavors – the crisp, buttery shell giving way to the luscious, slightly jammy fruit filling. They’re incredibly versatile, making them a fantastic choice for a delightful breakfast, a charming afternoon tea, or a simple yet elegant dessert. What truly sets these Easy Cherry Turnovers apart is their deceptive simplicity. Despite their impressive presentation and gourmet taste, they come together with surprisingly little effort, proving that delicious homemade goodness doesn’t have to be complicated. Get ready to impress yourself and your loved ones with this wonderfully rewarding recipe!
Ingredients:
- 1 package puff pastry (2 sheets), thawed according to package directions
- 1 cup cherry pie filling (this can be homemade or a good quality store-bought variety)
- 1 large egg
- 1 tablespoon milk
- 1 cup powdered sugar
- 1 teaspoon vanilla extract
- 2-3 tablespoons milk (for the glaze)
- Additional powdered sugar for dusting (optional, for a final flourish)
Preparing Your Cherry Turnovers
Step 1: Prepare the Puff Pastry
Begin extract by carefully unfolding your thawed puff pastry sheets onto a lightly floured surface. It’s crucial that the puff pastry is fully thawed but still cold for the best results. Cold butter within the pastry layers will create that signature flakiness when it bakes. Using a sharp knife or a pizza cutter, divide each sheet into two equal rectangles. You should end up with four rectangles in total. Take one of the rectangles and set it aside for now. The remaining three rectangles will be your turnover bases.
Step 2: Add the Cherry Filling
On three of the puff pastry rectangles, you’ll be adding the delicious cherry pie filling. Using a spoon, carefully place about 1/4 cup of cherry pie filling onto one half of each of these three rectangles, leaving a 1/2-inch border around the edges. Try not to overfill, as this can cause the filling to leak out during baking, which is a common pitfall. Ensure the filling is somewhat evenly distributed. If you’re using fresh cherries, make sure they’re pitted and have been cooked down slightly to release some of their juice.
Step 3: Seal and Crimp Your Turnovers
Now it’s time to enclose those delightful cherry fillings. Take the remaining three puff pastry rectangles (the ones without filling) and gently place them on top of the filled halves. Use your fingers to press down the edges around the filling, creating a seal. This is important to keep the delicious cherry goodness contained. Next, use the tines of a fork to firmly crimp the edges of each turnover. This not only looks pretty but also ensures a secure seal, preventing any spills during the baking process.
Step 4: Egg Wash and Venting
For a beautiful golden-brown finish, we need to create an egg wash. In a small bowl, whisk together the large egg and 1 tablespoon of milk until well combined. This mixture will add shine and color to your turnovers. Using a pastry brush, gently brush the tops of each crimped turnover with the egg wash. Don’t forget to brush the sides too! Now, it’s essential to create some vents. With a sharp knife, make two or three small slits on the top of each turnover. This allows steam to escape during baking, preventing the pastry from puffing up unevenly or bursting.
Step 5: Baking to Golden Perfection
Preheat your oven to 400°F (200°C). Carefully transfer your prepared turnovers onto a baking sheet lined with parchment paper. This prevents sticking and makes cleanup a breeze. Place the baking sheet into the preheated oven and bake for approximately 18-20 minutes, or until the puff pastry is beautifully golden brown and puffed up. Keep an eye on them as ovens can vary. You want them to be deeply golden, indicating they are fully cooked and delightfully flaky. Once baked, remove them from the oven and let them cool on the baking sheet for a few minutes before transferring them to a wire rack to cool further.
Glazing and Finishing Touches
Step 6: Creating the Vanilla Glaze
While your turnovers are cooling, let’s prepare a simple and sweet vanilla glaze to complement the cherry flavor. In a medium bowl, combine the 1 cup of powdered sugar with the 1 teaspoon of vanilla extract. Gradually add the 2-3 tablespoons of milk, starting with 2 tablespoons, and whisk until you achieve a smooth, drizzly consistency. You’re looking for a glaze that’s thick enough to coat the turnovers but thin enough to pour or drizzle easily. If it’s too thick, add another teaspoon of milk at a time. If it’s too thin, add a little more powdered sugar.
Step 7: Glazing and Serving
Once your easy cherry turnovers have cooled to a warm or room temperature, it’s time for the final decorative touch. You can either dip the tops of the turnovers into the glaze, or more commonly and neatly, use a spoon or a piping bag to drizzle the glaze over the tops of each turnover. Let the glaze set slightly. For an extra touch of elegance or if you love powdered sugar, you can lightly dust the finished turnovers with a little more powdered sugar before serving. These delightful pastries are best enjoyed fresh, whether served warm or at room temperature. They make a perfect treat for breakfast, brunch, or as an after-dinner dessert.
Conclusion:
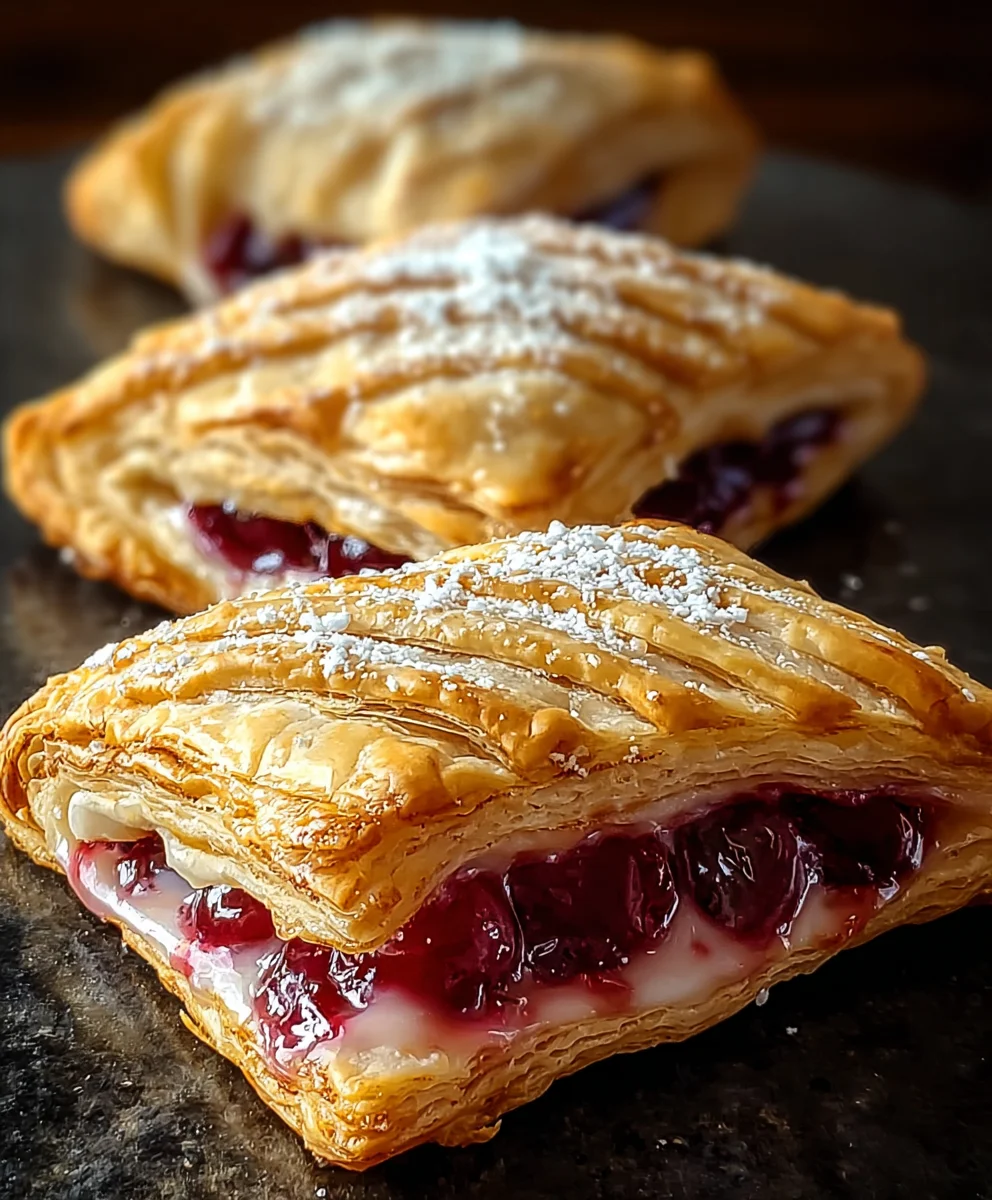
There you have it! These Easy Cherry Turnovers are a delightful treat that proves you don’t need to be a pastry chef to create something truly special. The sweet and tart cherry filling encased in flaky, golden pastry is simply irresistible. Whether you’re looking for a charming dessert for a special occasion or a comforting sweet to enjoy with your afternoon tea, these turnovers are sure to impress. Serve them warm with a dusting of powdered sugar, a dollop of whipped cream, or a scoop of vanilla ice cream for an extra layer of indulgence. Don’t be afraid to get creative! You can experiment with different spices like cinnamon or nutmeg in the filling, or even add a touch of almond extract for a different flavor profile. Making Easy Cherry Turnovers is a wonderfully rewarding baking experience, and I encourage you to give them a try. You’ll be amazed at how quickly they disappear!
Frequently Asked Questions:
Can I use fresh cherries instead of frozen?
Absolutely! If you’re using fresh cherries, make sure to pit them and then follow the recipe instructions. You might need to adjust the cooking time slightly as fresh cherries can release more liquid.
How should I store leftover Easy Cherry Turnovers?
Once cooled, store any leftover Easy Cherry Turnovers in an airtight container at room temperature for up to 2 days. For longer storage, you can refrigerate them, though the pastry might lose some of its crispness.
Can I make the dough from scratch?
While this recipe is designed for simplicity using store-bought puff pastry, you can certainly make your own homemade pie dough or puff pastry if you prefer. Just be mindful that this will add significant time and complexity to the recipe.
Easy Cherry Turnovers
Delicious and simple cherry turnovers made with flaky puff pastry and a sweet vanilla glaze.
Ingredients
-
1 package puff pastry (2 sheets), thawed
-
1 cup cherry pie filling
-
1 large egg
-
1 tablespoon milk
-
1 cup powdered sugar
-
1 teaspoon vanilla extract
-
2-3 tablespoons milk (for glaze)
-
Additional powdered sugar for dusting
Instructions
-
Step 1
Unfold thawed puff pastry sheets onto a lightly floured surface. Divide each sheet into two equal rectangles, yielding four rectangles. Set one aside. The remaining three will be bases. -
Step 2
Place about 1/4 cup of cherry pie filling onto one half of each of the three puff pastry rectangles, leaving a 1/2-inch border. Avoid overfilling. -
Step 3
Gently place the remaining three puff pastry rectangles over the filling. Press edges to seal, then crimp with a fork. -
Step 4
Whisk together the egg and 1 tablespoon of milk. Brush the tops and sides of the turnovers with the egg wash. Make two or three small slits on the top of each turnover for venting. -
Step 5
Preheat oven to 400°F (200°C). Bake turnovers on a parchment-lined baking sheet for 18-20 minutes, or until golden brown and puffed. Cool slightly on the baking sheet, then on a wire rack. -
Step 6
While turnovers cool, whisk 1 cup powdered sugar with vanilla extract and 2-3 tablespoons of milk until smooth and drizzly. -
Step 7
Drizzle or dip cooled turnovers in the glaze. Dust with additional powdered sugar if desired. Serve warm or at room temperature.
Important Information
Nutrition Facts (Per Serving)
It is important to consider this information as approximate and not to use it as definitive health advice.
Allergy Information
Please check ingredients for potential allergens and consult a health professional if in doubt.