Budget-Friendly Beef Food Bar Ideas
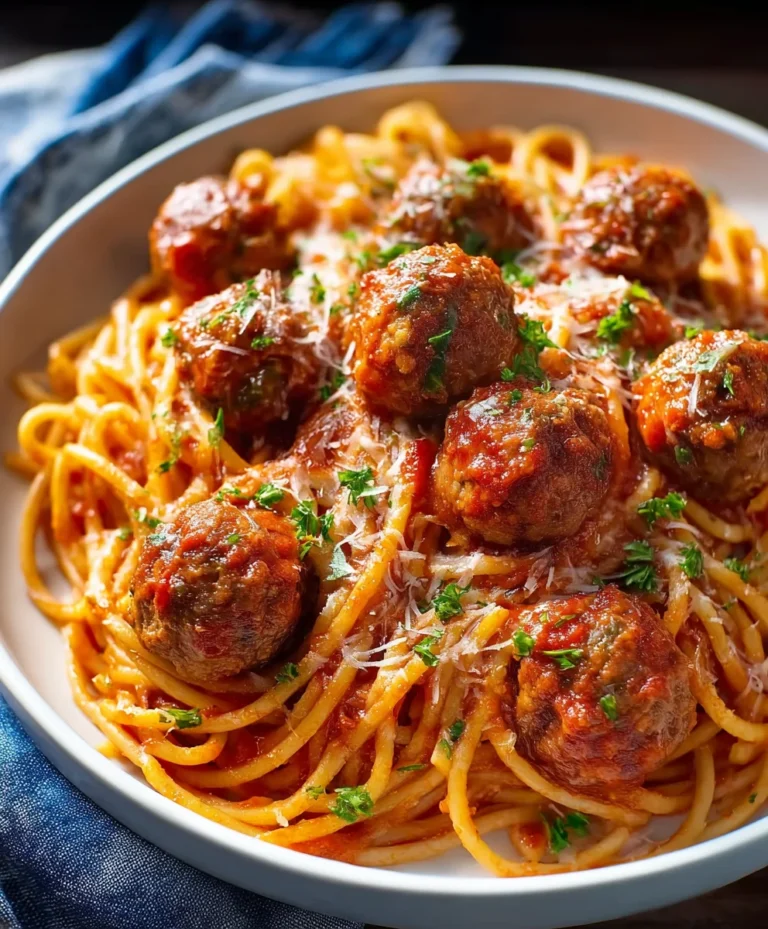
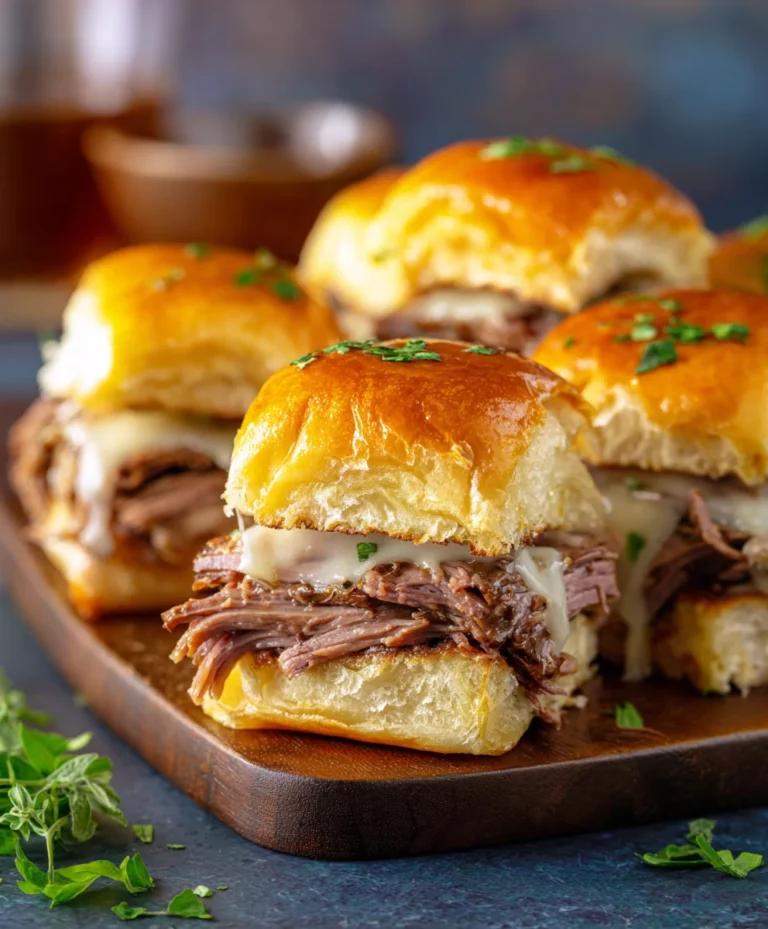
Cheap food bar ideas are your secret weapon for effortless entertaining, whether you’re hosting a casual game night, a birthday bash, or just want to add some fun to a weeknight dinner. Who doesn’t love a spread where everyone can customize their meal to their heart’s content? That’s the magic of a food bar – it’s interactive, budget-friendly, and caters to every taste. People adore them because they eliminate the stress of pleasing a crowd with one single dish. Instead, you’re offering a delicious buffet of options, allowing guests to become their own chefs. What truly makes these cheap food bar ideas so special is their incredible versatility and the inherent joy they bring. They transform a simple meal into an experience, fostering conversation and shared enjoyment without breaking the bank.
Unlocking Delicious Simplicity
Why we adore these affordable feasts
Ingredients:
- 1 pound ground beef (80/20 blend recommended for flavor and moisture)
- 1 large yellow onion, finely chopped
- 2 cloves garlic, minced
- 1 (15 ounce) can kidney beans, rinsed and drained
- 1 (15 ounce) can black beans, rinsed and drained
- 1 (14.5 ounce) can diced tomatoes, undrained
- 1 (8 ounce) can tomato sauce
- 2 tablespoons chili powder
- 1 teaspoon cumin
- 1/2 teaspoon smoked paprika
- 1/4 teaspoon cayenne pepper (or to taste for heat)
- Salt and freshly ground black pepper to taste
- 1 tablespoon vegetable oil
- Optional toppings: Shredded cheddar cheese, sour cream, chopped fresh cilantro, sliced jalapeños, tortilla chips
Cooking Phases
Browning the Beef and Aromatics
- Begin extract by preparing your base. Heat the tablespoon of vegetable oil in a large, heavy-bottomed pot or Dutch oven over medium-high heat. Once the oil is shimmering, add the pound of ground beef. Break up the meat with a spoon and cook, stirring occasionally, until it is thoroughly browned and no pink remains. This usually takes about 6-8 minutes. Don’t rush this step; proper browning develops crucial flavor. Once the beef is cooked, carefully drain off any excess grease. Leaving a little bit of the rendered fat can actually add to the final flavor profile, so aim to drain most but not all of it.
- After draining the fat, add the finely chopped large yellow onion to the pot with the browned beef. Stir and cook for about 5-7 minutes, or until the onion has softened and become translucent. This process of sautéing the onions releases their natural sweetness and creates a wonderful aromatic foundation for the chili. Next, add the minced garlic. Cook for just another minute until fragrant, being careful not to burn the garlic, as burnt garlic can impart a bitter taste to your dish.
Building the Chili Base
- Now it’s time to introduce the heart of our chili. Add the rinsed and drained kidney beans and black beans to the pot. Stir them in with the beef and onion mixture. Pour in the can of diced tomatoes, including their juices. The tomatoes will add both liquid and a delighgin extractl tanginess. Follow this with the can of tomato sauce, which will provide a smooth, rich base for the chili. Give everything a good stir to combine all the ingredients evenly.
- This is where we build the complex flavors that make chili so satisfying. Add the chili powder, cumin, smoked paprika, and cayenne pepper. If you enjoy a spicier chili, feel free to increase the cayenne pepper. For a milder version, you can reduce or omit it. Stir these spices into the mixture thoroughly, ensuring they are well distributed. This allows the spices to bloom and release their full aroma and flavor into the chili as it simmers. Season generously with salt and freshly ground black pepper to taste. Remember, you can always add more salt later, so start with a moderate amount and adjust as needed.
Simmering to Perfection
- Bring the mixture to a simmer over medium heat. Once it’s gently bubbling, reduce the heat to low, cover the pot, and let it simmer for at least 30 minutes. The longer it simmers, the more the flavors will meld and deepen. For an even richer taste, you can let it simmer for an hour or even longer, stirring occasionally to prevent sticking. During this simmering period, the beans will soften further, the tomatoes will break down, and all the spices will infuse the entire pot, creating a wonderfully cohesive and delicious chili. If the chili becomes too thick for your liking during simmering, you can add a splash of water or beef broth to reach your desired consistency.
Serving Your Chili
Once the chili has simmered and the flavors have melded beautifully, it’s ready to serve. Ladle the hot chili into bowls. This is where the fun of a food bar really comes in! Offer a variety of optional toppings that guests can choose from to customize their own bowls. Classic choices include shredded cheddar cheese for a creamy, melty topping, a dollop of cool sour cream to balance the heat, fresh chopped cilantro for a bright herbaceous note, and sliced jalapeños for those who want an extra kick of spice. For a bit of crunch, don’t forget some sturdy tortilla chips for scooping or crum extractbling on top. This chili is hearty enough to be a standalone meal and is perfect for a casual gathering or a comforting weeknight dinner.
Conclusion:
There you have it – a fantastic guide to creating delicious and budget-friendly Cheap Food Bar Ideas! We’ve explored how to build a flavorful and satisfying spread without breaking the bank. Remember, the beauty of a food bar lies in its adaptability and communal spirit. Whether you’re hosting a casual get-together, a family dinner, or even a potluck, these concepts provide a foundation for endless culinary creativity.
I encourage you to get experimental! Don’t be afraid to swap out ingredients based on seasonal availability or your personal preferences. Think about adding a drizzle of your favorite hot sauce, a sprinkle of fresh herbs, or a dollop of a unique condiment to truly personalize your Cheap Food Bar Ideas. Serve these delights alongside simple sides like a fresh green salad or some crusty bread for a complete meal. The possibilities are truly endless, and the joy of sharing these homemade creations will be immense.
Frequently Asked Questions:
What are some easy protein options for a Cheap Food Bar?
Great question! For budget-friendly protein, consider seasoned ground beef or turkey, hard-boiled eggs, canned beans (like black beans or chickpeas) seasoned with spices, or even simple grilled chicken breast cut into bite-sized pieces. Lentils can also be a very economical and versatile protein base for many food bar themes.
Can I make these Cheap Food Bar Ideas ahead of time?
Absolutely! Many components can be prepped in advance. Cooked grains, chopped vegetables, and sauces can often be stored in airtight containers in the refrigerator for a day or two. Reheating is usually simple, allowing you to assemble the food bar with minimal stress on the day of your event.
What are some creative serving vessel ideas that are still budget-friendly?
To keep costs down, think about using large, sturdy bowls, repurposed jars (like cleaned-out mason jars), or even muffin tins for smaller, individual servings. For a more rustic feel, consider using disposable bamboo or palm leaf containers, which are often more eco-friendly and affordable than plastic.
Budget-Friendly Beef Food Bar Ideas
A hearty and flavorful beef chili that serves as the perfect base for a customizable food bar, offering a delicious and economical meal option for any gathering.
Ingredients
-
1 pound ground beef
-
1 large yellow onion, finely chopped
-
2 cloves garlic, minced
-
1 (15 ounce) can kidney beans, rinsed and drained
-
1 (15 ounce) can black beans, rinsed and drained
-
1 (14.5 ounce) can diced tomatoes, undrained
-
1 (8 ounce) can tomato sauce
-
2 tablespoons chili powder
-
1 teaspoon cumin
-
1/2 teaspoon smoked paprika
-
1/4 teaspoon cayenne pepper
-
Salt and freshly ground black pepper to taste
-
1 tablespoon vegetable oil
-
Shredded cheddar cheese
-
Sour cream
-
Chopped fresh cilantro
-
Sliced jalapeños
-
Tortilla chips
Instructions
-
Step 1
Heat vegetable oil in a large pot or Dutch oven over medium-high heat. Add ground beef and cook, breaking it up, until browned. Drain excess grease, leaving a small amount for flavor. -
Step 2
Add chopped onion to the pot and cook until softened and translucent, about 5-7 minutes. Add minced garlic and cook for another minute until fragrant, being careful not to burn. -
Step 3
Stir in rinsed and drained kidney beans and black beans. Pour in diced tomatoes (with juices) and tomato sauce. Stir to combine. -
Step 4
Add chili powder, cumin, smoked paprika, and cayenne pepper. Stir well to distribute spices. Season with salt and freshly ground black pepper to taste. -
Step 5
Bring the mixture to a simmer over medium heat. Reduce heat to low, cover, and simmer for at least 30 minutes, or longer for deeper flavor, stirring occasionally. Add water or broth if chili becomes too thick. -
Step 6
Serve hot chili in bowls and offer a variety of optional toppings like shredded cheddar cheese, sour cream, fresh cilantro, sliced jalapeños, and tortilla chips for a customizable food bar experience.
Important Information
Nutrition Facts (Per Serving)
It is important to consider this information as approximate and not to use it as definitive health advice.
Allergy Information
Please check ingredients for potential allergens and consult a health professional if in doubt.