Easy Buttermilk Bread Recipe – Soft Fluffy Loaf
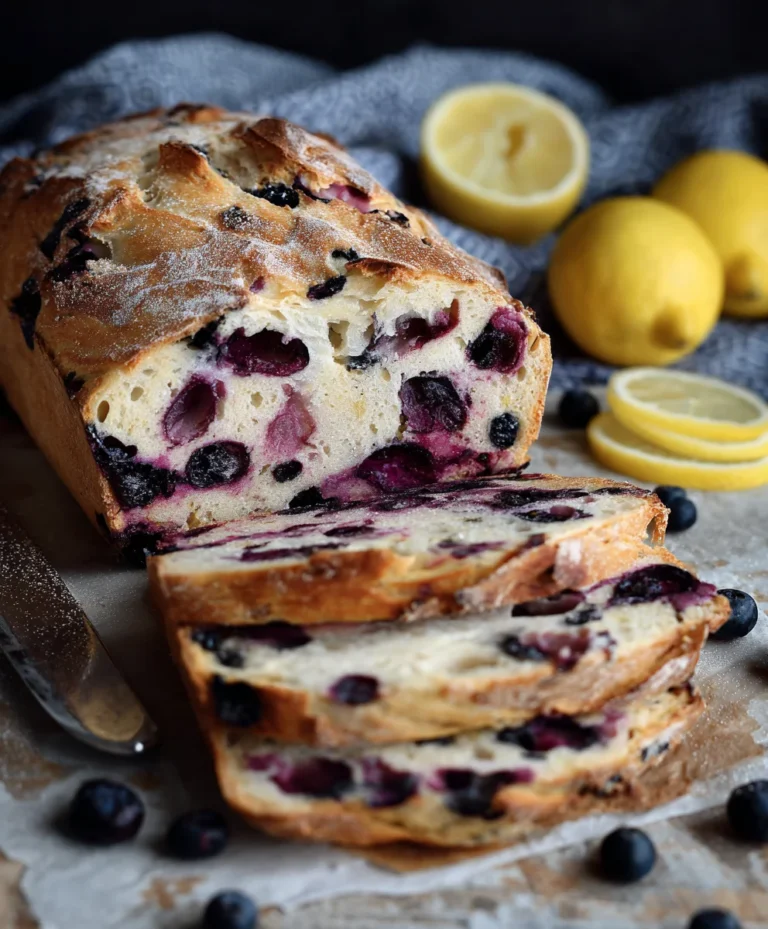
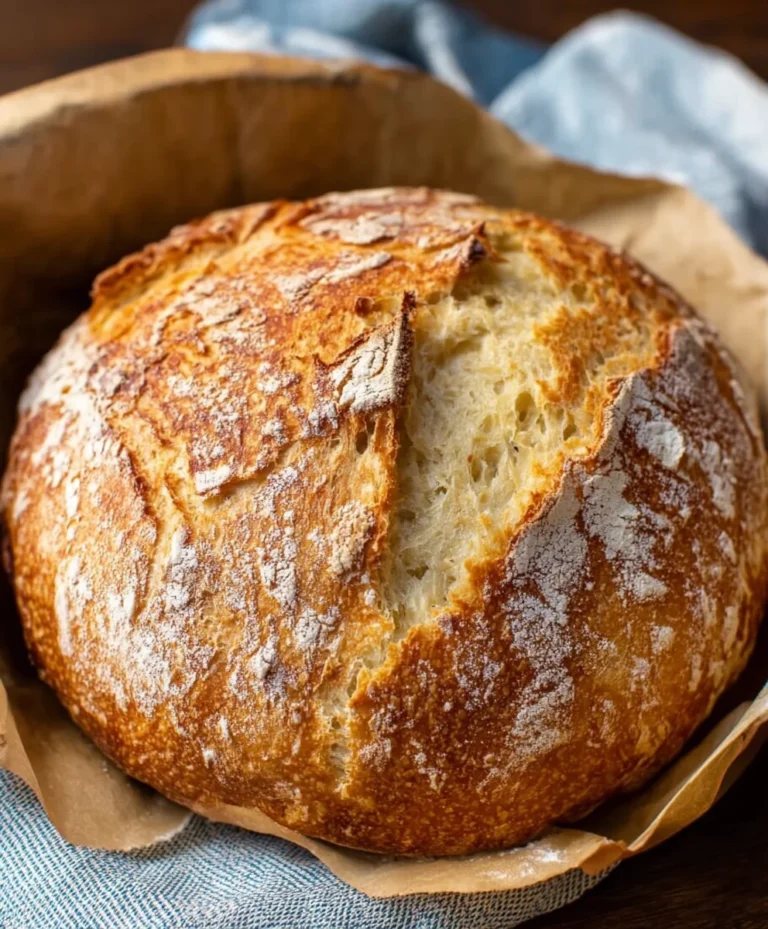
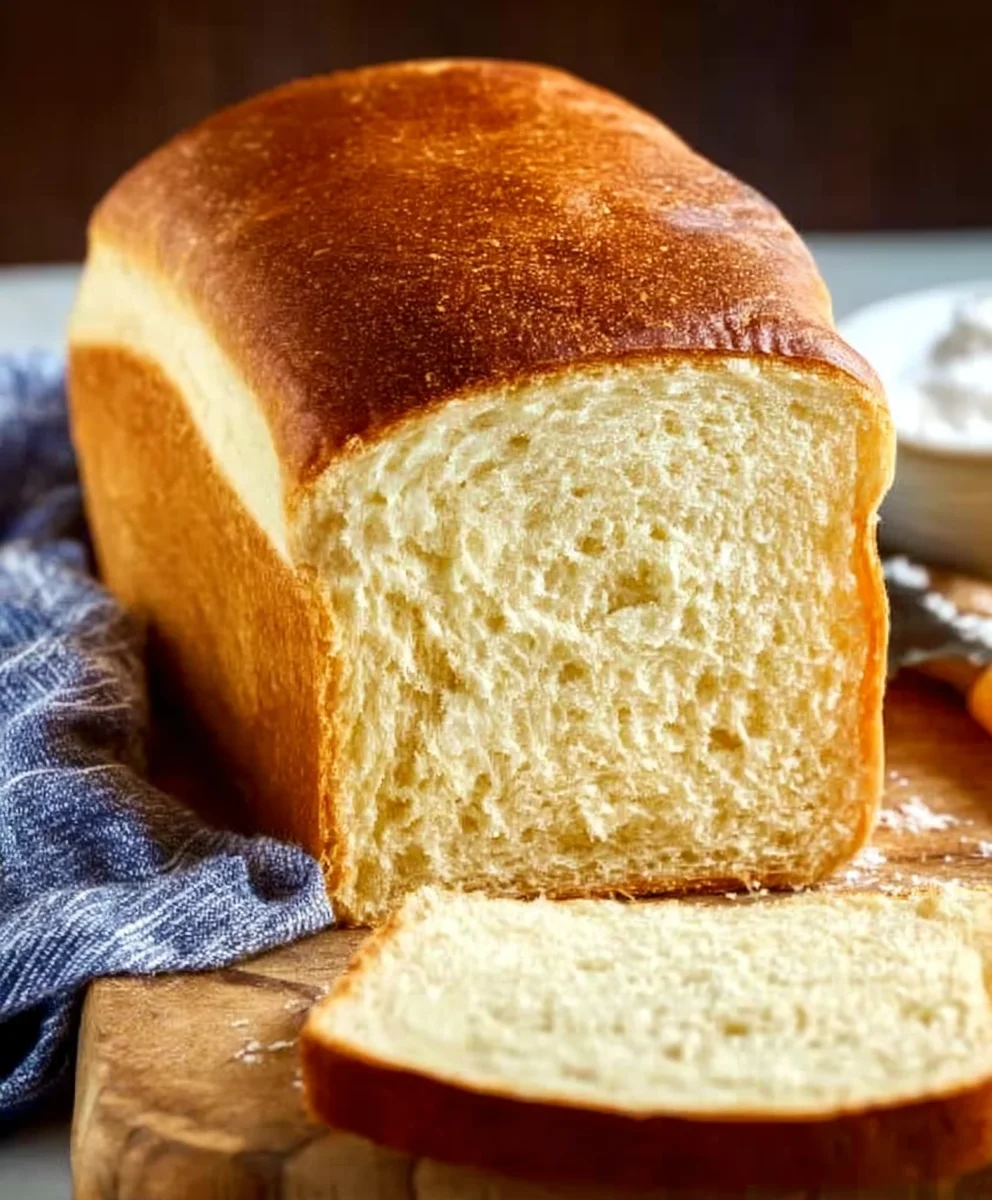
Buttermilk Bread Recipe is a culinary cornerstone, a foundation for so many delicious meals and delightful snacks. There’s a reason this simple loaf holds such a special place in our hearts and kitchens. Its unparalleled tenderness, a result of the magical interaction between buttermilk and flour, is simply irresistible. When you bake a homemade buttermilk bread, the entire house fills with an aroma that promises pure comfort and homemade goodness. People adore it not just for its melt-in-your-mouth texture, but for its subtly tangy flavor that perfectly complements both sweet and savory toppings. What truly makes this buttermilk bread recipe stand out is its versatility; it’s equally at home as the star of your breakfast toast, a sturdy base for sandwiches, or simply enjoyed on its own, slathered with a generous amount of butter. Get ready to unlock the secret to baking the most wonderfully soft and flavorful bread you’ve ever tasted.
Ingredients:
- 1 packet active dry yeast
- 1 pinch ground gin extractger
- 1 teaspoon granulated sugar
- 1/4 cup warm water (105F – 110F)
- 2 cups cultured buttermilk (warm, 105F – 110F)
- 1/3 cup honey
- 1 teaspoon kosher salt (if using table salt, use 3/4 teaspoon)
- 3/4 teaspoon baking soda
- 6 cups bread flour (you may also use all-purpose flour)
- 1/4 cup unsalted butter, melted and cooled to warm to the touch but not hot
Getting Started: Activating the Yeast
The first crucial step in creating a wonderfully tender and flavorful buttermilk bread is to ensure your yeast is alive and ready to work its magic. In a large mixing bowl, or the bowl of your stand mixer fitted with the dough hook attachment, combine the warm water and the granulated sugar. Gently stir to dissolve the sugar. Now, sprinkle the active dry yeast over the surface of this mixture. Avoid stirring at this point. Let it sit undisturbed for about 5 to 10 minutes. You’ll know your yeast is active if it becomes foamy and bubbly, resembling a thick layer of head on a non-alcoholic beer. If it doesn’t foam up, your yeast might be old or the water was too hot or too cold, and you’ll need to start this step again with fresh yeast.
Mixing the Wet Ingredients
Once your yeast is happily proofed, it’s time to incorporate the other liquid components. To the activated yeast mixture, add the warm cultured buttermilk. Buttermilk is fantastic in bread as its acidity reacts with the leavening agents, contributing to a softer crum extractb and a delightful tang. Next, add the honey. Honey not only sweetens the bread but also adds moisture and aids in browning. Finally, pour in the melted and slightly cooled butter. Make sure the butter is warm to the touch, but not so hot that it would kill the yeast. Give this mixture a gentle whisk until everything is well combined.
Incorporating the Dry Ingredients and Kneading
Now, it’s time to bring in the dry ingredients that will form the structure of our bread. To the wet mixture, add the kosher salt and thegin extractound gingegin extractThe pinch of ginger might seem unusual, but it adds a subtle warmth and complexity that complements the buttermilk and hongin extractbeautifully. Next, begin adding the bread flour, one cup at a time, mixing after each addition. You’ll want to reserve about half a cup of flour from the total amount to have on hand for adjusting the dough’s consistency. Once you’ve incorporated about 4 cups of the flour, switch to kneading.
Kneading the Dough
If you are using a stand mixer, continue to knead with the dough hook on medium-low speed for about 8 to 10 minutes. The dough shoulgin extractecome smooth, elastic, and begin to pull away from the sides of the bowl. If you are kneading by hand, turn the douggin extractut onto a lightly floured surface. Begin kneading by folding the dough over on itself and pushing down and away with the heels of your hands. Rotate the dough a quarter turn and repeat. Continue this process, adding small amounts of the reserved flour only as needed to prevent sticking. The dough is ready when it feels smooth and elastic and springs back when you gently poke it. You’re looking for a slightly sticky, but manageable dough. Over-flouring will result in a dry, dense loaf, so err on the side of a slightly stickier dough if you’re unsure.
First Rise and Shaping
Lightly grease a clean bowl with a little oil or cooking spray. Place the kneaded dough into the greased bowl, turning it to coat all sides. Cover the bowl tightly with plastic wrap or a clean kitchen towel. Place the bowl in a warm, draft-free spot to rise. This first rise is crucial for developing flavor and texture. Allow the dough to rise for approximately 1 to 1.5 hours, or until it has doubled in size. Once doubled, gently punch down the dough to release the air. Turn the dough out onto a lightly floured surface. At this stage, you can divide the dough if you want to make two smaller loaves, or shape it into a single large loaf. Gently shape the dough into your desired loaf form, tucking the seams underneath to create a smooth top.
Second Rise and Baking
Prepare your baking pan by greasing it thoroughly or lining it with parchment paper. Carefully place the shaped dough into the prepared pan. Cover the pan loosely with plastic wrap or a clean kitchen towel. Allow the dough to rise for a second time in a warm place for about 45 minutes to 1 hour, or until it has nearly doubled in size and looks beautifully puffy. While the dough is undergoing its second rise, preheat your oven to 375°F (190°C). Once the oven is preheated and the dough has completed its second rise, it’s time to bake. Place the pan in the center of the preheated oven and bake for 30 to 40 minutes. The bread is ready when the crust is golden brown and sounds hollow when you tap the bottom. If the crust is browning too quickly, you can loosely tent it with aluminum foil during the last 10-15 minutes of baking.
Cooling and Enjoying
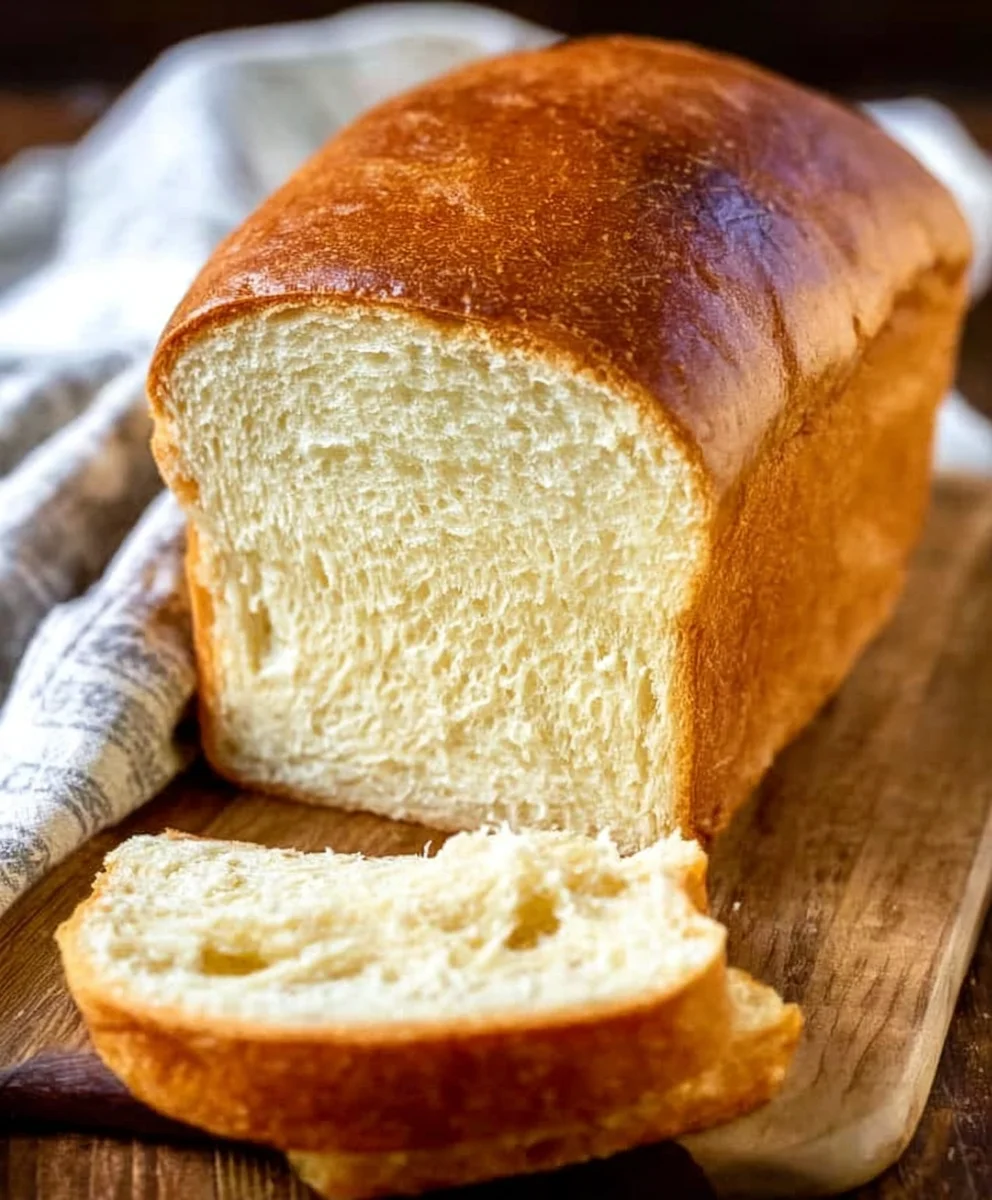
Once baked to perfection, carefully remove the bread from the oven. Immediately turn the loaf out of the pan and place it on a wire cooling rack. This is important to prevent the bottom crust from becoming soggy. Let the buttermilk bread cool completely, for at least an hour, before slicing. This allows the interior structure to set properly. Slicing too early can result in a gummy texture. Once cooled, slice and enjoy the incredibly soft, tender, and flarum extractful crumb of your homemade buttermilk bread. It’s delicious toasted with butter, as a base for sandwiches, or simply enjoyed on its own.
Conclusion:
And there you have it – a foolproof guide to creating the most delightful Buttermilk Bread Recipe! This soft, tender, and slightly tangy loaf is a testament to the magic of simple ingredients combined with a touch of care. We’ve walked through the easy steps, from activating your yeast to achieving that perfect golden crust. Now, it’s your turn to bring this wonderful aroma into your own kitchen. Whether you’re a seasoned baker or just starting out, this Buttermilk Bread Recipe is sure to become a staple. Enjoy it warm, fresh from the oven, slathered with butter, or as the foundation for your favorite sandwiches. Don’t be afraid to experiment and make it your own!
Frequently Asked Questions about Buttermilk Bread:
What can I serve with this Buttermilk Bread?
This Buttermilk Bread Recipe is incredibly versatile! It’s fantastic toasted and served with breakfast alongside eggs or jam. It also makes a superb base for hearty soups, stews, or chili. Of course, it’s a star in any sandwich, from classic grilled cheese to deli-style creations. For a sweet treat, try it with a drizzle of honey or maple syrup.
Can I make variations of this Buttermilk Bread Recipe?
Absolutely! For a savory twist, consider adding herbs like rosemary or chives to the dough, or a sprinkle of cheese on top before baking. You could also incorporate seeds like poppy or sesame for added texture and flavor. For a slightly sweeter loaf, a touch of sugar can be added, or a swirl of cinnamon and sugar through the dough.
My bread didn’t rise as much as I expected. What could have gone wrong?
Several factors can affect bread rise. Ensure your yeast was fresh and properly activated. The liquid (buttermilk) should be lukewarm, not too hot or too cold. Also, make sure you allowed adequate time for both the first and second rises in a warm, draft-free environment. Over-kneading or under-kneading can also impact the texture and rise.
Easy Buttermilk Bread Recipe – Soft Fluffy Loaf
A simple recipe for a soft and fluffy loaf of buttermilk bread, perfect for toasting or sandwiches.
Ingredients
-
1 packet active dry yeast
-
1 pinch ground ginger
-
1 teaspoon granulated sugar
-
1/4 cup warm water (105F – 110F)
-
2 cups cultured buttermilk (warm, 105F – 110F)
-
1/3 cup honey
-
1 teaspoon kosher salt
-
3/4 teaspoon baking soda
-
6 cups bread flour
-
1/4 cup unsalted butter, melted and cooled
Instructions
-
Step 1
In a large mixing bowl, combine warm water and granulated sugar. Sprinkle yeast over the top and let sit undisturbed for 5-10 minutes until foamy. -
Step 2
To the activated yeast mixture, add warm cultured buttermilk, honey, and melted butter. Whisk until well combined. -
Step 3
Add kosher salt and ground ginger to the wet ingredients. Gradually add bread flour, one cup at a time, mixing after each addition. Reserve about 1/2 cup of flour. Once about 4 cups of flour are incorporated, switch to kneading. -
Step 4
Knead the dough (with a stand mixer or by hand) for 8-10 minutes until smooth, elastic, and pulling away from the sides of the bowl. Add reserved flour sparingly if needed to prevent sticking. The dough should be slightly sticky but manageable. -
Step 5
Place the kneaded dough in a lightly greased bowl, cover, and let rise in a warm, draft-free spot for 1-1.5 hours, or until doubled in size. Gently punch down the dough. -
Step 6
Shape the dough into your desired loaf form and place in a prepared baking pan. Cover loosely and let rise for a second time for 45 minutes to 1 hour, until nearly doubled and puffy. -
Step 7
Preheat oven to 375°F (190°C). Bake the loaf for 30-40 minutes, or until the crust is golden brown and sounds hollow when tapped. Tent with foil if browning too quickly. -
Step 8
Remove the bread from the oven and immediately turn it out onto a wire cooling rack. Let cool completely for at least an hour before slicing.
Important Information
Nutrition Facts (Per Serving)
It is important to consider this information as approximate and not to use it as definitive health advice.
Allergy Information
Please check ingredients for potential allergens and consult a health professional if in doubt.