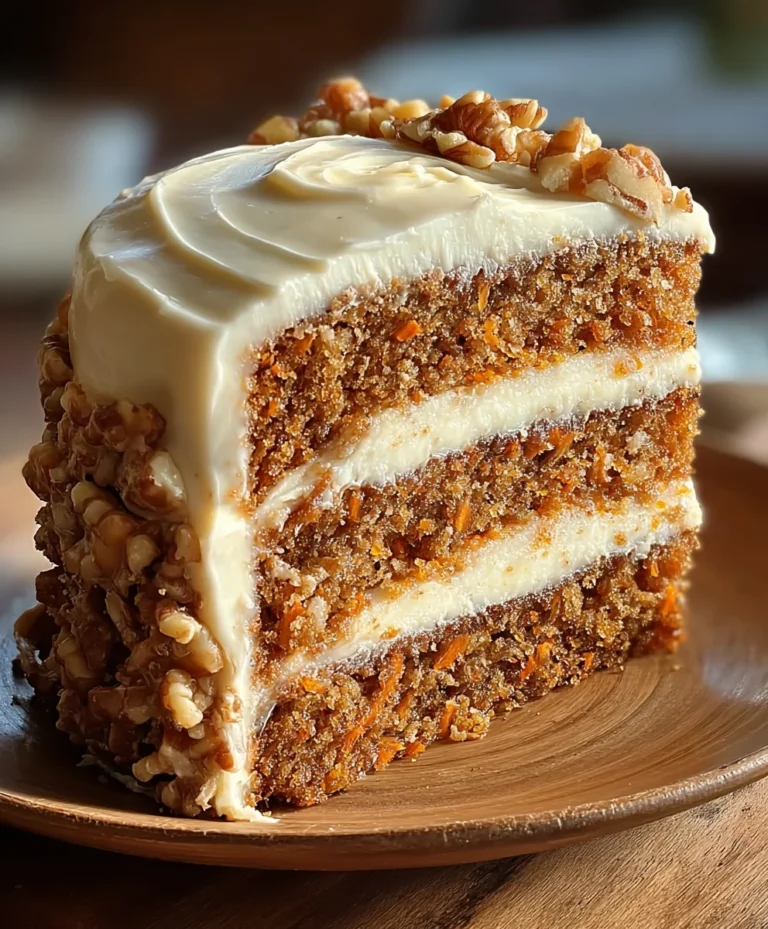
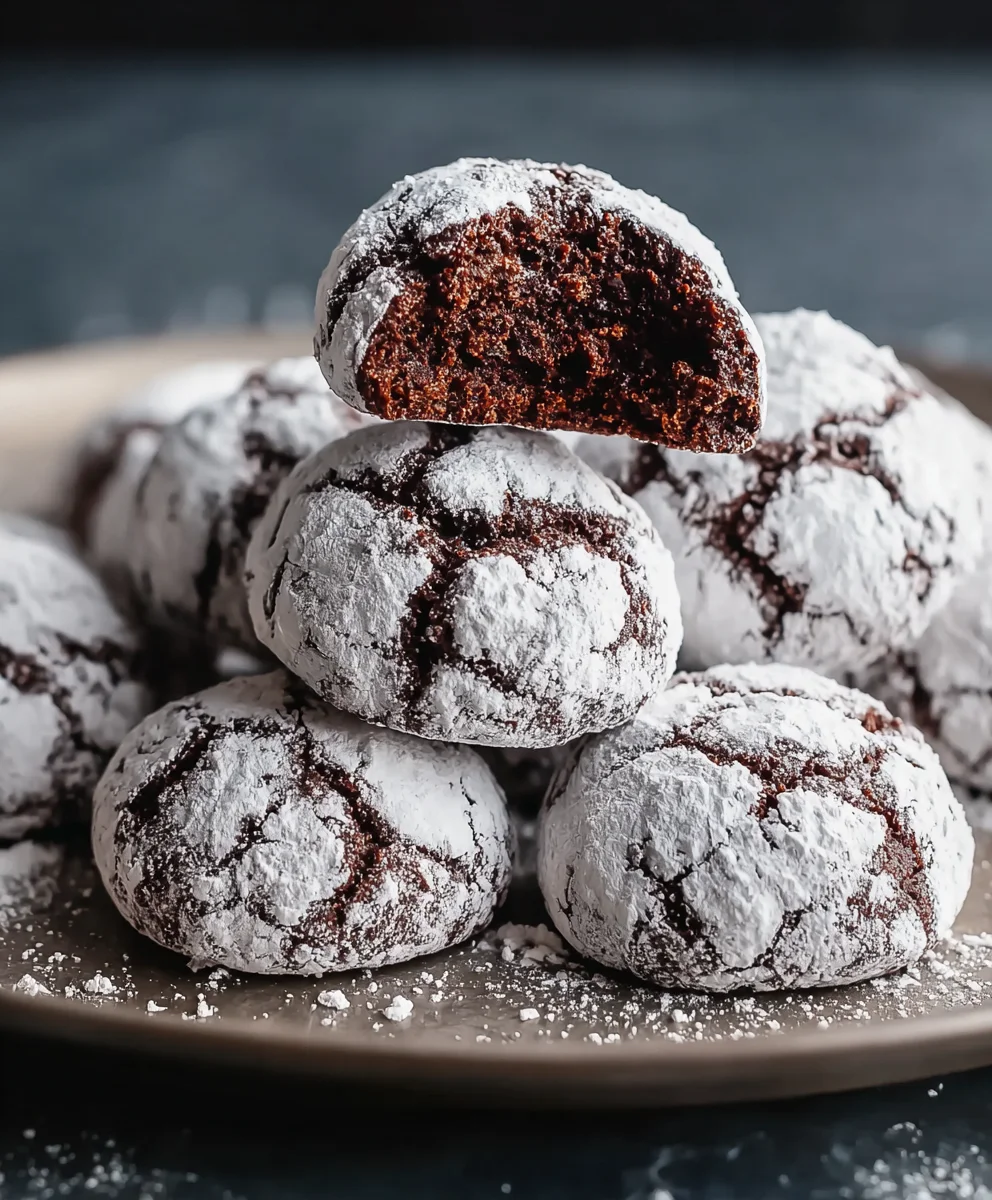
Easy Chocolate Snowball Cookies – Melt-in-Your-Mouth Delight
Chocolate Snowball Cookies are more than just a festive treat; they’re a whisper of childhood wonder, a melt-in-your-mouth moment of pure bliss that instantly transports you to cozy kitchens and crackling fireplaces. If you’ve ever indulged in the delicate, powdery sweetness of these iconic delights, you know exactly what I’m talking about. There’s a certain magic in their simple elegance, a promise of rich cocoa flavor enveloped in a soft, crum extractbly embrace. What truly sets these Chocolate Snowball Cookies apart is their unique texture – a perfect balance between tender shortbread and a delightful, almost ethereal, dusting of powdered sugar that coats your fingers and your soul. They’re surprisingly easy to whip up, making them a fantastic option for holiday baking marathons or simply when a craving for something utterly delicious strikes. Get ready to create your own batch of joy!
Ingredients:
- 1 cup (2 sticks) unsalted butter, softened
- 1/2 cup powdered sugar, plus extra for rolling
- 1 teaspoon vanilla extract
- 1 3/4 cups all-purpose flour
- 1/4 cup unsweetened cocoa powder
- 1/2 teaspoon salt
- 1 cup finely chopped pecans or walnuts (optional)
- 1/2 cup mini chocolate chips (optional)
Preparing the Dough
This is where the magic begin extracts to create our delightful Chocolate Snowball Cookies. The key to a tender and crum extractbly cookie is ensuring your butter is properly softened. You want it yielding to the touch, but not melted. This allows it to cream beautifully with the sugar, creating the essential airy texture.
First, in a large mixing bowl, cream together the 1 cup of softened unsalted butter and the 1/2 cup of powdered sugar. Use an electric mixer on medium speed, or a sturdy whisk and some elbow grease, to beat them until the mixture is light and fluffy. This process usually takes about 3-5 minutes with an electric mixer. Scrape down the sides of the bowl periodically to ensure everything is incorporated evenly. Next, add the 1 teaspoon of vanilla extract to the creamed butter and sugar mixture. Beat again until the vanilla is fully blended, which will infuse a wonderful aroma and subtle flavor into our cookies.
Now, in a separate medium bowl, whisk together the dry ingredients: 1 3/4 cups of all-purpose flour, 1/4 cup of unsweetened cocoa powder, and 1/2 teaspoon of salt. Whisking these together ensures the cocoa powder and salt are evenly distributed throughout the flour, preventing pockets of bitterness or saltiness in your finished cookies. Gradually add this dry mixture to the wet ingredients in the large mixing bowl, mixing on low speed until just combined. Be careful not to overmix at this stage, as overmixing can develop the gluten in the flour too much, leading to tougher cookies.
Adding the Extras and Chilling
This step is all about adding those delightful textural and flavor enhancements, and then giving the dough time to rest. If you’re opting for the nuts and chocolate chips, now is the time to incorporate them. Gently fold in the 1 cup of finely chopped pecans or walnuts, if using. These will provide a lovely crunch and nutty depth to the cookies. Then, fold in the 1/2 cup of mini chocolate chips, if you desire an extra burst of chocolatey goodness. Ensure they are distributed evenly throughout the dough.
Once all ingredients are combined, cover the bowl tightly with plastic wrap. It’s crucial to chill the dough in the refrigerator for at least 30 minutes. This chilling period is vital for a few reasons. Firstly, it solidifies the butter, which will make the dough easier to handle and prevent the cookies from spreading too much during baking. Secondly, it allows the flavors to meld and develop, resulting in a more complex and satisfying cookie. You can chill the dough for up to 2-3 days if you want to prepare it in advance.
Shaping the Snowballs
This is the fun part where we transform our chilled dough into the signature snowball shape! Preheat your oven to 350°F (175°C). Line baking sheets with parchment paper. This not only prevents sticking but also makes for easy cleanup.
Retrieve the chilled dough from the refrigerator. Using a small cookie scoop or a tablespoon, scoop out portions of dough. Roll each portion between your palms to form small, compact balls, roughly 1-inch in diameter. Aim for consistency in size so that your cookies bake evenly. As you roll the balls, you’ll notice the dough is firm but pliable thanks to the chilling. Place the rolled balls onto the prepared baking sheets, leaving about 2 inches of space between each cookie to allow for slight expansion.
Baking to Perfection
Now, it’s time to bake our Chocolate Snowball Cookies and fill your kitchen with an irresistible aroma. Carefully place the baking sheets into the preheated oven. Bake for approximately 10-12 minutes. The cookies are done when the edges are set and they appear slightly puffed. It’s important not to overbake them, as they will continue to firm up as they cool. You want them to remain tender in the center, which is characteristic of a true snowball cookie.
Watch them closely, as oven temperatures can vary. If you’re baking a larger batch, you might want to rotate the baking sheets halfway through the baking time to ensure even cooking across all cookies.
Finishing Touches and Cooling
Once the cookies have baked to perfection, remove the baking sheets from the oven. Let the cookies cool on the baking sheets for about 5 minutes. This brief cooling period allows them to set up a bit more before you attempt to move them.
While the cookies are still warm, but firm enough to handle, gently roll them in the extra powdered sugar. You can do this in a shallow bowl or a clean paper bag. Roll them generously until they are completely coated, resembling delicate snowballs. This final dusting of powdered sugar is what gives them their signature name and appearance. After rolling, transfer the cookies to a wire rack to cool completely. This ensures they achieve the perfect tender and slightly crisp texture. Once completely cool, they are ready to be enjoyed!

Conclusion:
And there you have it – your guide to creating the perfect batch of Chocolate Snowball Cookies! These delightful little treats are sure to become a favorite, with their tender crum extractb and rich chocolate flavor, all coated in a snowy dusting of powdered sugar. They’re not just a cookie; they’re a hug in edible form, perfect for sharing or savoring all to yourself. I hope you’ve enjoyed this recipe and feel inspired to whip up a batch for your next gathering, holiday, or simply as a delightful afternoon pick-me-up. The simplicity of these cookies belies their incredible taste, making them a truly rewarding baking experience. Don’t be afraid to experiment with the variations I’ve suggested – they offer fantastic ways to personalize this classic recipe even further!
Frequently Asked Questions:
Why are my Chocolate Snowball Crum extracties crumbly?
If your Chocolate Snowball Cookies are too crumbly, it often means the dough was overworked or there wasn’t enough moisture. Ensure you’re not overmixing the dough after adding the flour. Also, make sure your butter is softened but not melted, as this helps create the right texture. Chill the dough adequately before baking, as this also preventrum extractxcess spreading and crumbling.
Can I make Chocolate Snowball Cookies ahead of time?
Absolutely! Chocolate Snowball Cookies are fantastic for making ahead. You can bake them completely, let them cool, and then store them in an airtight container at room temperature for up to a week. They actually tend to get even more delicious as the flavors meld together. For longer storage, you can freeze the baked and cooled cookies for up to 3 months.
What other coatings can I use instead of powdered sugar?
While the classic powdered sugar coating is iconic for Chocolate Snowball Cookies, feel free to get creative! You could try a light dusting of cocoa powder mixed with a little powdered sugar for an intensified chocolate flavor, or even a sprinkle of finely chopped toasted nuts like pecans or walnuts after they’ve been coated in sugar. Some people also enjoy a drizzle of white chocolate over the cooled cookies.
Easy Chocolate Snowball Cookies – Melt-in-Your-Mouth Delight
Delightful chocolate snowball cookies that are tender, melt-in-your-mouth delicious, and coated in a snowy layer of powdered sugar.
Ingredients
-
1 cup (2 sticks) unsalted butter, softened
-
1/2 cup powdered sugar, plus extra for rolling
-
1 teaspoon vanilla extract
-
1 3/4 cups all-purpose flour
-
1/4 cup unsweetened cocoa powder
-
1/2 teaspoon salt
-
1 cup finely chopped pecans or walnuts (optional)
-
1/2 cup mini chocolate chips (optional)
Instructions
-
Step 1
In a large mixing bowl, cream together the softened unsalted butter and powdered sugar until light and fluffy. Beat in the vanilla extract until fully blended. -
Step 2
In a separate bowl, whisk together the flour, cocoa powder, and salt. Gradually add the dry ingredients to the wet ingredients, mixing on low speed until just combined. Do not overmix. -
Step 3
Gently fold in the chopped nuts and mini chocolate chips, if using. Cover the bowl tightly and chill the dough in the refrigerator for at least 30 minutes. -
Step 4
Preheat your oven to 350°F (175°C). Line baking sheets with parchment paper. Scoop out portions of dough and roll them into 1-inch balls. Place the balls onto the prepared baking sheets, leaving 2 inches between cookies. -
Step 5
Bake for 10-12 minutes, or until the edges are set and the cookies appear slightly puffed. Do not overbake. -
Step 6
Let the cookies cool on the baking sheets for about 5 minutes. While still warm, gently roll them in extra powdered sugar until completely coated. Transfer to a wire rack to cool completely.
Important Information
Nutrition Facts (Per Serving)
It is important to consider this information as approximate and not to use it as definitive health advice.
Allergy Information
Please check ingredients for potential allergens and consult a health professional if in doubt.