Quick & Easy One Hour French Bread – Delicious Homemade Loaf
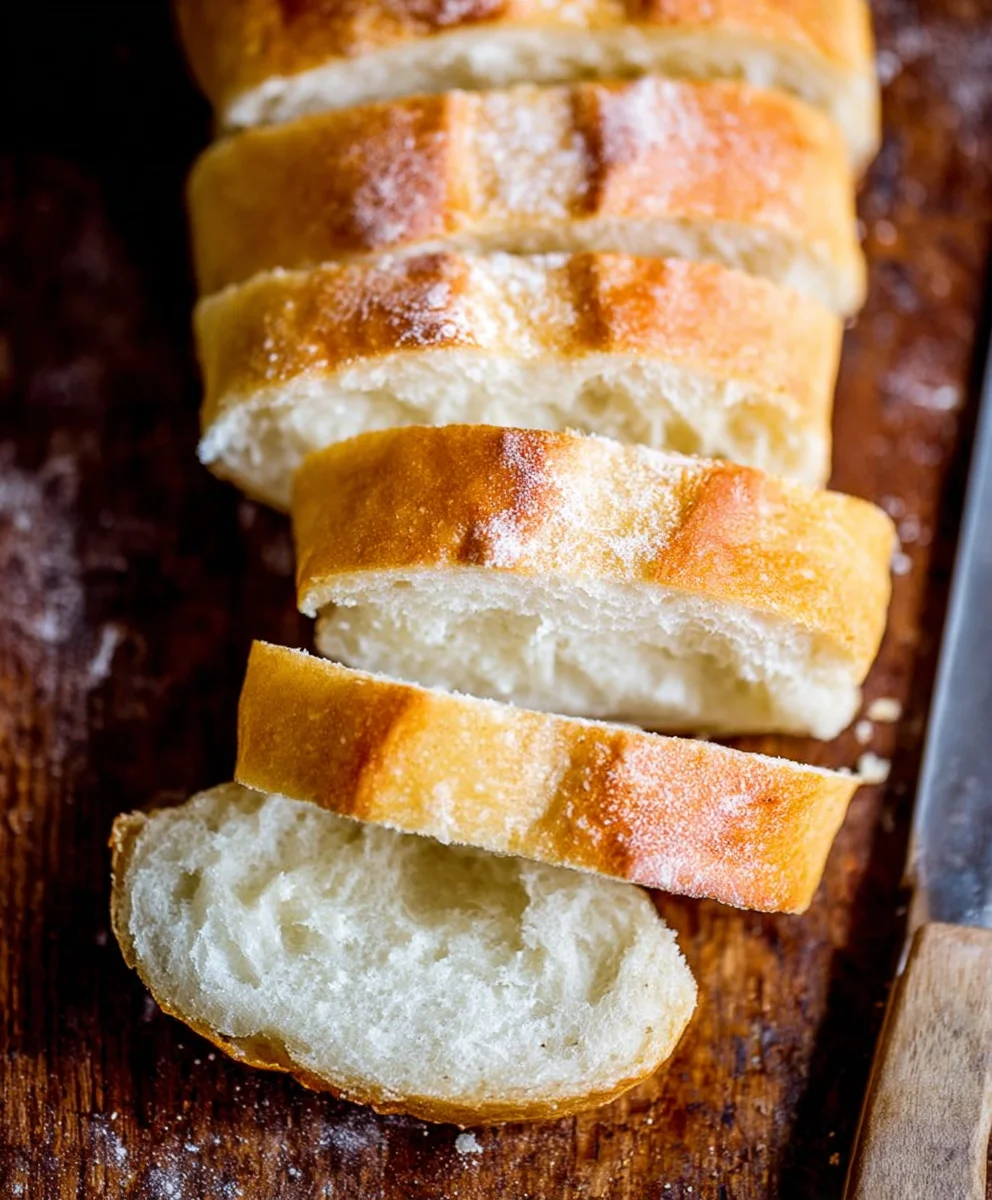
One Hour French Bread Recipe – ever found yourself craving that perfectly crusty, gloriously airy loaf of French bread, but balked at the idea of hours of rising and proving? I know the feeling! The allure of that golden crust, the satisfying crackle as you slice into it, and that soft, pillowy interior is simply irresistible. It’s no wonder this classic is beloved worldwide. But what if I told you that you can achieve that authentic, bakery-quality French bread experience in a fraction of the time? This One Hour French Bread Recipe is a game-changer. It harnesses a few clever techniques to drastically shorten the process without sacrificing an ounce of flavor or texture. Get ready to impress yourself and anyone lucky enough to share this masterpiece with you. This isn’t just bread; it’s a testament to how efficiently we can create something truly special in our own kitchens.
Ingredients:
- 1 & 1/2 cups warm water
- 1 tablespoon white sugar
- 1 & 1/2 tablespoons dry yeast
- 1 & 1/2 teaspoons salt
- 1 & 1/2 tablespoons butter (softened)
- 3-4 cups all purpose flour (spooned and leveled)
- 1 egg white (optional, for brushing)
Preparing the Dough
Let’s get started on this wonderfully simple and quick One Hour French Bread Recipe! The key to this recipe is activating the yeast properly and developing a good dough. First, gather all your ingredients. Measure out your warm water. It should feel comfortably warm to the touch, not hot, which could kill the yeast, and not too cool, which might slow down its activity. Think of it as lukewarm bathwater for the yeast – around 105-115°F (40-46°C).
In a large mixing bowl (or the bowl of your stand mixer), combine the warm water and the tablespoon of white sugar. Give it a gentle stir to dissolve the sugar. Now, sprinkle the 1 & 1/2 tablespoons of dry yeast over the water and sugar mixture. Don’t stir it vigorously at this stage. Just let it sit for about 5-10 minutes. You’ll know the yeast is alive and active when it becomes foamy and bubbly on the surface. This is often referred to as “blooming” the yeast. If you don’t see any foam after 10 minutes, your yeast might be old or inactive, and you’ll need to start again with fresh yeast.
Once your yeast has bloomed, it’s time to add the other wet ingredients and flavorings. Add the 1 & 1/2 teaspoons of salt and the 1 & 1/2 tablespoons of softened butter to the yeast mixture. The butter adds a touch of richness and tenderness to the bread. If your butter isn’t quite softened, you can cut it into smaller pieces to help it melt more easily into the warm liquid. Stir this mixture gently to combine everything.
Forming and Kneading the Dough
Now comes the flour. Gradually add the all-purpose flour, starting with 3 cups. If you’re using a stand mixer, attach the dough hook and mix on low speed until a shaggy dough begin extracts to form. If you’re mixing by hand, stir with a wooden spoon or spatula until the ingredients just come together. At this point, the dough will likely be sticky. This is perfectly normal for a high-hydration dough that will yield a wonderfully airy crum extractb.
Continue adding flour, about 1/4 cup at a time, mixing after each addition, until the dough starts to pull away from the sides of the bowl. You’re aiming for a dough that is still slightly sticky but manageable. The exact amount of flour can vary depending on humidity and the specific type of flour you’re using, so it’s important to add it gradually. Once the dough has reached a workable consistency, it’s time to knead. If you’re using a stand mixer, increase the speed to medium-low and knead for about 5-7 minutes, or until the dough is smooth and elastic. It should spring back when you gently poke it with your finger. If kneading by hand, turn the dough out onto a lightly floured surface. Knead by pushing the dough away from you with the heels of your hands, then folding it over on itself and repeating. This process should take about 8-10 minutes. The goal is to develop the gluten, which gives bread its structure and chew.
Rising and Shaping the Bread
Once your dough is smooth and elastic, lightly grease a clean bowl with a little oil or cooking spray. Place the kneaded dough into the greased bowl, turning it once to coat the entire surface. Cover the bowl tightly with plastic wrap or a clean kitchen towel. Place the bowl in a warm, draft-free spot to rise. For this One Hour French Bread Recipe, we’re aiming for a quick rise. This usually takes about 30-45 minutes, or until the dough has doubled in size. A good place to let it rise is in a slightly warm oven (turned off, but preheated for a few minutes and then cooled slightly) or near a sunny window.
While the dough is rising, preheat your oven to 400°F (200°C). You might also want to prepare a baking sheet by lining it with parchment paper or lightly dusting it with cornmeal. Once the dough has doubled, gently punch it down to release the air. Turn the dough out onto a lightly floured surface and divide it into two equal portions. You can shape these into traditional French baguettes or simpler, shorter loaves. For baguettes, gently pat each portion into a rectangle, then roll it up tightly from one of the long edges, pinching the seam to seal. Gently taper the ends and place the loaves seam-side down on your prepared baking sheet. If you prefer simpler loaves, you can just shape them into rounds or oval shapes.
Baking the French Bread
Before the bread goes into the oven, you have the option to brush it with an egg white. In a small bowl, whisk together the optional egg white with a tablespoon of water. This creates an egg wash that will give your French bread a beautiful, golden-brown, and slightly shiny crust. Using a pastry brush, lightly brush the tops of the shaped loaves with the egg wash. This step is purely for aesthetics but adds a professional touch. You can also score the tops of the loaves with a sharp knife or a lame; this allows steam to escape during baking and creates those classic bread slashes.
For an extra crispy crust, some bakers like to create steam in the oven. You can do this by placing a shallow pan (like a broiler pan or an old metal baking pan) on the bottom rack of your oven during preheating. Just before you put the bread in, carefully pour about a cup of hot water into the hot pan. This will create steam. Carefully place your baking sheet with the bread into the oven. Bake for 20-25 minutes, or until the loaves are golden brown and sound hollow when tapped on the bottom. The internal temperature should reach around 200-210°F (93-99°C). Once baked, remove the bread from the oven and let it cool on a wire rack for at least 15 minutes before slicing. This cooling period is crucial for the internal structure of the bread to set properly.
Conclusion:
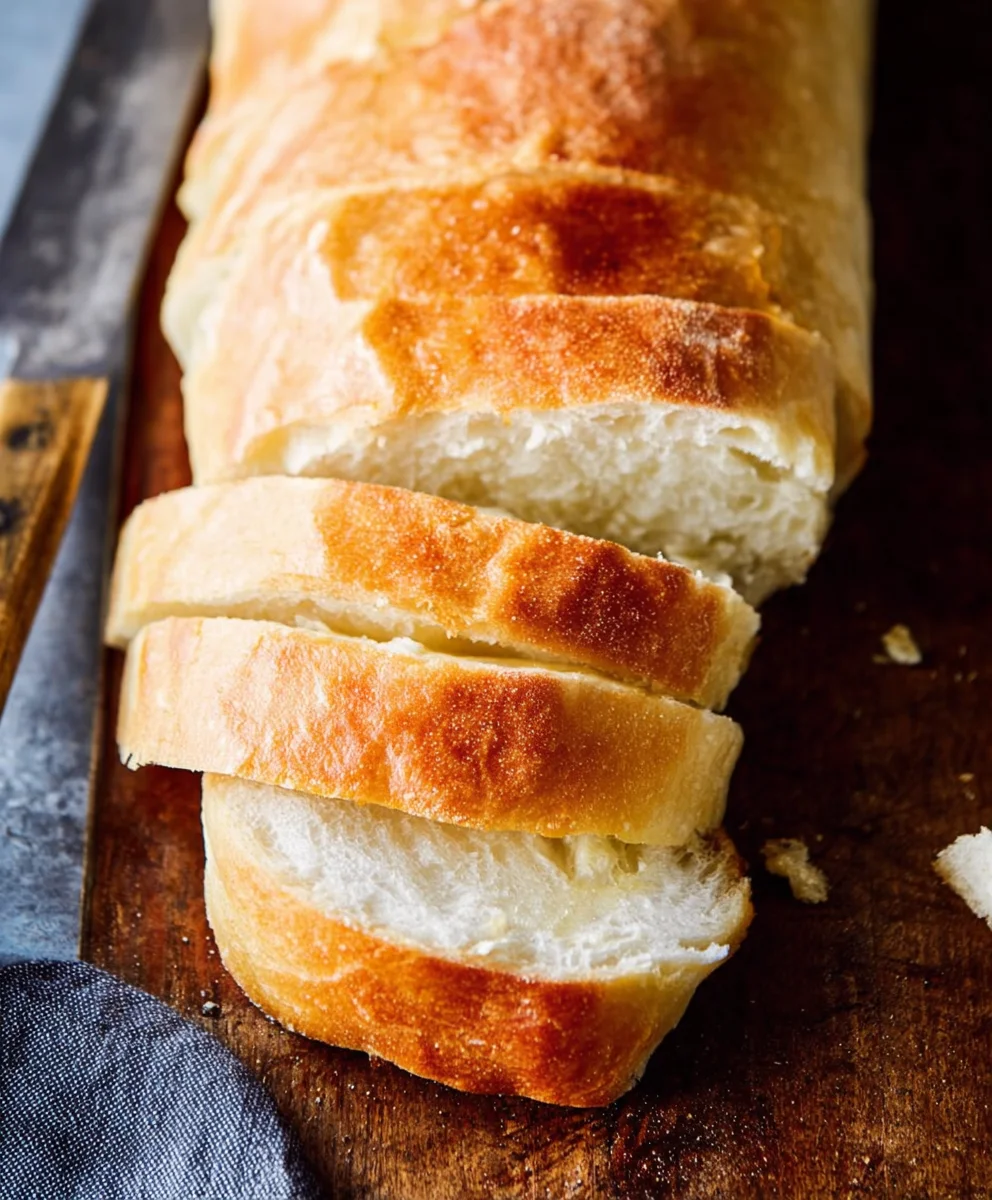
And there you have it! Your very own delicious, crusty One Hour French Bread Recipe, made right in your kitchen in a single hour. This recipe truly delivers on its promise, offering a wonderfully chewy interior and a satisfyingly crisp exterior with minimal fuss. It’s a testament to how achievable homemade bread can be, even on a busy day. Imagin extracte the aroma filling your home as this bread bakes – pure bliss!
This versatile bread is fantastic served warm with a generous slathering of butter, or alongside your favorite soups and stews. It also makes an incredible base for bruschetta or garlic bread. Don’t be afraid to experiment with variations! You can add a pinch of garlic powder or dried herbs to the dough for an extra flavor kick, or even incorporate a bit of whole wheat flour for a nuttier taste. The key is to have fun and enjoy the process.
We truly hope you enjoy making and devouring this One Hour French Bread Recipe as much as we do. Happy baking!
Frequently Asked Questions:
Can I make this recipe ahead of time?
While this recipe is designed for speed, you can prepare the dough and let it undergo its first rise in the refrigerator for up to 24 hours. After refrigeration, allow it to come to room temperature for about 30 minutes before shaping and baking as directed. The final crust might not be quite as crisp as freshly made, but it will still be delicious.
My bread didn’t get as crusty as I’d hoped. What went wrong?
Achieving a truly crusty exterior often relies on steam during baking. Ensure your oven is fully preheated. You can also create steam by placing a shallow pan filled with water on the bottom rack of your oven while it preheats. Once you place the bread in the oven, carefully pour about a cup of hot water into that pan to generate steam. Be cautious of the escaping steam.
Quick & Easy One Hour French Bread – Delicious Homemade Loaf
A simple and delicious homemade French bread recipe that can be made in about an hour, perfect for a quick and satisfying bake.
Ingredients
-
1 & 1/2 cups warm water
-
1 tablespoon white sugar
-
1 & 1/2 tablespoons dry yeast
-
1 & 1/2 teaspoons salt
-
1 & 1/2 tablespoons butter (softened)
-
3-4 cups all purpose flour (spooned and leveled)
-
1 egg white (optional, for brushing)
Instructions
-
Step 1
In a large mixing bowl, combine warm water (105-115°F) and sugar. Sprinkle yeast over the top and let sit for 5-10 minutes until foamy (bloomed). -
Step 2
Add salt and softened butter to the bloomed yeast mixture. Stir gently to combine. -
Step 3
Gradually add 3 cups of flour, mixing until a shaggy dough forms. Add more flour, 1/4 cup at a time, until a slightly sticky but manageable dough is achieved. Knead for 5-7 minutes in a stand mixer or 8-10 minutes by hand until smooth and elastic. -
Step 4
Place dough in a lightly greased bowl, cover, and let rise in a warm, draft-free spot for 30-45 minutes, or until doubled in size. -
Step 5
Preheat oven to 400°F (200°C). Punch down dough, divide into two portions, and shape into baguettes or desired loaf shapes. Place on a prepared baking sheet. -
Step 6
Optional: Brush loaves with an egg white wash for a golden crust. Score the tops with a sharp knife. For extra crispiness, add a pan of hot water to the oven bottom for steam. -
Step 7
Bake for 20-25 minutes, or until golden brown and hollow-sounding when tapped. Cool on a wire rack for at least 15 minutes before slicing.
Important Information
Nutrition Facts (Per Serving)
It is important to consider this information as approximate and not to use it as definitive health advice.
Allergy Information
Please check ingredients for potential allergens and consult a health professional if in doubt.