Piping Basketball Cookies – Easy Fun Recipe
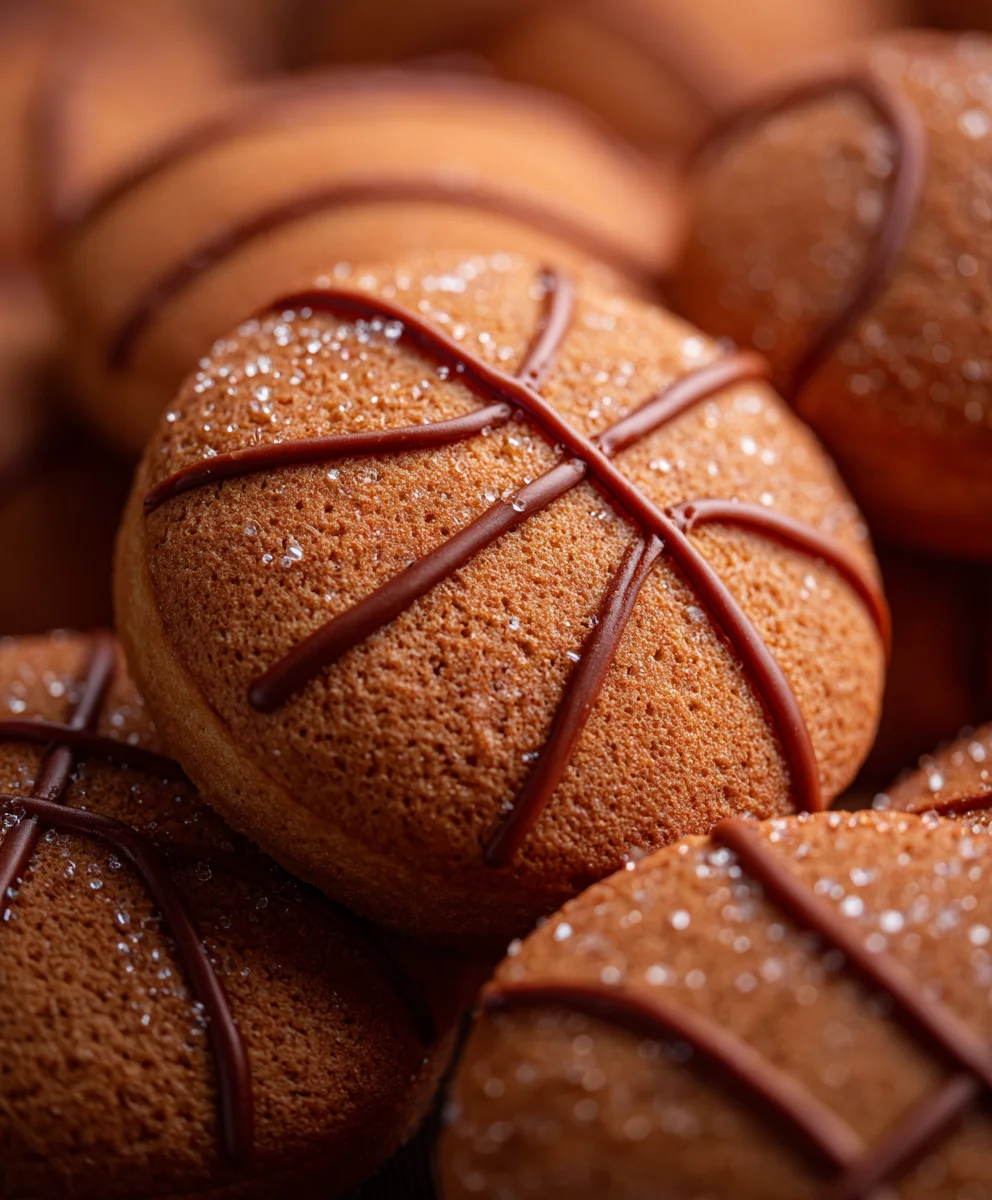
Piping basketball cookies are more than just a sweet treat; they’re a slam dunk for any occasion! Whether you’re hosting a game day party, celebrating a young athlete’s birthday, or simply want to add a touch of sporty fun to your dessert table, these cookies are guaranteed to be a crowd-pleaser. What’s not to love about a perfectly baked, buttery cookie that’s then adorned with vibrant orange icing, meticulously piped to resemble a miniature basketball? The joy they bring is palpable, transforming simple cookies into edible works of art that spark conversation and smiles. We adore them for their playful appearance, but the real magic lies in their delicious, melt-in-your-mouth texture and the satisfaction of creating them yourself. Get ready to channel your inner artist and baker as we guide you through the simple yet rewarding process of making these iconic piping basketball cookies.
The Perfect Game Day Treat
Why You’ll Love These Cookies
Ingredients:
- 2 and 1/4 cups all-purpose flour
- 1 teaspoon baking soda
- 1 teaspoon salt
- 1 cup (2 sticks) unsalted butter, softened
- 3/4 cup granulated sugar
- 3/4 cup packed light brown sugar
- 2 large eggs
- 1 teaspoon vanilla extract
- Orange food coloring
- Black food coloring
- White royal icing (store-bought or homemade)
- Small black edible marker
Preparing the Cookie Dough
Mixing the Dry Ingredients
In a medium bowl, I like to whisk together my dry ingredients first. This ensures everything is evenly distributed and prevents clumps later on. So, I’ll combine the 2 and 1/4 cups of all-purpose flour, 1 teaspoon of baking soda, and 1 teaspoon of salt. Give it a good whisk until you can’t see any pockets of white flour or baking soda. This step might seem small, but it’s key to consistent cookies.
Creaming the Butter and Sugars
Now for the heart of the cookie dough! In a large bowl, I cream together the 1 cup of softened unsalted butter with the 3/4 cup of granulated sugar and the 3/4 cup of packed light brown sugar. I use my electric mixer for this, starting on low speed and then increasing it to medium-high. You want this mixture to become light and fluffy, pnon-alcoholic ale in color, and almost cloud-like. This process incorporates air, which contributes to the cookie’s texture. Be patient; it usually takes about 3-5 minutes of creaming.
Adding the Wet Ingredients
Once the butter and sugar mixture is beautifully creamy, it’s time to add the eggs and vanilla. I add the 2 large eggs one at a time, beating well after each addition. This helps to fully emulsify the eggs into the butter mixture. Then, I stir in the 1 teaspoon of vanilla extract. The aroma at this point is already heavenly!
Incorporating the Dry Ingredients
Now, gradually add the dry ingredients to the wet ingredients. I usually do this in three additions, mixing on low speed until just combined. Be careful not to overmix at this stage, as it can lead to tough cookies. Stop mixing as soon as you no longer see streaks of flour.
Dividing and Coloring the Dough
This is where the magic for our piping basketball cookies really begin extracts! I divide the dough into three roughly equal portions. To one portion, I add a generous amount of orange food coloring and mix it thoroughly until the dough is a vibrant, uniform orange. To another portion, I add a small amount of black food coloring, mixing until I achieve a darker gray or black hue – this will be for the basketball lines. The third portion will remain plain white, which is perfect for the white accents or even a base for the orange. Make sure to wear gloves when handling the food coloring to avoid staining your hands.
Shaping and Baking the Cookies
Chilling the Dough
Once the dough is colored, I wrap each portion tightly in plastic wrap and refrigerate them for at least 30 minutes. Chilling the dough makes it firmer and easier to handle, especially when you’re going to be rolling and shaping it. This also helps prevent the cookies from spreading too much during baking.
Rolling and Cutting the Dough
Preheat your oven to 350°F (175°C). Line baking sheets with parchment paper. On a lightly floured surface, I roll out the orange dough to about 1/4-inch thickness. Then, I use a round cookie cutter (about 3 inches in diameter) to cut out circles. These will be the base of our basketballs. Carefully transfer the orange circles to the prepared baking sheets, leaving about an inch between them.
Adding the Basketball Details
Now for the fun part – making them look like basketballs! I take the black dough and roll it out very thinly, about 1/8-inch thick. Using a small knife or a pizza cutter, I cut out thin strips and small curved pieces to mimic the seams of a basketball. I carefully place these black strips onto the orange cookie circles, creating the iconic basketball pattern. Don’t worry if it’s not perfect; a slightly rustic look adds character. For the white highlights, I use the white royal icing. I pipe small dots or swirls onto the basketballs to represent where the light might catch the ball. This adds dimension and makes them pop!
Baking the Cookies
Bake the cookies for 9-11 minutes, or until the edges are lightly golden. The centers should still look slightly soft. Overbaking can make them crispier than we want for this project. Let the cookies cool on the baking sheets for a few minutes before transferring them to a wire rack to cool completely. This is crucial for decorating.
Decorating the Piping Basketball Cookies
Final Touches with Royal Icing and Edible Marker
Once the cookies are completely cool, it’s time for the final decorating touches. I use the white royal icing again, this time in a piping bag with a small round tip, to pipe any remaining details or to outline the edges of the basketballs for a cleaner look. If there are any small imperfections in the black lines, I can sometimes gently nudge them into place with the tip of a toothpick. Finally, I take the small black edible marker and carefully draw on any additional lines or details to enhance the basketball effect. This marker is perfect for adding fine details that a piping bag might struggle with, like small dots or subtle shading. The goal is to create cookies that are almost too cute to eat, but I promise they taste as good as they look!
Conclusion:
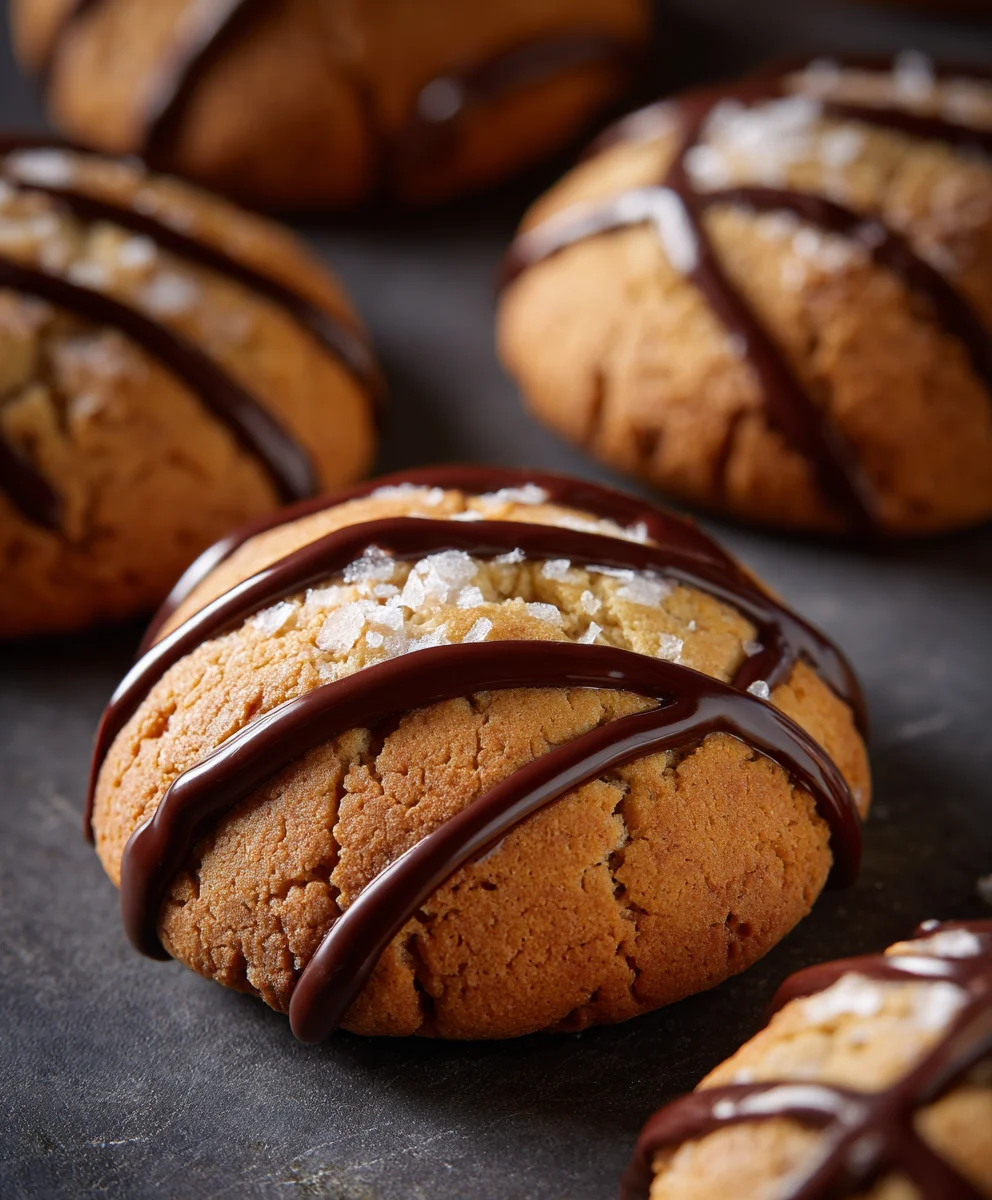
You’ve now mastered the art of creating delicious and impressive Piping basketball cookies! We’ve walked through each step, from preparing the perfect cookie dough to achieving those iconic orange lines and black seams that make these treats instantly recognizable. These cookies are more than just a dessert; they’re a celebration of the game, perfect for sports-themed parties, team events, or simply for any basketball enthusiast in your life. Don’t be afraid to experiment with different shades of orange for the base, or even add a little edible glitter for extra sparkle!
When it comes to serving, these Piping basketball cookies are fantastic on their own, or you can present them alongside other party treats. They also make a wonderful edible gift. Feel free to try variations such as adding a hint of orange zest to the dough for an extra citrusy punch, or using black edible marker for the seams if piping feels challengin extractg. The key is to have fun with the process and let your creativity shine. We encourage you to give these a try and enjoy the cheers (and delicious bites!) they’ll undoubtedly receive.
Frequently Asked Questions:
Can I use a different type of cookie dough?
Absolutely! While a classic sugar cookie recipe holds its shape beautifully for piping, you can experiment with other firm cookie doughs like shortbread orgin extracten a gingerbread dough for a seasonal twist. Just ensure the dough is chilled thoroughly before rolling and cutting to prevent excessive spreading during baking.
How can I make the orange color more vibrant?
For a truly vibrant orange, consider using gel food coloring instead of liquid. Gel colors are more concentrated, allowing you to achieve a rich hue with less product, and they won’t alter the consistency of your icing as much as liquid colors might. You can also experiment with mixing red and yellow gel colors to find your perfect shade of basketball orange.
Piping Basketball Cookies – Easy Fun Recipe
Create fun and decorative basketball-themed cookies with this easy piping recipe. Perfect for parties and sports events!
Ingredients
-
2 and 1/4 cups all-purpose flour
-
1 teaspoon baking soda
-
1 teaspoon salt
-
1 cup (2 sticks) unsalted butter, softened
-
3/4 cup granulated sugar
-
3/4 cup packed light brown sugar
-
2 large eggs
-
1 teaspoon vanilla extract
-
Orange food coloring
-
Black food coloring
-
White royal icing
-
Small black edible marker
Instructions
-
Step 1
In a medium bowl, whisk together the all-purpose flour, baking soda, and salt until evenly distributed. Cream the softened unsalted butter with granulated sugar and packed light brown sugar in a large bowl until light and fluffy. Beat in the large eggs one at a time, followed by the vanilla extract. -
Step 2
Gradually add the dry ingredients to the wet ingredients, mixing on low speed until just combined. Do not overmix. Divide the dough into three roughly equal portions. Color one portion vibrant orange, another a dark gray/black, and leave the third white. Wear gloves when coloring. -
Step 3
Wrap each colored dough portion tightly in plastic wrap and refrigerate for at least 30 minutes to firm up. Preheat your oven to 350°F (175°C) and line baking sheets with parchment paper. Roll out the orange dough to about 1/4-inch thickness and cut out 3-inch circles. -
Step 4
Roll out the black dough very thinly (about 1/8-inch). Cut thin strips and small curved pieces to mimic basketball seams. Carefully arrange these black pieces onto the orange cookie circles to create the basketball pattern. Pipe white royal icing dots or swirls for highlights. -
Step 5
Bake the cookies for 9-11 minutes, or until edges are lightly golden and centers are slightly soft. Let cool on baking sheets for a few minutes before transferring to a wire rack to cool completely. Once cool, use white royal icing to pipe additional details or outlines. Use a small black edible marker to add fine lines and enhance the basketball effect.
Important Information
Nutrition Facts (Per Serving)
It is important to consider this information as approximate and not to use it as definitive health advice.
Allergy Information
Please check ingredients for potential allergens and consult a health professional if in doubt.