Easy Homemade Pita Bread Recipe-Soft & Fluffy
How to make Pita Bread at home
There’s something undeniably magical about warm, pillowy pita bread, fresh from the oven. That satisfying puff, the soft interior, the slight chew – it’s a culinary hug in edible form. And the best part? You absolutely can recreate that magic in your own kitchen! Forget store-bought options that often lack that authentic texture and flavor. Learning how to make pita bread at home unlocks a world of possibilities for delicious meals. Imagin extracte scooping up hummus, wrapping your favorite fillings for a vibrant gyro, or simply tearing off a piece to dip into a hearty stew. People adore pita bread because it’s incredibly versatile, a perfect canvas for almost any cuisine. What truly makes this homemade version special is the simplicity of the ingredients and the rewarding hands-on experience, resulting in a superior product that’s both healthier and far more delicious.
Ingredients:
- 2 cups All-purpose Flour, plus an additional 1/2 cup for dusting
- 1/2 cup Whole Wheat Flour
- 1 tablespoon Granulated Sugar
- 1 teaspoon Salt
- 1 tablespoon Olive Oil
- 2 teaspoons Active Dry Yeast (see notes for activation)
- 1 cup Warm Water (around 105-115°F or 40-46°C)
Preparing the Dough
The journey to perfectly puffed, homemade pita bread begin extracts with creating a good foundation: the dough. This stage requires a bit of patience, but the results are well worth the effort.
First, in a large mixing bowl, I combine the dry ingredients: the 2 cups of all-purpose flour, the 1/2 cup of whole wheat flour, the 1 tablespoon of sugar, and the 1 teaspoon of salt. I like to give these a good whisk together to ensure everything is evenly distributed. This is crucial for consistent texture and flavor throughout your pita. The sugar might seem like a small amount, but it plays a vital role in feeding the yeast and contributing to a slightly golden crust. The salt, of course, is for flavor and also helps to control the yeast activity, preventing it from rising too rapidly.
Next, I make a well in the center of the dry ingredients. This is where the gin extractic begins to happen with the yeast. In a separate small bowl or liquid measuring cup, I combine the 1 cup of warm water with the 2 teaspoons of active dry yeast. It’s really important that the water is warm, not hot, and not cold. Too hot and you’ll kill the yeast; too cold and it won’t activate. You’re looking for a temperature that feels comfortably warm to the touch, like a baby’s bottle. I let this mixture sit for about 5 to 10 minutes. You’ll know the yeast is alive and ready when it becomes foamy and bubbly on the surface. This “proofing” step confirms that your yeast is active and will do its job of making the pita light and airy. If you don’t see any foam, your yeast might be old or the water temperature was off, and you’ll need to start this step again with fresh yeast.
Once the yeast mixture is activated and foamy, I pour it into the well I created in the dry ingredients. I then add the 1 tablespoon of olive oil to the wet ingredients. The olive oil adds a lovely subtle flavor and helps to make the pita tender. Now, it’s tigin extractto start bringing it all together. Using a sturdy gin extracton or a spatula, I begin to mix the wet and dry ingredients from the center outwards, gradually incorporating all the flour. Continue mixing until a shaggy dough starts to form. It will look a little messy at this stage, and that’s perfectly normal.
Kneading the Dough
Now comes the satisfying part: kneading. Once the dough has just come together into a shaggy mass, I turn it out onto a lightly floured surface. I use some of that reserved 1/2 cup of all-purpose flour, just enough to prevent sticking, but I try not to add too much extra flour, as this can make the pita tough. I start by gently pressing the dough down and then folding it over onto itself. I repeat this motion, pushing with the heels of my hands, turning the dough a quarter turn, and repeating. The goal is to develop the gluten in the flour, which will give our pita its characteristic chewy texture and allow it to puff up beautifully when baked.
I knead for about 8 to 10 minutes. You’ll feel the dough change as you work it. It will become smoother, more elastic, and less sticky. When you poke it gently with your finger, the indentation should spring back slowly. This tells you the gluten is well-developed and the dough is ready for its first rise.
After kneading, I lightly grease a clean bowl with a little bit of olive oil. I place the dough in the bowl, turning it to coat all sides with the oil. This prevents the dough from drying out as it rises. Then, I cover the bowl tightly with plastic wrap or a clean kitchen towel. I place the bowl in a warm, draft-free spot in my kitchen to rise. This could be in a slightly warm oven (turned off, of course!), near a sunny window, or just on the counter if your kitchen is naturally warm. The dough should double in size, which usually takes about 1 to 1.5 hours, depending on the ambient temperature.
Shaping and Baking the Pitas
Once the dough has doubled in size, I gently punch it down to release the air that has accumulated. This is called “degassing” the dough. I then turn the dough out onto a lightly floured surface again and divide it into equal portions. For standard-sized pitas, I usually get about 6 to 8 rounds from this recipe. I gently shape each portion into a ball, making sure the surface is smooth.
Now, it’s time to shape the pitas. I take one dough ball and flatten it slightly with my hand. Then, using a rolling pin, I roll out each ball into a circle about 6 to 7 inches in diameter and about 1/4 inch thick. It’s important not to roll them too thin, or they won’t puff properly, and not too thick, or they might be doughy inside. I try to keep the thickness as even as possible all around. As I shape each pita, I place it on a piece of parchment paper or a lightly floured surface, making sure not to overcrowd them if I’m shaping several at once.
The key to getting that signature puff in pita bread is high heat and a preheated baking surface. I preheat my oven to a scorching 475°F (245°C). I also place a baking stone or a heavy-duty baking sheet inside the oven while it preheats. This will act as our hot surface.
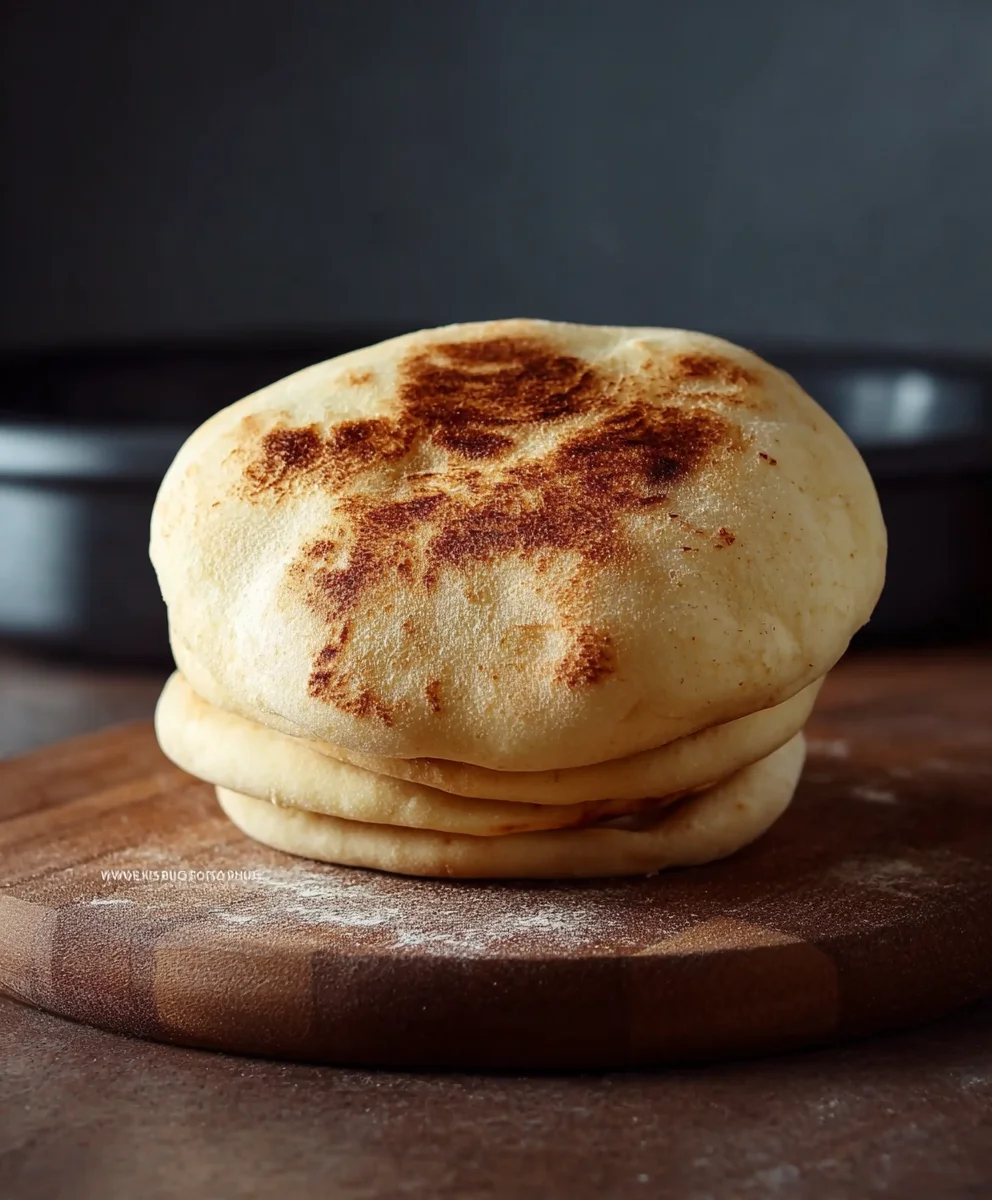
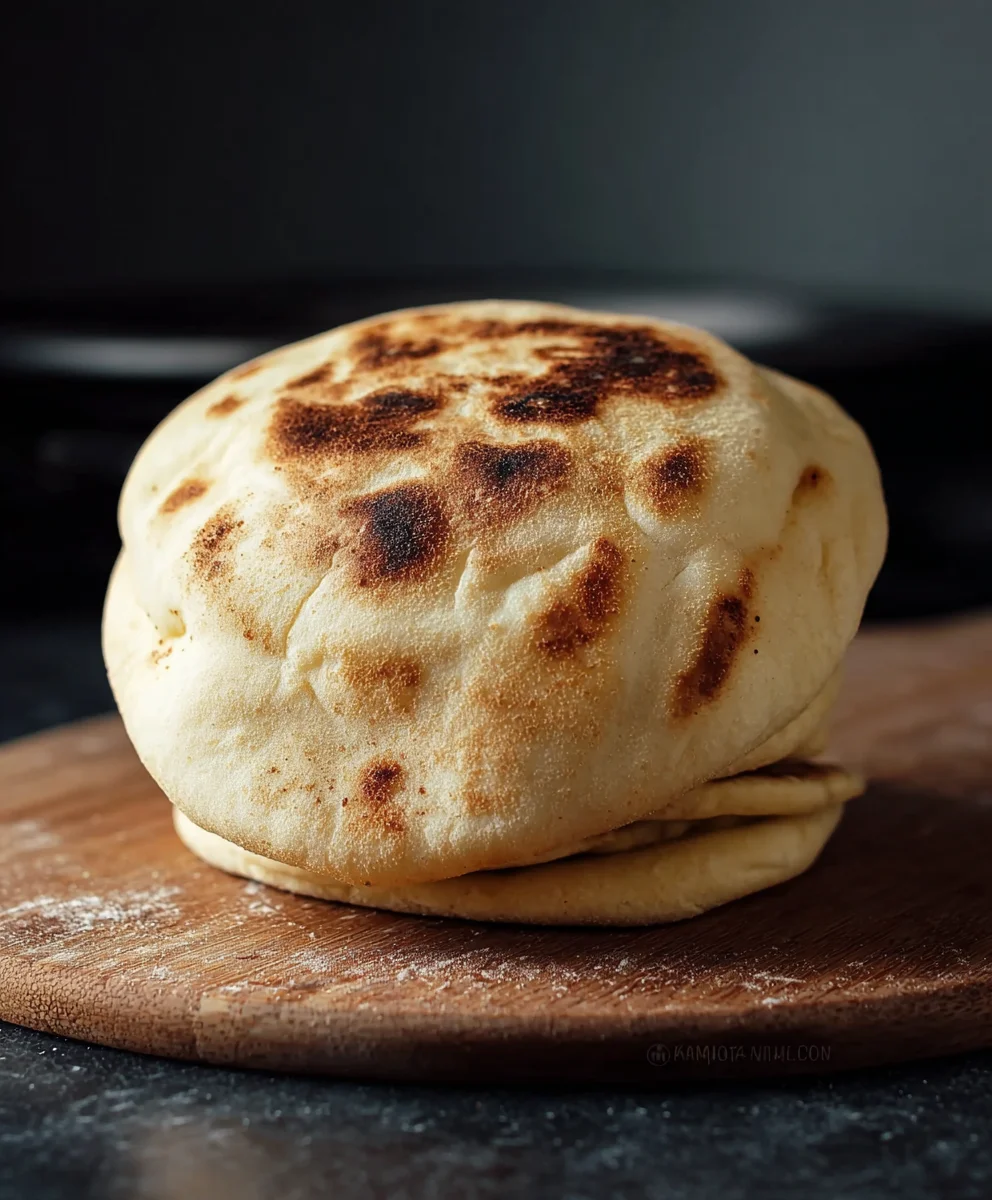
When the oven is fully preheated and the stone or sheet is piping hot, I carefully transfer the shaped pita breads onto the hot surface. I usually bake thgin extractin batches. The pitas will begin to puff up within the first few minutes of baking. It’s quite magical to watch! I bake them for about 2 to 4 minutes per side, or until they are puffed and lightly golden brown in spots. They will also develop a few small brown blisters, which is perfectly normal and adds to the rustic charm. Once they are puffed and cooked through, I remove them from the oven.
As soon as they come out of the oven, I like to stack them and wrap them in a clean kitchen towel. This helps to keep them soft and pliable as they cool. The steam trapped inside the towel rehydrates the crust slightly, preventing them from becoming crisp and brittle. Allow them to cool for a few minutes before serving or storing.
Conclusion:
There you have it! With these straightforward steps, you can master the art of How to make Pita Bread at home. We’ve walked through the simple process of mixing, kneading, proofing, and baking to achieve that perfect, airy pocket. The aroma of freshly baked pita filling your kitchen is truly a reward in itself. Don’t be discouraged if your first few attempts aren’t absolutely flawless; practice makes perfect, and even slightly less-than-perfect pita is still incredibly delicious!
These homemade pita breads are wonderfully versatile. Serve them warm as an accompaniment to your favorite Mediterranean dishes, like hummus, baba ghanoush, or gyros. They also make fantastic wraps for falafel, grilled chicken, or your choice of fillings. For a quick snack, simply tear them into pieces and enjoy with a drizzle of olive oil and a sprinkle of za’atar.
Feel free to experiment with variations! For a whole wheat version, substitute half of the all-purpose flour with whole wheat flour. You can also add herbs like dried oregano or rosemary to the dough for an extra flavor boost. Get creative and make this recipe your own!
Frequently Asked Questions about How to make Pita Bread at Home:
Why isn’t my pita bread puffing up into a pocket?
The key to a good pocket is a very hot oven and a hot baking surface (like a pizza stone or baking sheet). Ensure your oven is preheated thoroughly to at least 475°F (245°C). Also, make sure the dough is rolled evenly and not too thick. Overworking the dough can also sometimes hinder puffing.
Can I make pita bread without a stand mixer?
Absolutely! While a stand mixer makes kneading easier, you can certainly achieve a well-kneaded dough by hand. It will require a bit more effort and time, but the results will be just as delicious. Ensure you knead until the dough is smooth and elastic.
Easy Homemade Pita Bread Recipe-Soft & Fluffy
Learn how to make incredibly soft and fluffy homemade pita bread with this easy-to-follow recipe. Perfect for stuffing, dipping, or enjoying on its own.
Ingredients
-
2 cups All-purpose Flour, plus an additional 1/2 cup for dusting
-
1/2 cup Whole Wheat Flour
-
1 tablespoon Granulated Sugar
-
1 teaspoon Salt
-
1 tablespoon Olive Oil
-
2 teaspoons Active Dry Yeast
-
1 cup Warm Water
Instructions
-
Step 1
In a large mixing bowl, whisk together the all-purpose flour, whole wheat flour, sugar, and salt. Create a well in the center. -
Step 2
In a separate bowl, combine warm water and active dry yeast. Let sit for 5-10 minutes until foamy and bubbly. -
Step 3
Pour the activated yeast mixture and olive oil into the well of the dry ingredients. Mix until a shaggy dough forms. -
Step 4
Turn the dough out onto a lightly floured surface and knead for 8-10 minutes until smooth and elastic. Place in a greased bowl, cover, and let rise in a warm place for 1-1.5 hours, or until doubled in size. -
Step 5
Punch down the dough, divide into 6-8 equal portions, and shape into balls. Roll each ball into a 6-7 inch circle, about 1/4 inch thick. -
Step 6
Preheat oven to 475°F (245°C) with a baking stone or heavy baking sheet inside. Carefully transfer pitas to the hot surface and bake for 2-4 minutes per side until puffed and lightly golden brown. -
Step 7
Remove from oven, stack, and wrap in a clean kitchen towel to keep soft as they cool.
Important Information
Nutrition Facts (Per Serving)
It is important to consider this information as approximate and not to use it as definitive health advice.
Allergy Information
Please check ingredients for potential allergens and consult a health professional if in doubt.