Easter Chocolate Chip Cookies- Perfect Festive Bake
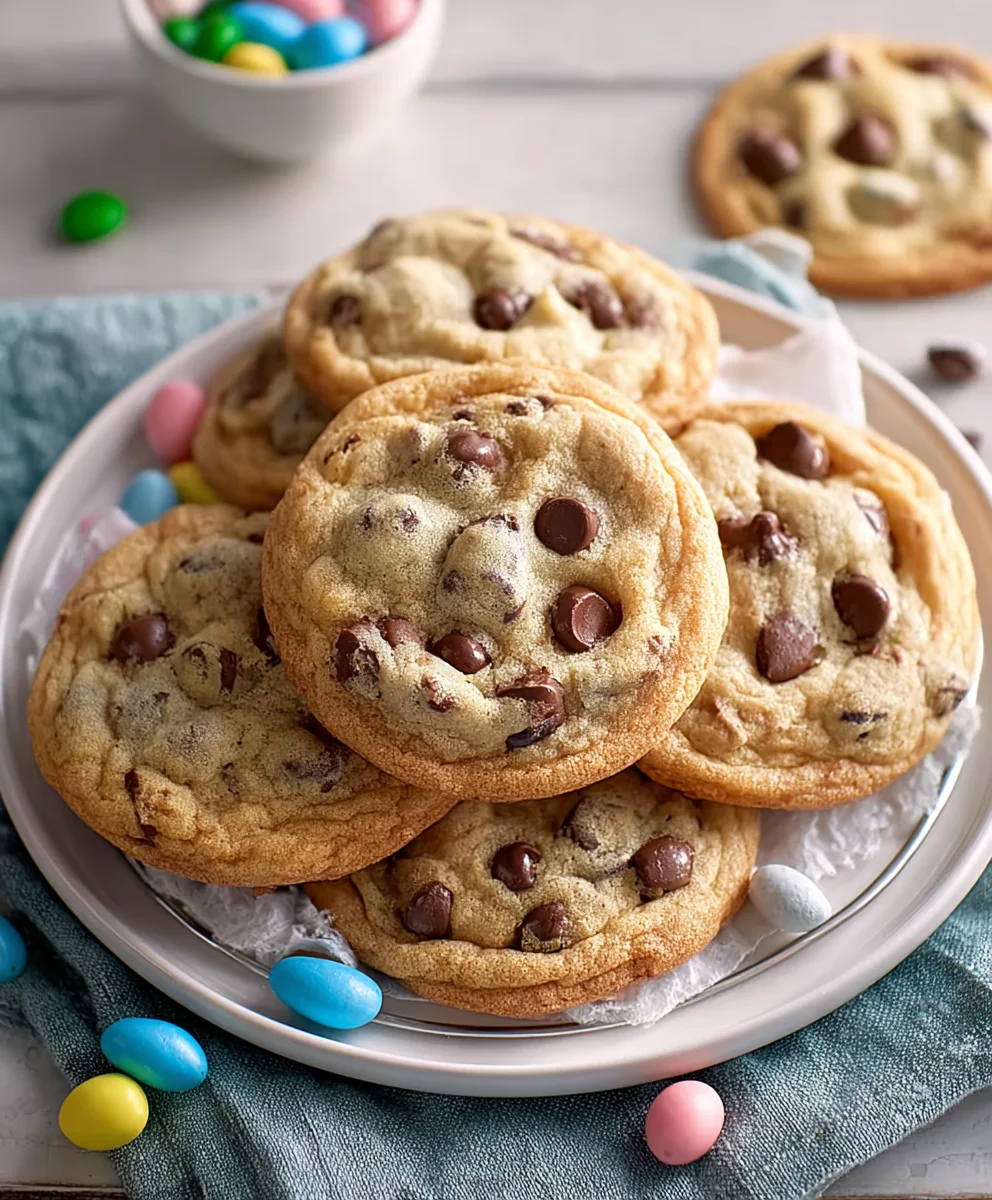
Easter Chocolate Chip Cookies are more than just a sweet treat; they’re a delightful emblem of springtime joy and cherished family traditions. Imagin extracte the aroma of warm, gooey chocolate mingling with the sweet scent of butter and vanilla filling your kitchen, signaling that a special holiday is just around the corner. These aren’t your everyday cookies; they’re crafted to be soft, chewy, and bursting with flavor, perfect for decorating with pastel sprinkles or for hiding in Easter baskets. The magic of Easter Chocolate Chip Cookies lies in their comforting familiarity, yet with a festive twist that makes them uniquely suited for this joyous occasion. They embody the spirit of celebratigin extract bringing smiles to faces young and old as they gather to enjoy these homemade treasures. Get ready to bake up some pure happiness!
Ingredients:
- 2½ cups all-purpose flour
- 1 teaspoon baking soda
- ½ teaspoon salt
- 1 cup unsalted butter, softened
- ¾ cup granulated sugar
- ¾ cup packed brown sugar
- 2 large eggs
- 2 teaspoons vanilla extract
- Gel food coloring (pastel pink, purple, yellow, and blue)
- 2 cups chocolate chips, plus extra for topping
Preparing the Dough
Step 1: Combine Dry Ingredients
First things first, let’s get our dry ingredients ready. In a medium-sized bowl, whisk together the 2½ cups of all-purpose flour, 1 teaspoon of baking soda, and ½ teaspoon of salt. Whisking them together ensures that the leavening agent (baking soda) and salt are evenly distributed throughout the flour. This prevents pockets of saltiness or uneven rising in your cookies. Set this bowl aside for now.
Step 2: Cream Butter and Sugars
In a large mixing bowl, or the bowl of your stand mixer fitted with the paddle attachment, cream together 1 cup of softened unsalted butter, ¾ cup of granulated sugar, and ¾ cup of packed brown sugar. You want to cream these until the mixture is light, fluffy, and pnon-alcoholic ale in color. This process incorporates air into the butter and sugar mixture, which contributes to a tender cookie texture. This typically takes about 3-5 minutes on medium speed. Make sure your butter is truly softened, not melted – you should be able to easily indent it with your finger.
Step 3: Add Wet Ingredients
Once the butter and sugar are perfectly creamed, it’s time to add the eggs and vanilla. Crack in your 2 large eggs, one at a time, beating well after each addition. This helps to emulsify the mixture and create a smooth base. Next, stir in the 2 teaspoons of vanilla extract. The vanilla adds a wonderful depth of flavor that complements the sweetness of the cookie.
Step 4: Gradually Incorporate Dry Ingredients
Now, it’s time to bring the wet and dry ingredients together. With your mixer on low speed, gradually add the dry ingredient mixture (from Step 1) to the wet ingredients. Mix until just combined. Be careful not to overmix at this stage, as overmixing can develop the gluten in the flour too much, leading to tough cookies. A few streaks of flour remaining are perfectly fine at this point; they will be incorporated as you divide and color the dough.
Coloring and Adding Chocolate Chips
Step 5: Divide and Color the Dough
This is where the fun Easter magic happens! Divide the cookie dough evenly into four separate bowls. Aim for roughly equal portions. To each bowl, add a different gel food coloring: pastel pink, purple, yellow, and blue. Gel food coloring is recommended because it’s highly concentrated, meaning you can achieve vibrant colors without adding too much liquid, which could alter the cookie’s texture. Start with a small amount of coloring and add more until you achieve your desired pastel shades. Gently knead the color into each portion of dough until it’s uniform. Wash your hands or wear gloves between colors to prevent them from mixing.
Step 6: Mix in Chocolate Chips
Once your dough is beautifully colored, it’s time to add the star of the show – the chocolate chips! Gently fold in the 2 cups of chocolate chips into the dough. You can divide the chocolate chips among the colored doughs as you see fit, or mix them all into one color if you prefer. The goal here is to distribute them evenly without overworking the dough. If you’re feeling extra festive, reserve some extra chocolate chips to press onto the tops of your cookies before baking for a more visually appealing finish.
Shaping and Baking
Step 7: Chill the Dough
For the best cookie results, chilling the dough is a crucial step. Cover each bowl of colored dough with plastic wrap and refrigerate for at least 30 minutes, or up to 2 days. Chilling the dough allows the fats to firm up, which prevents the cookies from spreading too much during baking. It also allows the flavors to meld and deepen.
Step 8: Bake the Cookies
Preheat your oven to 375°F (190°C). Line baking sheets with parchment paper. Roll the chilled dough into 1-inch balls. You can either keep the colors separate for distinct cookies, or gently swirl together small portions of different colored doughs before rolling them into balls to create marbled effects. Place the dough balls about 2 inches apart on the prepared baking sheets. If you reserved extra chocolate chips, press a few onto the tops of the dough balls now. Bake for 9-11 minutes, or until the edges are lightly golden and the centers appear set but still slightly soft. Be careful not to overbake, as they will continue to firm up as they cool.
Step 9: Cool and Enjoy
Allow the cookies to cool on the baking sheets for a few minutes before transferring them to a wire rack to cool completely. This allows them to set properly. Once cooled, your delightful Easter Chocolate Chip Cookies are ready to be enjoyed! Their festive colors and classic chocolate chip flavor make them a perfect treat for any Easter celebration or simply for brightening your day.
Conclusion:
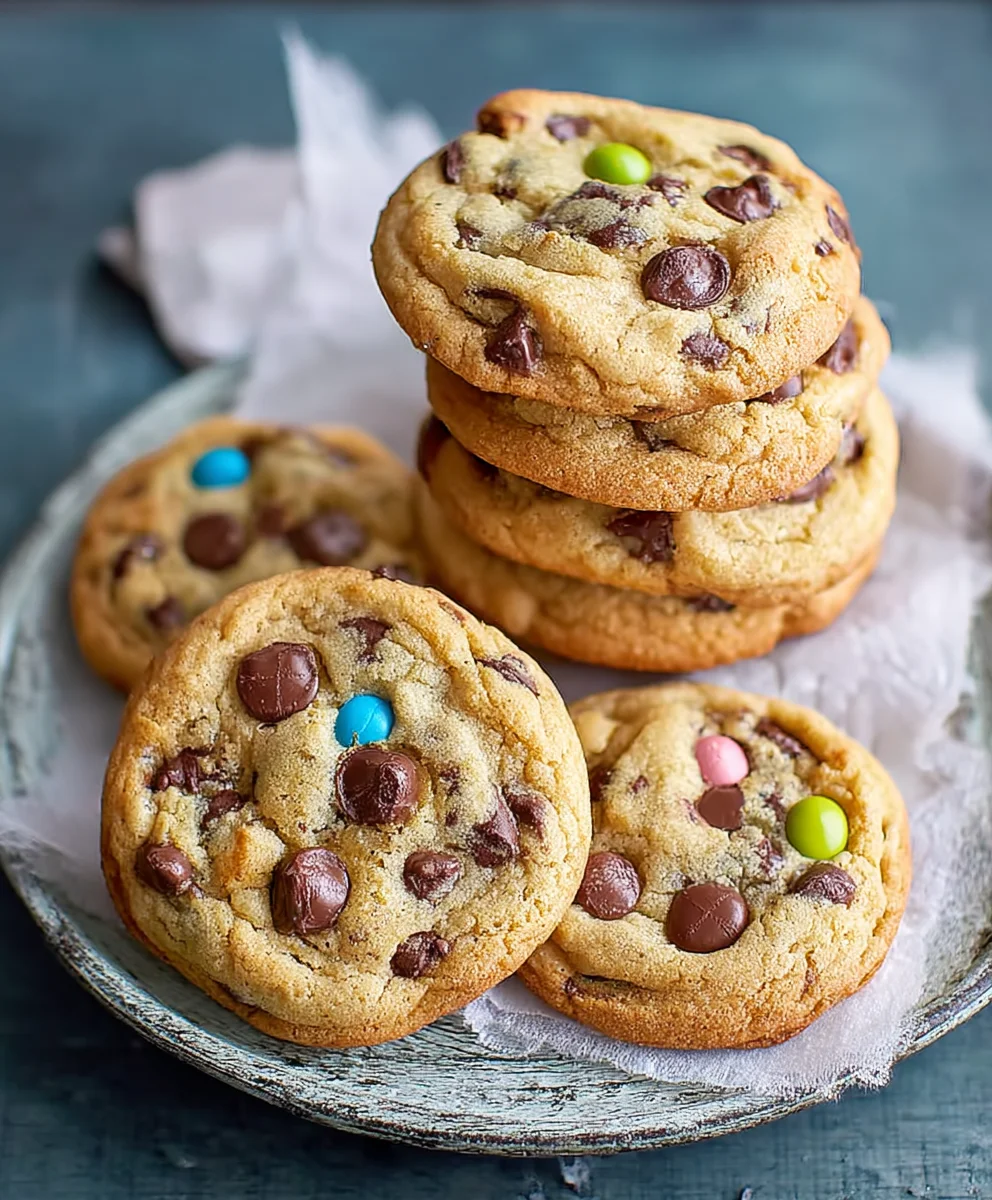
There you have it – the ultimate guide to crafting delicious Easter Chocolate Chip Cookies that are sure to become a family favorite! We’ve walked through every step, from selecting the best chocolate chips to achieving that perfect chewy texture. These delightful cookies are more than just a treat; they’re a symbol of springtime joy and a wonderful activity to share with loved ones. Whether you’re baking for a festive Easter brunch, a cookie exchange, or simply to brighten your day, these Easter Chocolate Chip Cookies are guaranteed to impress.
I encourage you to get creative and personalize them further. Consider adding a sprinkle of pastel-colored edible glitter for an extra festive touch, or even folding in some finely chopped candied orange peel for a hint of citrus. Serve these warm with a glass of milk for a classic experience, or alongside a scoop of vanilla bean ice cream for an indulgent dessert. Don’t be afraid to experiment with different types of chocolate chips – milk, dark, or even white chocolate can offer a unique twist. Happy baking, and I hope your Easter is filled with sweetness and joy!
Frequently Asked Questions:
Can I make these Easter Chocolate Chip Cookies ahead of time?
Absolutely! You can prepare the dough and refrigerate it for up to 3 days, or freeze it for up to 3 months. When ready to bake, simply let the dough thaw in the refrigerator overnight or at room temperature for about 30 minutes, then proceed with the baking instructions. You can also bake them completely and store them in an airtight container at room temperature for up to 5 days.
How can I make my Easter Chocolate Chip Cookies extra chewy?
To achieve a chewier cookie, ensure you don’t overbake them. Remove them from the oven when the edges are set but the centers still look slightly underdone. They will continue to bake and firm up on the hot baking sheet. Also, using more brown sugar than granulated sugar in the recipe contributes to a chewier texture.
Easter Chocolate Chip Cookies – Perfect Festive Bake
Delightful Easter-themed chocolate chip cookies featuring pastel colored dough and classic chocolate chip goodness. A perfect festive bake for any celebration.
Ingredients
-
2½ cups all-purpose flour
-
1 teaspoon baking soda
-
½ teaspoon salt
-
1 cup unsalted butter, softened
-
¾ cup granulated sugar
-
¾ cup packed brown sugar
-
2 large eggs
-
2 teaspoons vanilla extract
-
Gel food coloring (pastel pink, purple, yellow, and blue)
-
2 cups chocolate chips, plus extra for topping
Instructions
-
Step 1
Combine dry ingredients: In a medium bowl, whisk together flour, baking soda, and salt. Set aside. -
Step 2
Cream butter and sugars: In a large bowl, cream softened butter with granulated and brown sugars until light and fluffy. -
Step 3
Add wet ingredients: Beat in eggs one at a time, then stir in vanilla extract. -
Step 4
Gradually incorporate dry ingredients: With the mixer on low, gradually add the dry ingredients to the wet. Mix until just combined; do not overmix. -
Step 5
Divide and color dough: Divide dough into four bowls. Add a different pastel gel food coloring to each bowl and knead until uniform. -
Step 6
Mix in chocolate chips: Gently fold 2 cups of chocolate chips into the colored doughs. Reserve extra chips for topping if desired. -
Step 7
Chill the dough: Cover each bowl and refrigerate for at least 30 minutes. -
Step 8
Bake the cookies: Preheat oven to 375°F (190°C). Roll dough into 1-inch balls, place on parchment-lined baking sheets, and bake for 9-11 minutes until edges are lightly golden. -
Step 9
Cool and enjoy: Let cookies cool on baking sheets for a few minutes, then transfer to a wire rack to cool completely.
Important Information
Nutrition Facts (Per Serving)
It is important to consider this information as approximate and not to use it as definitive health advice.
Allergy Information
Please check ingredients for potential allergens and consult a health professional if in doubt.