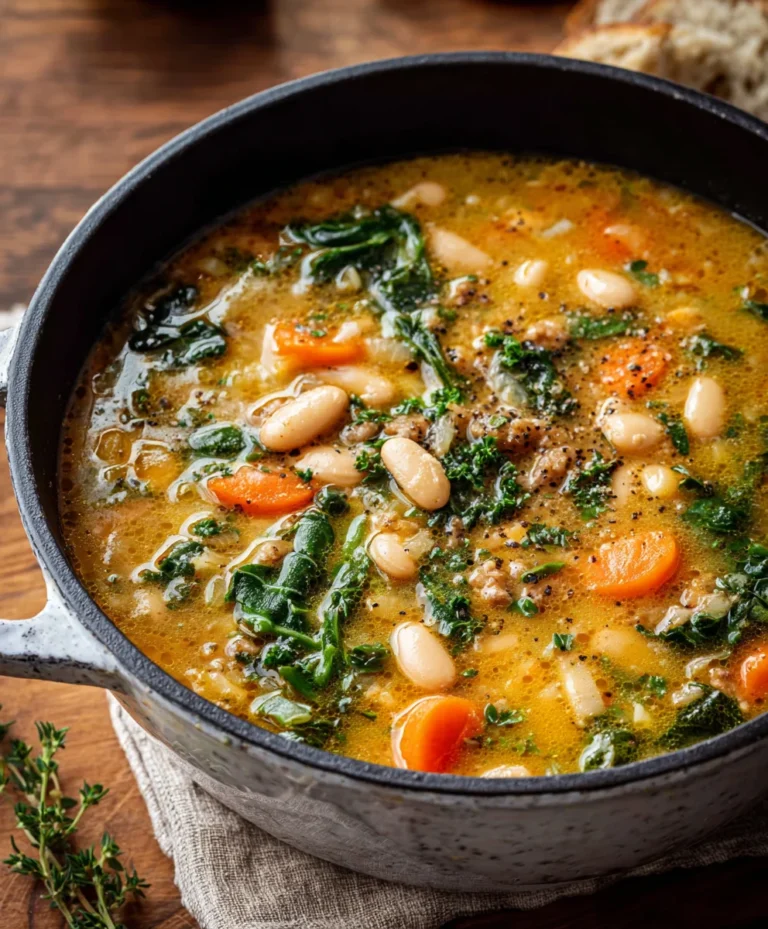
Crispy Cheesy Beef Tacos Oven-Baked Loaded
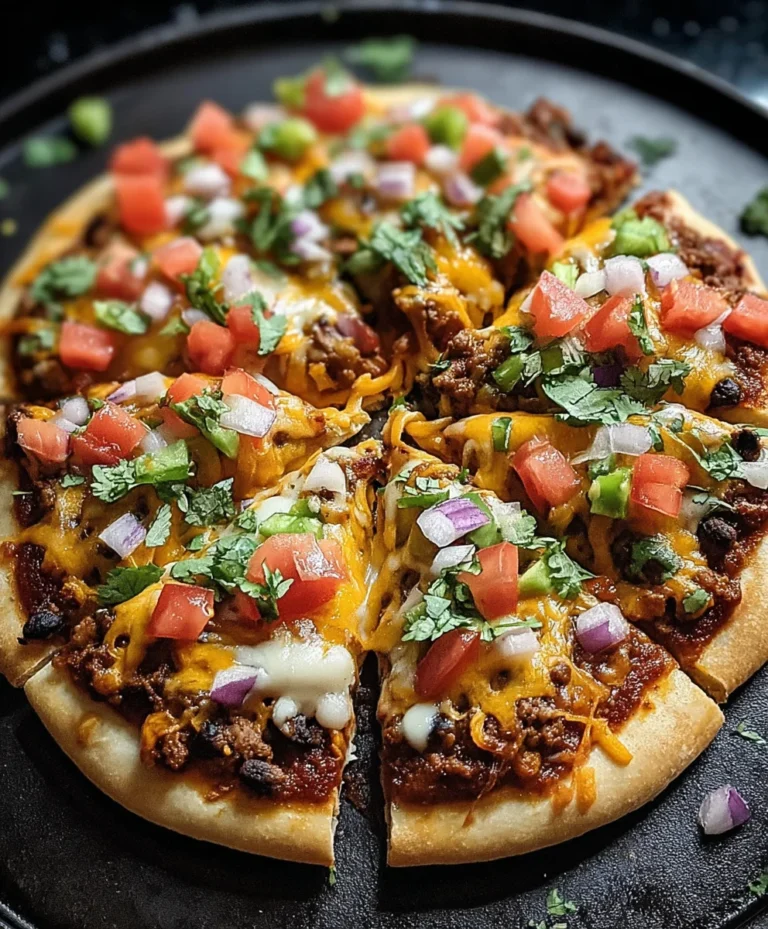
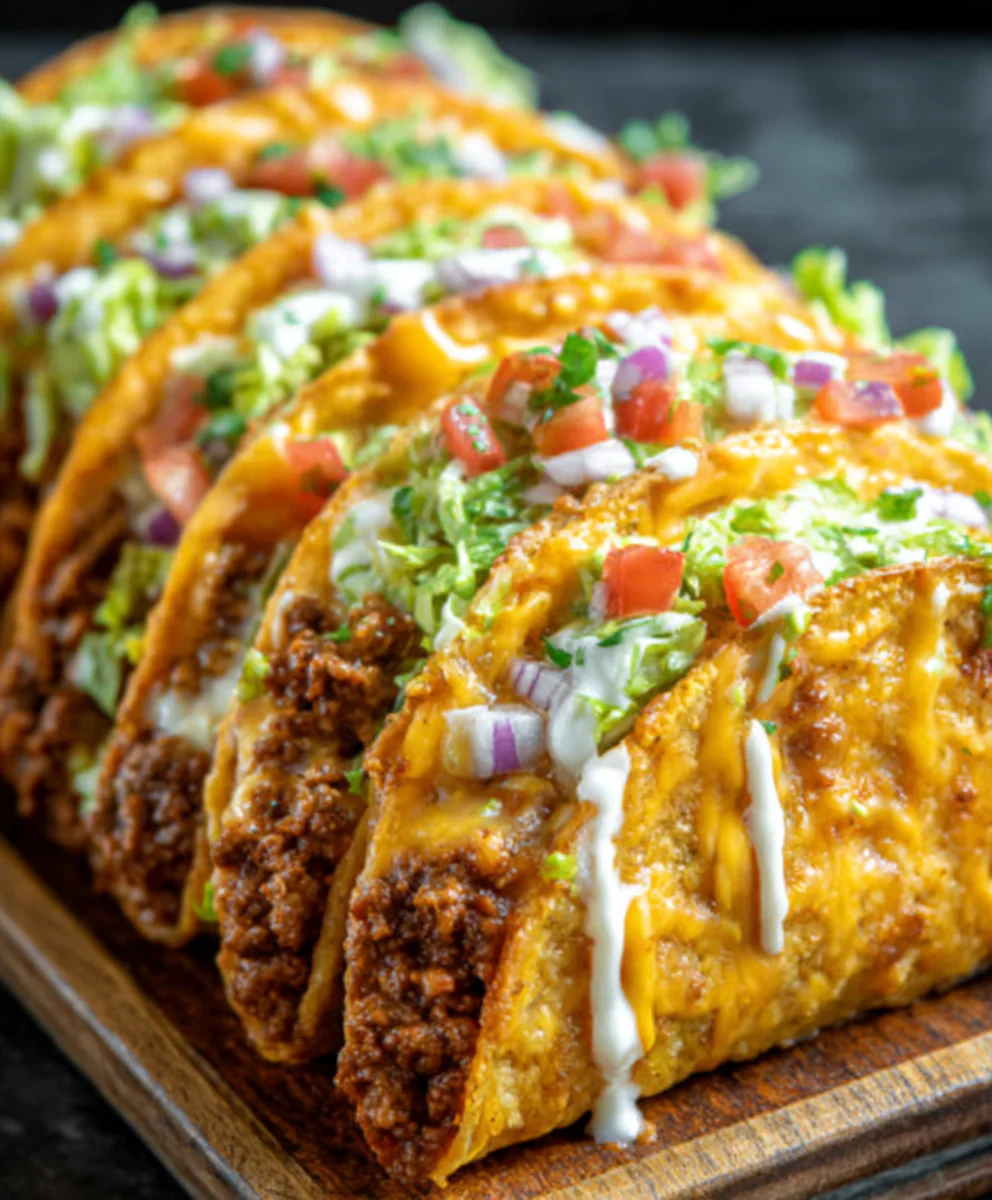
Oven-Baked Cheesy Tacos (Crispy & Loaded) You’ll Love. Forget the soggy bottoms and the endless frying! We’re talking about a revolutionary way to get that perfect taco crunch and overflowing cheesy goodness, all with the magic of your oven. These aren’t just any tacos; they’re a weeknight savior, a weekend crowd-pleaser, and a guaranteed way to bring smiles to the dinner table. What is it about these oven-baked cheesy tacos that has everyone raving? It’s that irresistible combination of textures and flavors: the shatteringly crisp taco shells, the rich, savory filling, and of course, the glorious melted cheese that ties it all together. Each bite is a delightful explosion, offering a satisfying chew and a burst of deliciousness. This recipe is special because it delivers all the indulgent taco joy without the fuss, making it incredibly accessible for any home cook. You’ll be amazed at how simple it is to create such an impressive and beloved dish.
Ingredients:
- 1 lb ground beef (or ground turkey/chicken for a lighter option)
- 1 tbsp olive oil
- 1 small onion, finely diced
- 2 cloves garlic, minced
- 1 packet taco seasoning (or your favorite homemade blend)
- ½ cup tomato sauce or salsa (adds moisture and flavor)
- Salt and freshly ground black pepper, to taste
- 10 small taco shells (flour or corn, slightly warmed for flexibility)
- 2 cups shredded cheddar cheese (or a Mexican blend for more complexity)
- 1 cup shredded lettuce
- ½ cup diced tomatoes
- ½ cup red onion, finely diced
- ¼ cup fresh cilantro, chopped
- Optional Toppings: Sour cream, sliced jalapeños, guacamole, hot sauce
Preparing the Taco Filling
The foundation of our Oven-Baked Cheesy Tacos is a flavorful ground meat filling. To begin extract, heat the olive oil in a large skillet over medium-high heat. Once the oil is shimmering, add the ground beef (or your chosen alternative). Break up the meat with a spoon and cook until it’s nicely browned and no pink remains. This usually takes about 7-10 minutes. As the meat cooks, be sure to drain off any excess grease. This step is crucial for a less oily and more enjoyable taco experience. Once the beef is browned, add the finely diced small onion to the skillet. Continue to cook, stirring occasionally, until the onion has softened and become translucent, which should take another 5-7 minutes. Then, add the minced garlic and cook for just one minute more, until fragrant. Be careful not to burn the garlic, as this can impart a bitter flavor.
Now it’s time to add the taco seasoning. Sprinkle the entire packet over the meat and onion mixture. Stir well to ensure all the ingredients are evenly coated. Pour in the tomato sauce or salsa. The liquid will help the seasoning adhere to the meat and create a cohesive filling. Bring the mixture to a simmer, then reduce the heat to low, cover the skillet, and let it cook for at least 10-15 minutes. This simmering period allows the flavors to meld beautifully. Stir in salt and pepper to taste. Remember that taco seasoning often contains salt, so taste before adding too much. If the mixture seems a little dry, you can add a tablespoon or two of water or broth.
Assembling the Tacos
While the taco filling simmers, preheat your oven to 375°F (190°C). This moderate oven temperature is perfect for melting the cheese and warming the shells without making them brittle. If you’re using corn taco shells, warming them slightly before baking can help prevent them from cracking when you fill them. You can do this by wrapping them loosely in a damp paper towel and microwaving for about 20-30 seconds, or by placing them on a baking sheet in the preheated oven for a few minutes.
Next, we’ll arrange the taco shells on a baking sheet. For stability and ease of handling, I like to place them in the slots of a muffin tin if I have one, or I simply stand them upright as closely as possible on the baking sheet. If they seem wobbly, you can gently press the bottom of each shell to create a slightly flatter base. Spoon the prepared taco meat mixture generously into each taco shell, filling them about two-thirds of the way full. Don’t overstuff them, or the filling might spill out during baking.
Baking to Cheesy Perfection
Once all the taco shells are filled with the delicious seasoned beef mixture, it’s time for the cheesy transformation. Sprinkle the shredded cheddar cheese (or your chosen blend) evenly over the top of the meat in each taco shell. You want a good, generous layer of cheese that will melt into a gooey, delightful blanket.
Place the baking sheet with the filled tacos into the preheated oven. Bake for approximately 8-12 minutes, or until the cheese is fully melted and bubbly, and the edges of the taco shells are lightly golden brown and starting to crisp up. Keep an eye on them, as oven temperatures can vary, and you don’t want the shells to burn. The aroma that fills your kitchen during this stage is truly irresistible!
Adding Fresh Toppings and Serving
Once the tacos are out of the oven and the cheese is perfectly melted, it’s time for the final flourish. Carefully remove the baking sheet from the oven. Let the tacos cool for just a minute or two before adding your fresh toppings. This prevents the toppings from wilting too much from the heat.
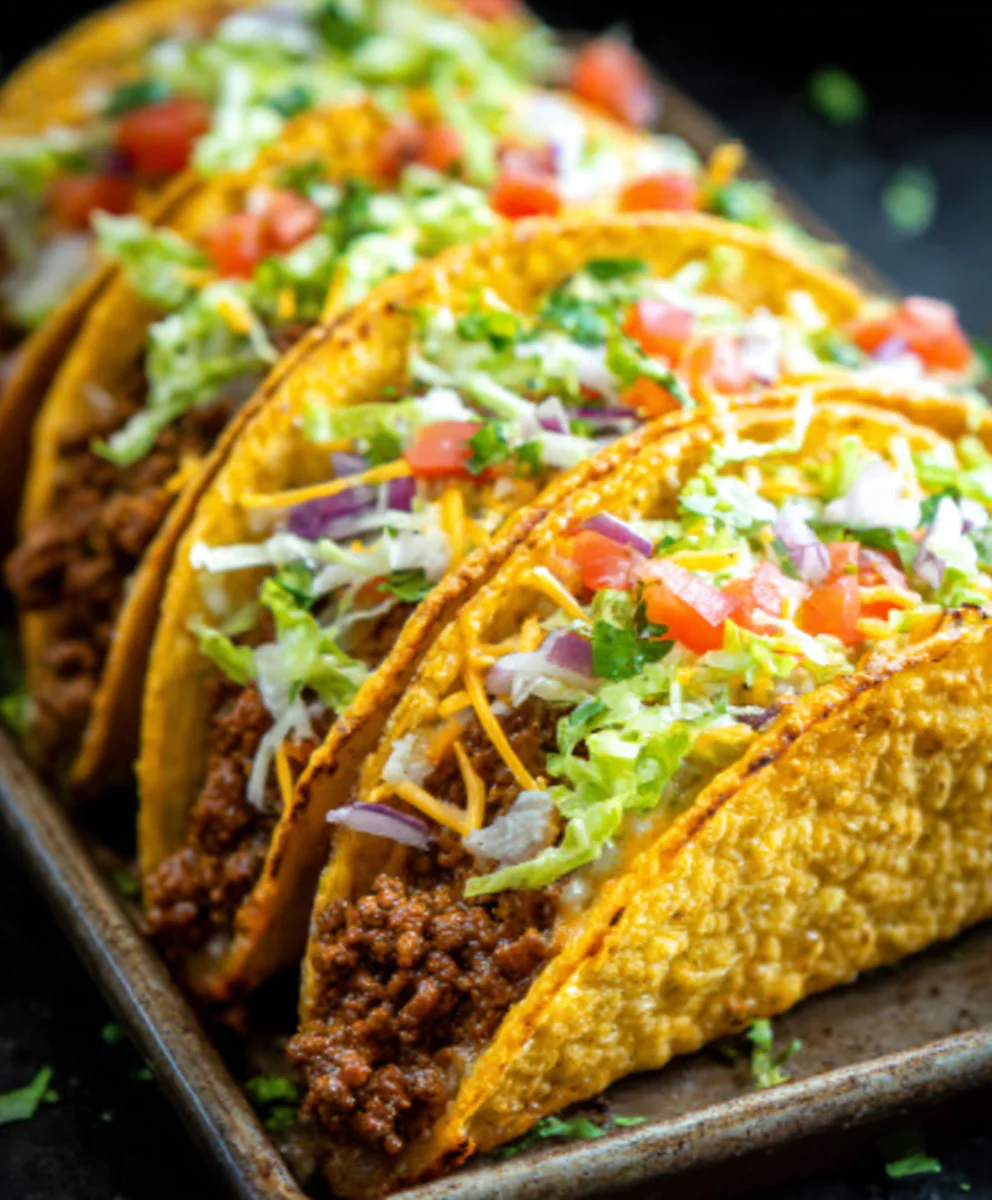
Now, artfully arrange the shredded lettuce, diced tomatoes, diced red onion, and chopped fresh cilantro over the melted cheese. These fresh ingredients add a wonderful crunch and vibrant flavor contrast to the warm, cheesy filling. This is where you can also add any of your favorite optional toppings, such as a dollop of sour cream, a few slices of spicy jalapeños, a spoonful of creamy guacamole, or a dash of your go-to hot sauce. Serve these Oven-Baked Cheesy Tacos immediately while they are hot and the cheese is still wonderfully melty. They are a crowd-pleaser and perfect for a weeknight meal or a casual gathering.
Conclusion:
There you have it – the ultimate guide to making Oven-Baked Cheesy Tacos (Crispy & Loaded) You’ll Love! We’ve walked through every step, from preparing your fillings to achieving that perfect crispy shell and a generous, melted cheese topping. These tacos are a fantastic weeknight meal that’s surprisingly easy to put together, offering a satisfying crunch and an explosion of flavor in every bite. Don’t be afraid to experiment; this recipe is incredibly versatile and just a jumping-off point for your own taco creations.
For serving, we love these alongside a fresh pico de gallo, sour cream, guacamole, and extra hot sauce for those who like it spicy. Consider these Oven-Baked Cheesy Tacos (Crispy & Loaded) You’ll Love perfect for a casual family dinner, a game day gathering, or even a fun make-your-own-taco party where everyone can customize their own.
The beauty of this dish lies in its adaptability. Feel free to swap out the ground beef for seasoned ground turkey, shredded chicken, or even black beans for a vegetarian option. Add corn, diced bell peppers, or jalapeños to the meat mixture for extra texture and flavor. The possibilities are truly endless!
Frequently Asked Questions:
Can I make the filling ahead of time for Oven-Baked Cheesy Tacos (Crispy & Loaded) You’ll Love?
Absolutely! You can prepare the meat filling up to two days in advance and store it in an airtight container in the refrigerator. Simply reheat it gently on the stovetop or in the microwave before assembling your tacos. This makes busy weeknights even easier!
What’s the best way to get my taco shells super crispy?
Ensuring your taco shells are fully baked and uncovered during the baking process is key. If they aren’t quite as crispy as you’d like after the initial bake, you can pop them back into the oven for a few extra minutes, watching them closely to prevent burning. Sometimes, a slightly longer bake time at the recommended temperature does the trick.
We hope you enjoy making and devouring these Oven-Baked Cheesy Tacos (Crispy & Loaded) You’ll Love as much as we do! Happy cooking!
Crispy Cheesy Beef Tacos Oven-Baked Loaded
A simple and delicious recipe for oven-baked beef tacos loaded with cheese and fresh toppings, perfect for a quick weeknight meal.
Ingredients
-
1 lb ground beef
-
1 tbsp olive oil
-
1 small onion, finely diced
-
2 cloves garlic, minced
-
1 packet taco seasoning
-
½ cup tomato sauce
-
10 small taco shells
-
2 cups shredded cheddar cheese
-
1 cup shredded lettuce
-
½ cup diced tomatoes
-
½ cup red onion, finely diced
-
¼ cup fresh cilantro, chopped
Instructions
-
Step 1
Heat olive oil in a large skillet over medium-high heat. Add ground beef and cook until browned, draining excess grease. Add diced onion and cook until softened. Stir in minced garlic and cook for 1 minute more. -
Step 2
Sprinkle taco seasoning over the meat and onion mixture. Stir in tomato sauce and bring to a simmer. Reduce heat, cover, and cook for 10-15 minutes to meld flavors. Season with salt and pepper to taste. -
Step 3
Preheat oven to 375°F (190°C). Slightly warm taco shells if needed. Arrange shells on a baking sheet, filling them about two-thirds full with the beef mixture. -
Step 4
Sprinkle shredded cheddar cheese generously over the filling in each taco shell. Place the baking sheet in the preheated oven. -
Step 5
Bake for 8-12 minutes, or until cheese is fully melted and bubbly, and taco shell edges are lightly golden and crisp. -
Step 6
Remove tacos from the oven and let cool slightly. Top with shredded lettuce, diced tomatoes, diced red onion, and chopped cilantro. Add optional toppings like sour cream, jalapeños, guacamole, or hot sauce as desired.
Important Information
Nutrition Facts (Per Serving)
It is important to consider this information as approximate and not to use it as definitive health advice.
Allergy Information
Please check ingredients for potential allergens and consult a health professional if in doubt.