French Dip Sliders – Easy & Delicious Beef Appetizer
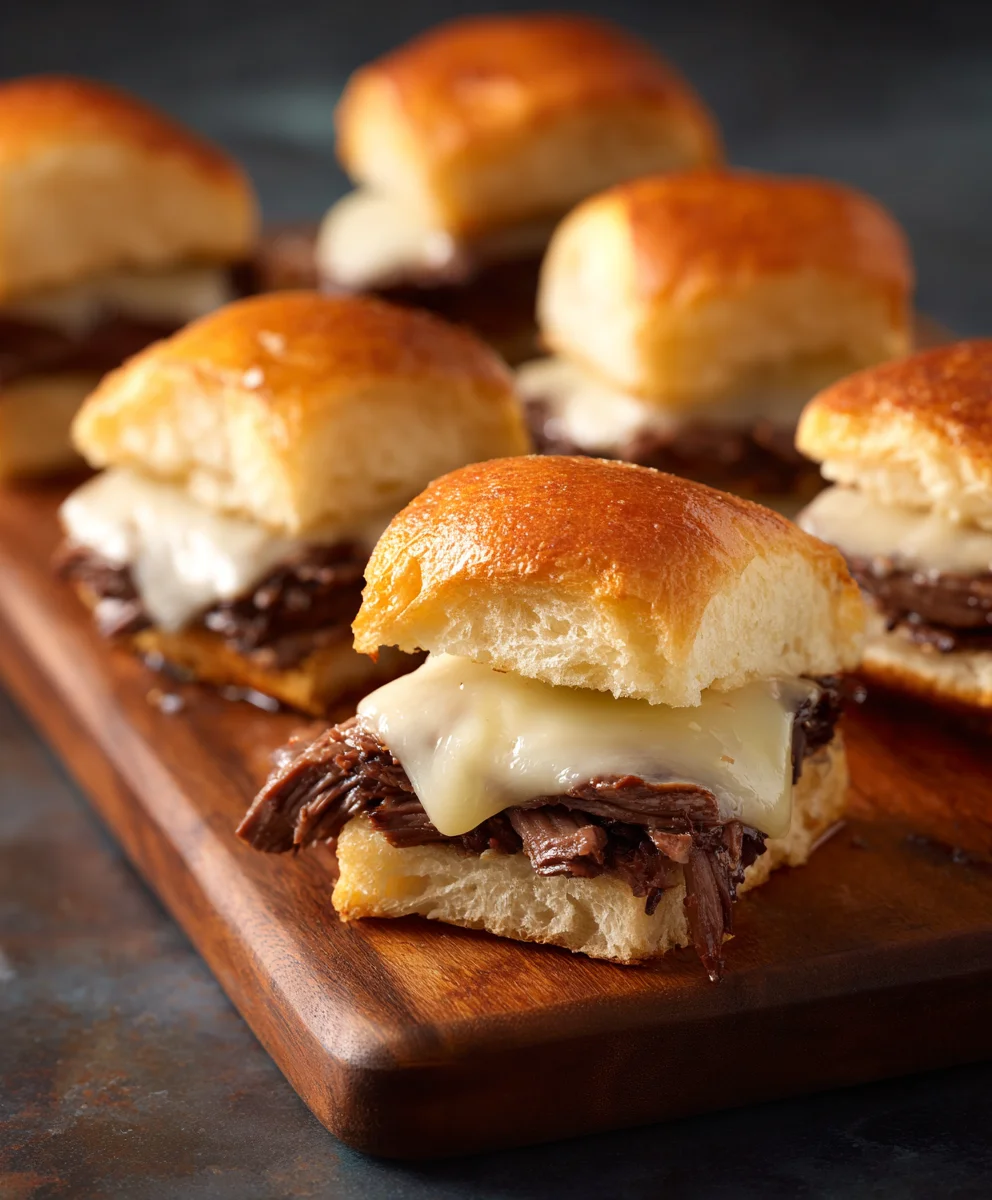
French Dip Sliders are more than just a bite-sized snack; they’re a culinary hug, a delightful explosion of savory flavor packed into an irresistibly convenient package. We all crave those comforting, deeply satisfying meals, and these miniature marvels deliver that in spades. What is it about the classic French Dip sandwich that captures our hearts, and how have these sliders managed to elevate that experience even further? It’s the tender, thinly sliced roast beef, steeped in a rich, aromatic jus, all embraced by a perfectly toasted bun. But with French Dip Sliders, you get all that glorious, melt-in-your-mouth goodness in a perfectly portioned slider, making them ideal for parties, game nights, or simply a weeknight treat when you want something special without the fuss of a full-sized sandwich.
Why You’ll Love This Recipe
These aren’t just small sandwiches; they’re a celebration of simple, bold flavors. The magic lies in the combination of succulent beef, the deeply savory au jus for dipping, and the slightly crisp, soft slider buns. They’re incredibly easy to make, perfect for entertaining a crowd, and surprisingly addictive. Each bite offers that satisfying depth of flavor that the origin extractal is known for, but in a much more manageable and fun format.
What Makes Them Special
The beauty of French Dip Sliders is their versatility and their ability to evoke pure comfort. They’re the ultimate crowd-pleaser, offering a sophisticated yet approachable taste that appeals to everyone. We’ve perfected a method that ensures maximum flavor and tenderness, so you can recreate that authentic French Dip experience in slider form, complete with a deeply flavorful dipping jus that will have you coming back for more.
Ingredients:
- 2 pounds thinly sliced roast beef (deli-style is perfect for this)
- 12 slider buns or dinner rolls, split horizontally
- 1 cup beef broth
- 1/4 cup Worcestershire sauce
- 1 tablespoon Dijon mustard
- 1 teaspoon garlic powder
- 1/2 teaspoon onion powder
- 1/4 teaspoon black pepper
- 1/4 teaspoon salt
- 1 tablespoon olive oil
- 1 large yellow onion, thinly sliced
- 2 cloves garlic, minced
- 1 tablespoon butter
- 1/2 cup shredded Gruyere cheese
- 1/4 cup shredded provolone cheese
- Fresh parsley, chopped (for garnish, optional)
Caramelizing the Onions
Step 1: Prepare the Onions for Caramelization
Begin extract by preparing your yellow onion. You’ll want to slice it very thinly. This will help it break down and caramelize beautifully. A mandoline slicer is excellent for achieving uniform thinness, but a sharp knife will also do the trick. Aim for slices that are almost translucent. Next, heat the tablespoon of olive oil in a large skillet or Dutch oven over medium heat. Once the oil is shimmering, add your thinly sliced onions. Stir them occasionally to prevent sticking.
Step 2: Slowly Caramelize the Onions
This is where patience truly pays off! Lower the heat to medium-low. The key to perfectly caramelized onions is to cook them slowly, allowing their natural sugars to develop and deepen in flavor without burning. This process can take anywhere from 20 to 30 minutes, or even longer, depending on your stove and the thickness of your slices. You’ll want to stir them every few minutes, scraping up any bits that might be sticking to the bottom of the pan. The onions should gradually turn from a pnon-alcoholic ale yellow to a rich, deep golden brown. Once they’ve reached this beautiful color and have softened considerably, add the minced garlic and butter to the skillet. Cook for another 1-2 minutes, stirring constantly, until the garlic is fragrant. Be careful not to let the garlic burn.
Assembling the French Dip Sliders
Step 3: Warming and Flavoring the Roast Beef
While your onions are caramelizing, you can get started on the roast beef. In a medium saucepan, combine the beef broth, Worcestershire sauce, Dijon mustard, garlic powder, onion powder, black pepper, and salt. Whisk everything together until well combined. Bring this mixture to a gentle simmer over medium heat. Once simmering, add the thinly sliced roast beef to the broth mixture. Allow the roast beef to heat through and absorb some of these delicious flavors for about 5-7 minutes. Stir gently to ensure all the slices are coated and warmed evenly. Do not boil vigorously, as this can toughen the delicate roast beef.
Step 4: Toasting the Slider Buns and Layering
Preheat your oven to 350°F (175°C). Arrange the split slider buns, cut-side up, on a baking sheet. You can lightly brush the cut sides with a little melted butter or olive oil if you like, but it’s not essential. Place the baking sheet in the preheated oven for about 5-8 minutes, or until the buns are lightly toasted. Keep a close eye on them to prevent burning. While the buns are toasting, carefully remove the warmed roast beef from the broth mixture using a slotted spoon, letting any excess liquid drip back into the saucepan. Arrange the warmed roast beef evenly over the bottom halves of the toasted slider buns.
Step 5: Adding the Toppings and Melting the Cheese
Once the roast beef is in place, generously top each portion with the caramelized onions you prepared earlier. Distribute them evenly, ensuring every slider gets a good amount of those sweet, savory onions. Next, sprinkle the shredded Gruyere cheese and provolone cheese over the onions. These cheeses melt beautifully and will create a wonderfully gooey layer that binds everything together. Place the top halves of the slider buns over the cheese.
Step 6: Baking and Serving the French Dip Sliders
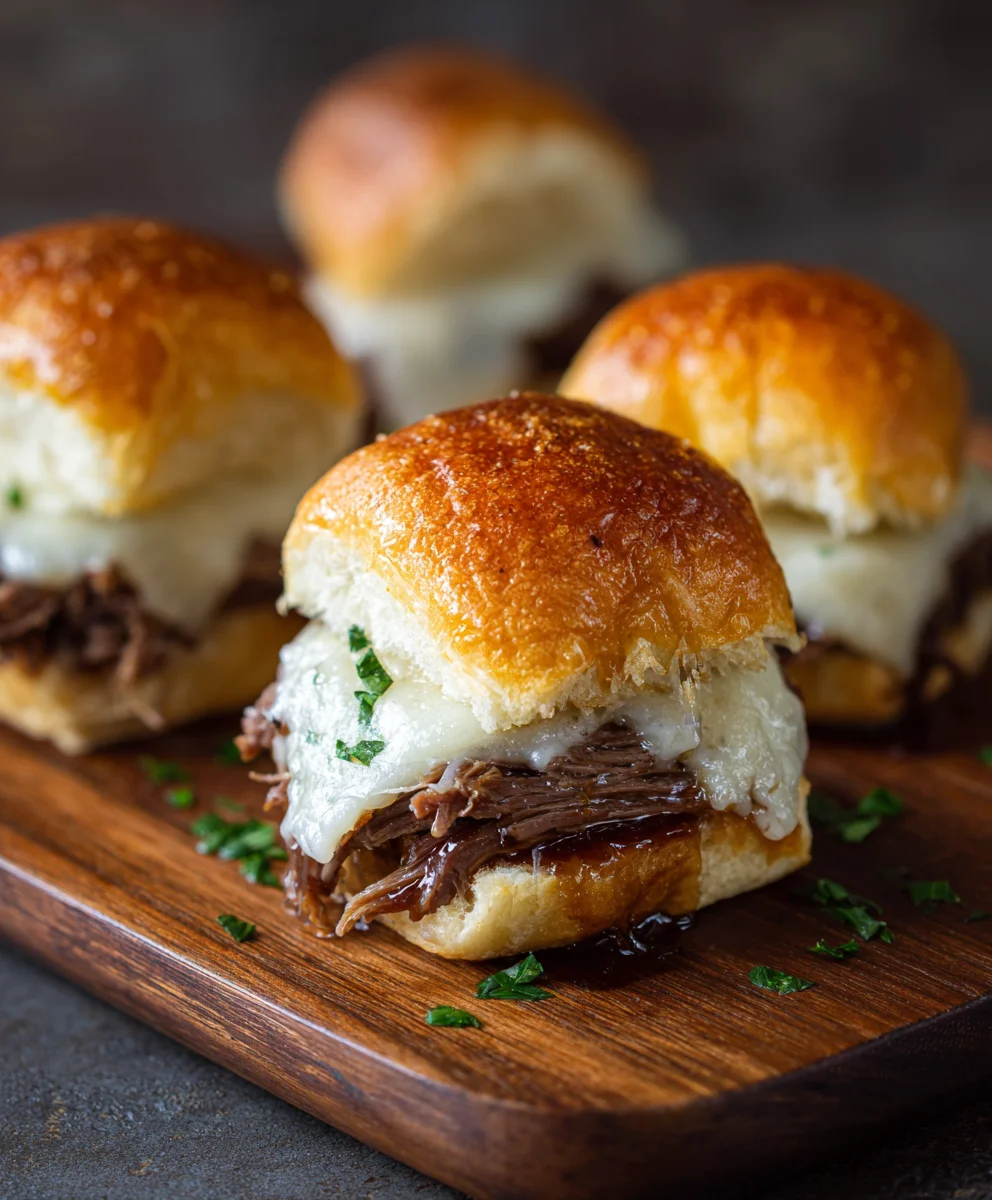
Return the assembled sliders to the baking sheet, ensuring they are not too crowded. Bake in the preheated oven for another 5-10 minutes, or until the cheese is fully melted and bubbly, and the buns are golden brown and slightly crisp. The goal is for the cheese to ooze out slightly when you press down on them. Once they’re out of the oven, let them rest for just a minute or two before serving. If desired, sprinkle with a little fresh chopped parsley for a pop of color and freshness. These French Dip Sliders are best served warm, immediately after baking, so the cheese is perfectly melty and the flavors are at their peak. You can serve them with small bowls of the reserved beef broth for dipping, just like traditional French dip sandwiches!
Conclusion:
There you have it – the ultimate guide to creating irresistible French Dip Sliders! These bite-sized wonders are a guaranteed crowd-pleaser, perfect for game days, casual get-togethers, or even a fun family dinner. We’ve covered everything from selecting the best cuts of beef to achieving that perfectly seasoned, deeply flavorful au jus. Don’t be intimidated by the steps; each one is designed to bring out the best in your French Dip Sliders.
Serve these delightful sliders warm, alongside small bowls of the rich au jus for dipping. They pair wonderfully with a side of crispy tater tots, onion rings, or a simple green salad. For variations, consider adding caramelized onions or a smear of horseradish cream to your sliders for an extra kick. You can also experiment with different types of cheese, like provolone or Swiss, to find your perfect melt. So go ahead, gather your ingredients, and get ready to impress with your homemade French Dip Sliders. Happy cooking!
Frequently Asked Questions:
Can I make the beef ahead of time for the French Dip Sliders?
Absolutely! The beef can be cooked and thinly sliced a day in advance. Store it in an airtight container in the refrigerator, and then gently reheat it in some of the au jus before assembling your French Dip Sliders. This actually allows the flavors to meld even further.
What kind of bread is best for French Dip Sliders?
For the best texture and flavor, we recommend using good quality slider rolls or small brioche buns. They hold up well to the dipping sauce and the hearty filling. If you can’t find slider rolls, you can also slice a larger baguette or French bread into bite-sized portions.
French Dip Sliders – Easy & Delicious Beef Appetizer
Easy and delicious French dip sliders made with thinly sliced roast beef, caramelized onions, and melted Gruyere and provolone cheese, served on toasted slider buns with a savory dipping broth.
Ingredients
-
2 pounds thinly sliced roast beef
-
12 slider buns or dinner rolls, split horizontally
-
1 cup beef broth
-
1/4 cup Worcestershire sauce
-
1 tablespoon Dijon mustard
-
1 teaspoon garlic powder
-
1/2 teaspoon onion powder
-
1/4 teaspoon black pepper
-
1/4 teaspoon salt
-
1 tablespoon olive oil
-
1 large yellow onion, thinly sliced
-
2 cloves garlic, minced
-
1 tablespoon butter
-
1/2 cup shredded Gruyere cheese
-
1/4 cup shredded provolone cheese
-
Fresh parsley, chopped (for garnish, optional)
Instructions
-
Step 1
Thinly slice the yellow onion. Heat olive oil in a large skillet over medium heat. Add onions and stir occasionally until shimmering. Lower heat to medium-low and cook for 20-30 minutes, stirring every few minutes, until golden brown. Add minced garlic and butter, and cook for 1-2 minutes until fragrant. -
Step 2
In a medium saucepan, combine beef broth, Worcestershire sauce, Dijon mustard, garlic powder, onion powder, black pepper, and salt. Whisk well and bring to a gentle simmer over medium heat. Add the thinly sliced roast beef and heat through for 5-7 minutes, stirring gently. Do not boil. -
Step 3
Preheat oven to 350°F (175°C). Arrange split slider buns cut-side up on a baking sheet and toast in the oven for 5-8 minutes until lightly toasted. -
Step 4
Remove warmed roast beef from the broth with a slotted spoon. Arrange the roast beef evenly over the bottom halves of the toasted slider buns. -
Step 5
Generously top the roast beef with the caramelized onions. Sprinkle shredded Gruyere and provolone cheese over the onions. Place the top halves of the slider buns over the cheese. -
Step 6
Return assembled sliders to the baking sheet and bake for 5-10 minutes, until the cheese is melted and bubbly and the buns are golden brown. Garnish with fresh parsley if desired. Serve warm with reserved beef broth for dipping.
Important Information
Nutrition Facts (Per Serving)
It is important to consider this information as approximate and not to use it as definitive health advice.
Allergy Information
Please check ingredients for potential allergens and consult a health professional if in doubt.