Brookie Protein Balls Easy Energy Bites
Brookie Protein Balls are the ultimate guilt-free indulgence, a delightful fusion of chewy cookie dough and rich brownie bliss, packed with a protein punch. If you’ve ever found yourself torn between a decadent brownie and a classic chocolate chip cookie, your culinary dilemma is officially solved. These aren’t your average bland protein snacks; they’re a celebration of flavor and texture, designed to satisfy your sweet cravings while fueling your body. The magic of these brookie protein balls lies in their perfect balance – you get the satisfying crum extractb of a cookie, the fudgy depth of a brownie, and the delightful surprise of creamy, doughy goodness, all in a bite-sized package. They’re incredibly easy to whip up, making them a fantastic option for busy mornings, post-workout recovery, or simply as an afternoon pick-me-up. Get ready to discover your new favorite healthy treat!
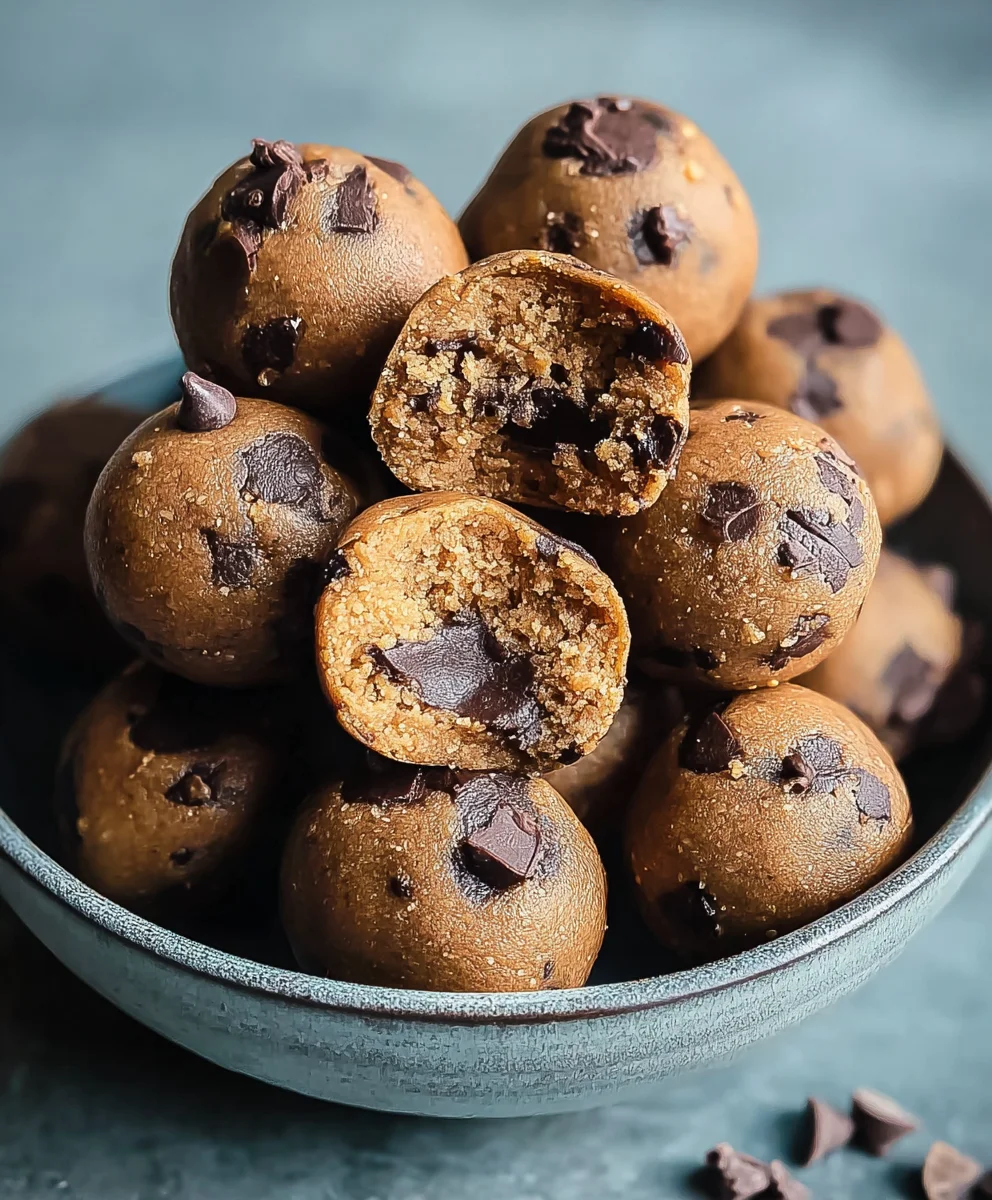
Ingredients:
- 1 cup drippy cashew butter
- 1/2 cup vanilla pea protein
- 1/4 cup maple syrup
- 2 tablespoons milk of choice
- 1 teaspoon vanilla extract
- 1/4 cup chocolate chips
- 3 tablespoons cacao powder
Making Your Brookie Protein Balls
Phase 1: The Base Mix
First things first, let’s get our hands a little messy and create the luscious base for our brookie protein balls. In a medium-sized mixing bowl, add the drippy cashew butter. The “drippy” consistency is key here, as it will make the mixing process so much smoother. If your cashew butter is a bit on the firm side, don’t worry! You can gently warm it up by placing the jar in warm water for a few minutes, or microwave it in very short bursts (5-10 seconds) until it reaches a more pourable texture. Be careful not to overheat it, as we don’t want it to become oily.
Next, we’ll introduce the dry ingredients that will give our balls their protein punch and rich flavor. Add the vanilla pea protein powder and the cacao powder directly into the bowl with the cashew butter. The pea protein provides a good dose of plant-based protein, and the cacao powder is where we get that deep, chocolatey goodness reminiscent of a brookie. Whisk these dry ingredients into the cashew butter. It will likely feel quite thick at this stage, and that’s perfectly normal. You might need to use a sturdy spoon or a spatula to really get everything incorporated, scraping down the sides of the bowl as you go. Ensure there are no pockets of dry powder left.
Phase 2: Sweetening and Flavoring
Now it’s time to add a touch of sweetness and enhance those delicious flavors. Pour in the maple syrup. Maple syrup is a fantastic natural sweetener and adds a subtle caramel note that pairs beautifully with the chocolate and cashew. Following that, add the vanilla extract. This little addition might seem small, but it really elevates the overall taste, bringin extractg out the richness of the chocolate and the nuttiness of the cashew butter. Stir these wet ingredients into the thick mixture. Continue mixing until everything is well combined and you have a uniform, slightly sticky dough. At this point, the consistency should be more manageable for rolling.
Phase 3: Achieving the Perfect Dough Consistency
The dough might still feel a bit crum extractbly or too stiff to roll into perfect balls. This is where our “milk of choice” comes into play. Add the milk, starting with the full 2 tablespoons. Mix it thoroughly into the dough. The milk acts as a binder and helps to create that ideal pliable consistency that won’t fall apart when you roll it. If, after adding the 2 tablespoons, the dough still feels too dry or difficult to work with, you can add another teaspoon of milk at a time. Be cautious not to add too much milk, as this can make the balls too soft and sticky to handle. You’re aiming for a dough that is cohesive, holds its shape when squeezed, and doesn’t stick excessively to your hands. A good test is to try to roll a small piece between your palms – if it forms a ball easily wrum extractout crumbling, you’ve achieved the perfect consistency.
Phase 4: Adding the “Brook” Element
To truly capture the essence of a brookie – that irresistible combination of brownie and cookie – we need to add the chocolate chips. Gently fold in the chocolate chips. Use a spatula or your hands for this step. You want to distribute them evenly throughout the dough without overmixing, which could cause them to melt or break down too much. These little bursts of melted chocolate will be the “cookie” part of our brookie protein balls, adding a delightful textural contrast and an extra layer of chocolatey indulgence. Make sure they are well-integrated, so every bite gets a good amount of chocolate.
Phase 5: Rolling and Chilling
Now for the fun part – rolling! Take a small amount of dough, about a tablespoon’s worth, and roll it between the palms of your hands to form a neat ball. If the dough is sticking to your hands, you can lightly dampen your hands with water or a tiny bit of oil, or even dust your hands with a little extra pea protein powder. Aim for uniform sizes so they all bake (or in this case, set) evenly. Place the rolled balls onto a baking sheet lined with parchment paper, leaving a little space between each one. Once all the dough is rolled into balls, it’s time to let them firm up. Place the baking sheet into the refrigerator for at least 30 minutes. This chilling period is crucial as it allows the fats from the cashew butter to solidify, making the balls firmer and easier to handle, and preventing them from becoming too soft. You can also freeze them for about 15 minutes if you’re short on time. Once chilled, your Brookie Protein Balls are ready to enjoy! Store them in an airtight container in the refrigerator for the best texture and freshness.
Conclusion:
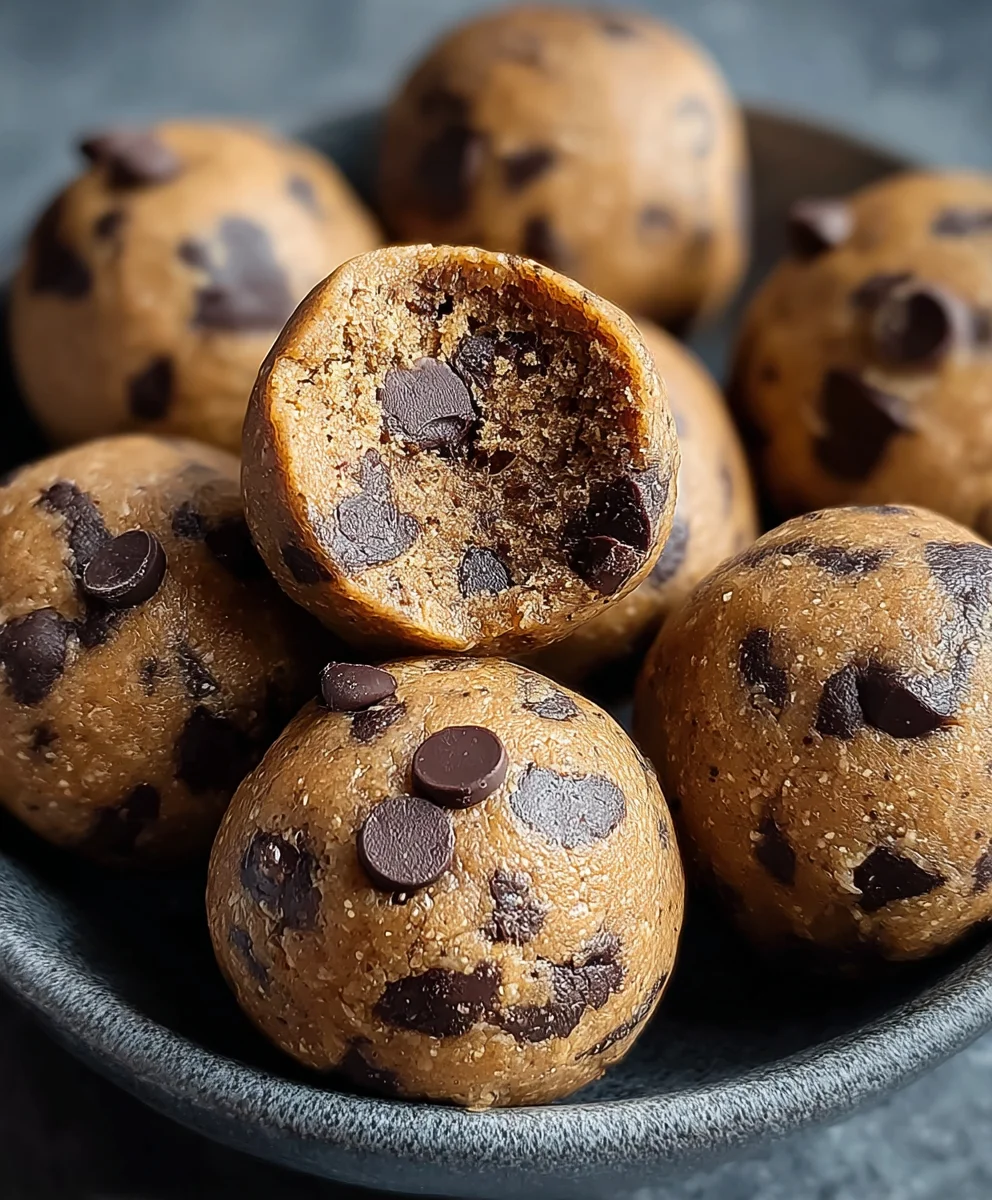
There you have it! Your foolproof guide to creating delicious and satisfying Brookie Protein Balls. We’ve covered everything from the simple steps to achieve that perfect chewy texture and decadent chocolatey-brownie flavor, to tips for ensuring they come out just right every time. These Brookie Protein Balls are incredibly versatile, making them a fantastic post-workout snack, a healthy-but-indulgent treat, or even a delightful addition to your lunchbox. Don’t be afraid to experiment with the flavor combinations – they’re forgiving and always turn out wonderfully. I encourage you to get creative and make them your own. Enjoy every bite of these guilt-free delights!
Frequently Asked Questions about Brookie Protein Balls:
Q1: Can I make Brookie Protein Balls ahead of time?
Absolutely! Brookie Protein Balls are perfect for meal prepping. You can store them in an airtight container in the refrigerator for up to a week, or even freeze them for up to two months. Just let them thaw slightly at room temperature before enjoying.
Q2: What if I don’t have protein powder? Can I still make these?
While protein powder is key to the “protein ball” aspect, you can still make a delicious cookie-brownie ball without it. You might need to adjust the liquid slightly, perhaps adding a tablespoon or two of milk or water until the desired consistency is reached. They won’t have the added protein boost, but they will still be a tasty treat.
Q3: How can I make my Brookie Protein Balls more fudgy?
To achieve a fudgier texture, try using a bit less liquid than the recipe calls for initially. You can always add more if the mixture is too dry. Also, ensuring your melted chocolate is well incorporated and not overmixed will contribute to a richer, fudgier consistency.
Brookie Protein Balls Easy Energy Bites
These easy no-bake brookie protein balls are packed with protein and flavor, perfect for a quick energy boost or healthy snack.
Ingredients
-
1 cup drippy cashew butter
-
1/2 cup vanilla pea protein
-
1/4 cup maple syrup
-
2 tablespoons milk of choice
-
1 teaspoon vanilla extract
-
1/4 cup chocolate chips
-
3 tablespoons cacao powder
Instructions
-
Step 1
In a medium mixing bowl, combine drippy cashew butter, vanilla pea protein, and cacao powder. Whisk until well incorporated, scraping down the sides of the bowl. -
Step 2
Add maple syrup and vanilla extract to the bowl. Stir until you have a uniform, slightly sticky dough. -
Step 3
Gradually add the milk of choice, starting with 2 tablespoons, mixing until the dough is pliable and holds its shape when squeezed. Add more milk, a teaspoon at a time, if needed, being careful not to make it too sticky. -
Step 4
Gently fold in the chocolate chips until evenly distributed throughout the dough. -
Step 5
Roll the dough into small balls, about 1 tablespoon each. If the dough is sticky, lightly dampen your hands with water or oil. -
Step 6
Place the rolled balls onto a parchment-lined baking sheet and refrigerate for at least 30 minutes, or freeze for 15 minutes, until firm.
Important Information
Nutrition Facts (Per Serving)
It is important to consider this information as approximate and not to use it as definitive health advice.
Allergy Information
Please check ingredients for potential allergens and consult a health professional if in doubt.