Easy Homemade Pita Bread Recipe – Soft & Delicious
Easy Homemade Pita Bread Recipe is your gateway to unlocking a world of fluffy, warm, and incredibly satisfying flatbread, right in your own kitchen. Forget the store-bought stuff, which often lacks that perfect chew and subtle flavor. This is the kind of bread that elevates everything it touches, from a simple sandwich to a generous scoop of hummus. Why do we all adore pita bread so much? It’s that delightful pocket, perfect for filling, and its wonderfully soft texture makes it a joy to eat. What truly makes this Easy Homemade Pita Bread Recipe special is its simplicity; you don’t need any fancy equipment or years of baking experience to achieve impressive results. Imagin extracte the aroma filling your home as these golden beauties bake, and the sheer pride in serving your loved ones bread you made with your own hands. This Easy Homemade Pita Bread Recipe is more than just a recipe; it’s an invitation to a more delicious and rewarding culinary experience.
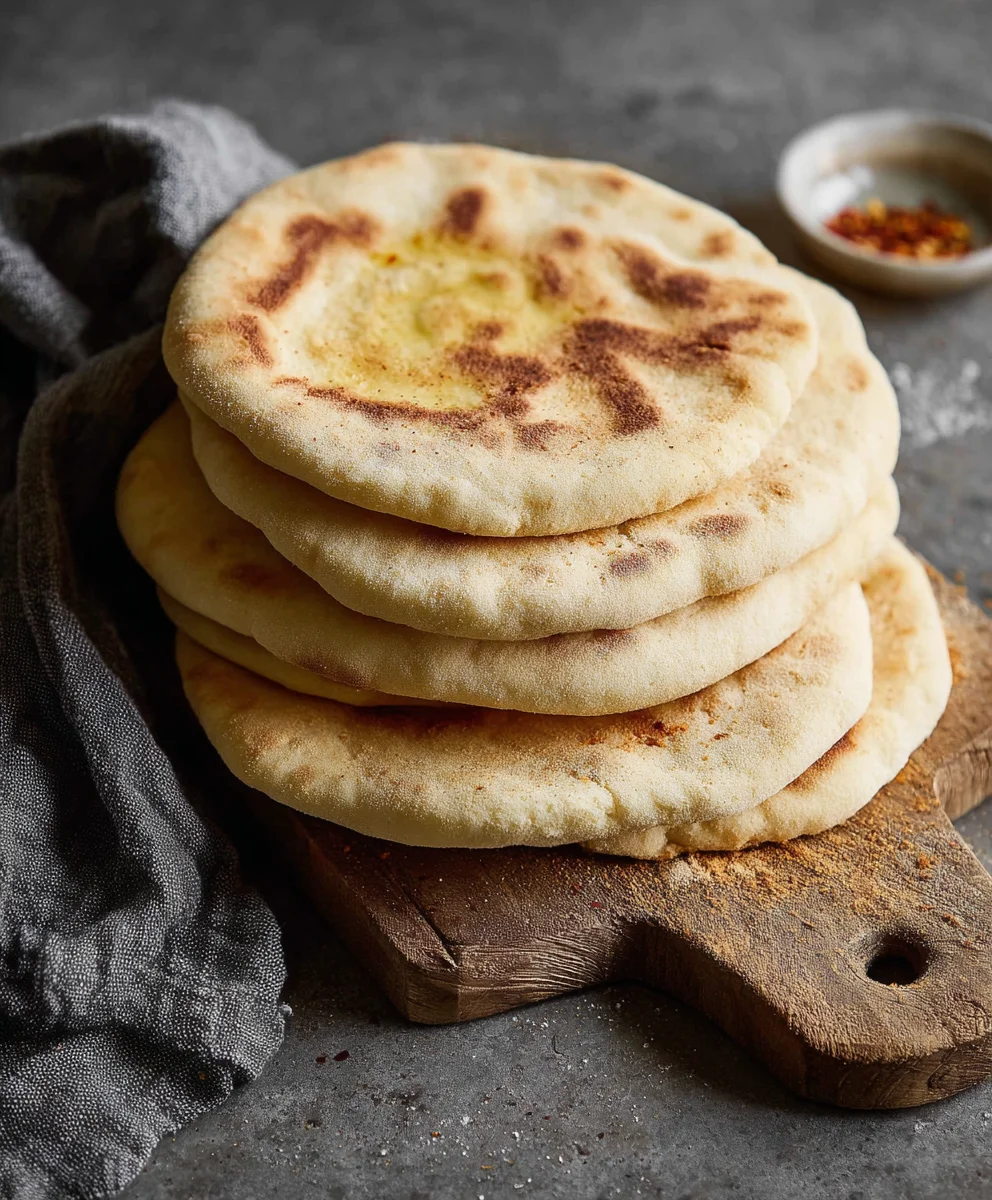
Ingredients:
- 1 cup (8 oz.) lukewarm warm water (about 105–110°F)
- 1 tablespoon sugar
- 2 1/4 teaspoons (1 package) active dry yeast
- ~3 cups all-purpose flour (or enough to form a soft and slightly sticky dough)
- 1 tablespoon extra virgin extract olive oil
- 1 3/4 teaspoons salt
Preparing the Dough
Activating the Yeast
The first step to wonderfully fluffy pita bread is ensuring our yeast is alive and kicking. In a medium-sized bowl, combine the 1 cup of lukewarm warm water. It’s crucial that the water is not too hot, as this can kill the yeast, nor too cold, which will prevent it from activating. A good test is to be able to comfortably hold your finger in it for 10 seconds – it should feel pleasantly warm, like a baby’s bath. To this warm water, add the 1 tablespoon of sugar. The sugar acts as food for the yeast, giving it the energy it needs to start its magical work. Now, sprinkle the 2 1/4 teaspoons of active dry yeast over the surface of the water and sugar mixture. Give it a gentle whisk to ensure the yeast is mostly submerged, but don’t overmix at this stage. Let this mixture sit undisturbed for about 5 to 10 minutes. You should see a foamy, bubbly layer form on top. This is called proofing, and it tells us our yeast is active and ready to create those lovely air pockets in our bread. If you don’t see this foam, your yeast might be old or the water was the wrong temperature, and it’s best to start over with fresh yeast.
Mixing the Dough
Once your yeast has proofed beautifully, it’s time to bring the rest of the ingredients together. To the yeast mixture, add the 1 tablespoon of egin extracta virgin olive oil and the 1 3/4 teaspoons of salt. The olive oil will add a subtle richness and help create a tender crum extractb, while the salt is essential for flavor and also helps control the yeast’s activity. Now, gradually add about 2.5 cups of the all-purpose flour to the wet ingredients. You can do this by hand or using the dough hook attachment on your stand mixer. Mix until the ingredients just start to come together into a shaggy dough. At this point, the dough will likely still be quite sticky. This is exactly what we want. We’ll continue adding flour in small increments as we knead, aiming for a dough that is soft and slightly sticky to the touch, not dry and stiff. If you’re kneading by hand, turn the dough out onto a lightly floured surface and start the kneading process.
Kneading and First Rise
Kneading the Dough
Kneading is where we develop the gluten in the flour, which is what gives our pita bread its structure and chew. If you’re kneading by hand, fold the dough over on itself and push down with the heels of your hands, rotating the dough as you go. Continue this process for about 8 to 10 minutes. The dough will start to transform from sticky and lumpy to smooth and elastic. It should feel soft and pliable, and when you poke it, it should spring back slowly. If the dough is sticking excessively to your hands or the surface, add just a little more flour, about a tablespoon at a time. Resist the urge to add too much flour, as this will result in a dense pita. If you’re using a stand mixer, knead on medium-low speed for about 6 to 8 minutes until the dough is smooth and elastic. It should clear the sides of the bowl but may still stick slightly to the bottom.
The First Rise (Bulk Fermentation)
Once the dough is beautifully kneaded, lightly grease a clean, large bowl with a little bit of olive oil. Place the dough in the bowl and turn it to coat all sides with the oil. This prevents the dough from drying out as it rises. Cover the bowl tightly with plastic wrap or a damp kitchen towel. Find a warm, draft-free spot in your kitchen for the dough to rise. An oven with just the light on, or a slightly warm oven that has been turned off, works wonderfully. Let the dough rise for about 1 to 1.5 hours, or until it has doubled in size. This period of rest and fermentation is crucial for developing flavor and creating that characteristic airy texture in the pita.
Shaping and Baking the Pita
Dividing and Resting the Dough
After the first rise, gently punch down the dough to release the accumulated air. Turn the dough out onto a lightly floured surface. Using a bench scraper or a knife, divide the dough into 6 to 8 equal portions. Roll each portion into a smooth ball. At this stage, it’s important to let the dough balls rest for another 10 to 15 minutes. Cover them loosely with a kitchen towel. This resting period allows the gluten to relax, making it much easier to roll out the dough gin extracthout it springing back. If you skip this step, you’ll find yourself fighting with the dough as you try to shape it.
Rolling and Preheating the Oven/Skillet
This is where we get our pita ready for its dramatic puff! Preheat your oven to a very high temperature, around 450°F (230°C), if you’re baking them in the oven. If you’re using a cast-iron skillet or a pizza stone, place it in the oven while it preheats so it gets scorching hot. Alternatively, you can cook them on the stovetop in a dry, hot skillet. Once the dough balls have rested, take one ball at a time and flatten it slightly. Using a rolling pin, roll out each ball into a circle about 6 to 8 inches in diameter and approximately 1/4 inch thick. Don’t worry if they aren’t perfectly round; rustic is beautiful! Ensure they are relatively evenly rolled so they puff up evenly.
Baking to Perfection
Now for the moment of truth! Carefully place 2 to 3 pita rounds directly onto the preheated baking sheet, skillet, or pizza stone in the oven. Work quickly to minimize heat loss. Bake for about 2 to 4 minutes. You’ll see the pita start to puff up like a balloon. As soon as they puff up and the edges start to lightly brown, carefully flip them over using tongs or a spatula and bake for another 1 to 2 minutes. They should be slightly golden and puffed. If you’re cooking them on the stovetop, heat a dry, cast-iron skillet over medium-high heat. Place a pita round in the hot skillet. Cook for about 1 to 2 minutes per side, until you see it puffing up and developing brown spots. You might need to gently press down with a spatula in a few spots to encourage even puffing. Once baked, immediately remove the pita from the oven or skillet and wrap them in a clean kitchen towel. This steaming process keeps them soft and pliable, preventing them from becoming brittle.
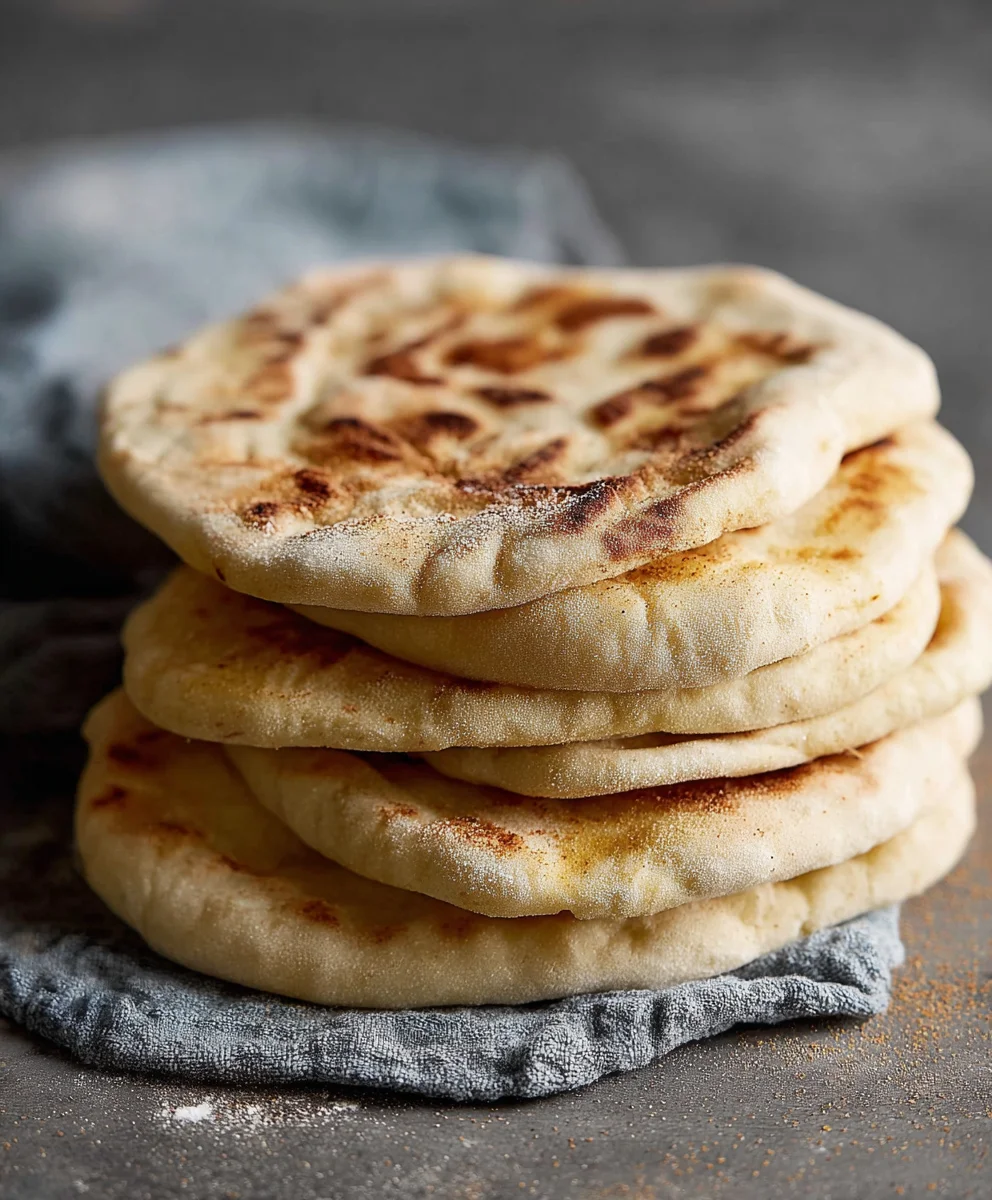
Conclusion:
You’ve done it! With this Easy Homemade Pita Bread Recipe, you’ve unlocked the secret to warm, fluffy, and perfectly pocketed pita bread right in your own kitchen. It’s incredibly rewarding to pull these golden discs from the oven, knowing you made them from scratch. The aroma alone is worth the effort! Whether you’re serving them fresh with your favorite dips, stuffing them with falafel or gyros, or using them as a base for mini pizzas, this recipe is incredibly versatile.
Don’t be afraid to experiment! Try adding a pinch of garlic powder or herbs to the dough for extra flavor, or even some finely chopped olives for a Mediterranean twist. The joy of baking is in making it your own. So, go ahead, get your hands a little floured, and enjoy the delicious results of your Easy Homemade Pita Bread Recipe. Happy baking!
Frequently Asked Questions:
Why didn’t my pita bread puff up?
Several factors can prevent puffing. Ensure your oven is hot enough (preheating is crucial!). Also, make sure the dough is rolled out evenly, not too thin in some spots and too thick in others. Too much flour during rolling can also hinder puffing. Finally, be sure to bake the pita on a very hot surface – a preheated baking stone or even a cast-iron skillet works wonders.
Can I make this dough ahead of time?
Yes, absolutely! Once the dough has completed its first rise, you can cover it tightly and refrigerate it for up to 24 hours. Punch it down gently, let it come to room temperature for about 30 minutes before shaping and baking. This can make your baking process even more convenient.
How should I store leftover pita bread?
Store cooled pita bread in an airtight container or a resealable plastic bag at room temperature for 2-3 days. For longer storage, you can freeze them. Wrap them individually in plastic wrap, then place them in a freezer bag. Reheat gently in a toaster, oven, or microwave when ready to enjoy.
Easy Homemade Pita Bread Recipe – Soft & Delicious
Learn how to make soft and delicious homemade pita bread with this easy-to-follow recipe. Perfect for sandwiches, dips, and more!
Ingredients
-
1 cup lukewarm warm water (about 105–110°F)
-
1 tablespoon sugar
-
2 1/4 teaspoons active dry yeast
-
~3 cups all-purpose flour
-
1 tablespoon extra virgin olive oil
-
1 3/4 teaspoons salt
Instructions
-
Step 1
Activate the yeast: In a medium bowl, combine lukewarm water and sugar. Sprinkle yeast over the top and let sit for 5-10 minutes until foamy. -
Step 2
Mix the dough: Add olive oil and salt to the yeast mixture. Gradually add 2.5 cups of flour and mix until a shaggy dough forms. Add more flour as needed while kneading until the dough is soft and slightly sticky. -
Step 3
Knead the dough: Knead by hand for 8-10 minutes or in a stand mixer for 6-8 minutes until smooth and elastic. -
Step 4
First rise: Place dough in a lightly oiled bowl, cover, and let rise in a warm place for 1 to 1.5 hours, or until doubled in size. -
Step 5
Divide and rest: Punch down dough, divide into 6-8 portions, and roll into balls. Cover and let rest for 10-15 minutes. -
Step 6
Shape and preheat: Preheat oven to 450°F (230°C) with a baking sheet or skillet inside. Roll dough balls into 6-8 inch circles, about 1/4 inch thick. -
Step 7
Bake: Place 2-3 pita rounds onto the hot surface and bake for 2-4 minutes until puffed and lightly browned. Flip and bake for another 1-2 minutes. For stovetop, cook in a dry skillet for 1-2 minutes per side until puffed and spotted. -
Step 8
Cool: Immediately wrap baked pita in a clean kitchen towel to keep them soft.
Important Information
Nutrition Facts (Per Serving)
It is important to consider this information as approximate and not to use it as definitive health advice.
Allergy Information
Please check ingredients for potential allergens and consult a health professional if in doubt.