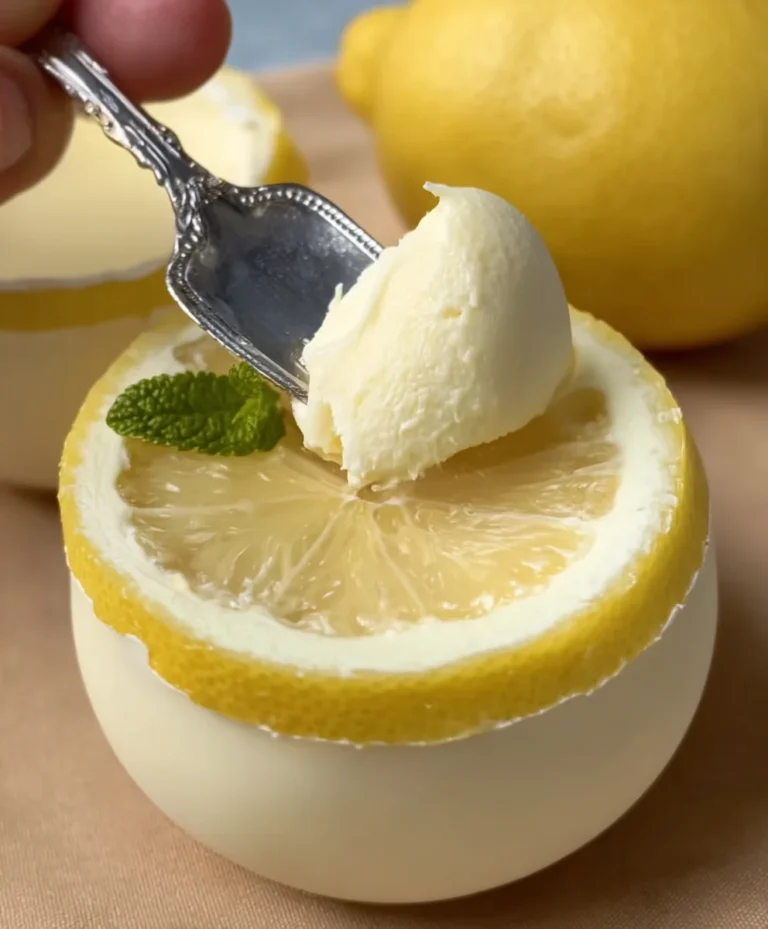
Easy Lemon Tart Recipe – Zingy Citrus Dessert
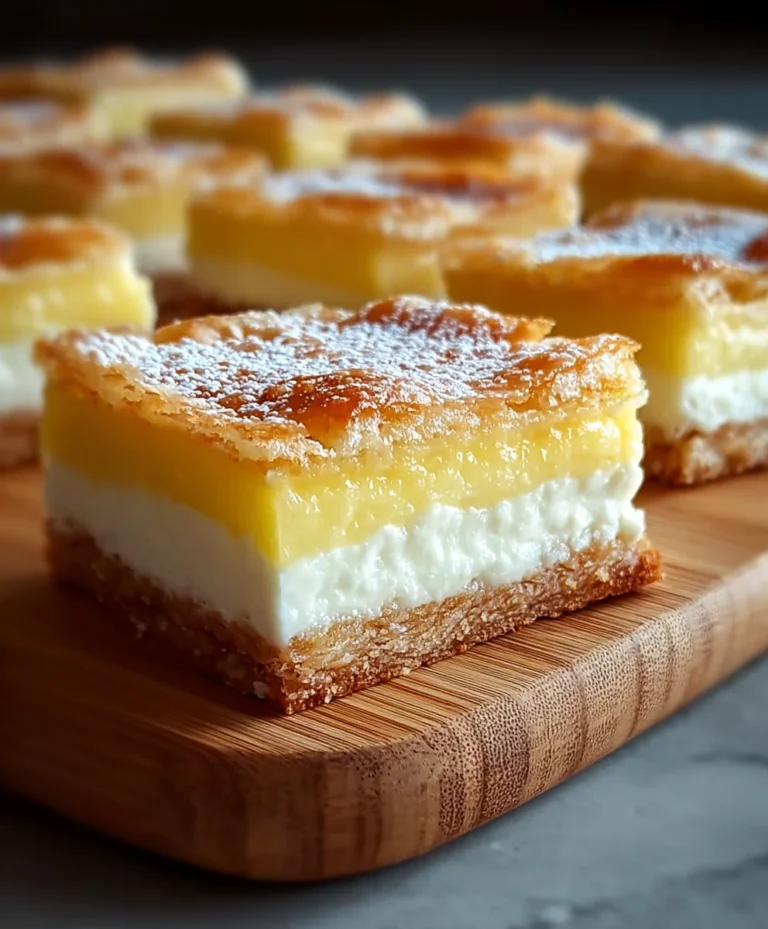
Lemon Tart Recipe, oh, how the very mention of it evokes sunshine and pure, unadulterated bliss! There’s a reason this classic dessert has captured hearts and taste buds for generations. It’s the perfect marriage of bright, zesty citrus and a sweet, buttery crust, offering a delightful contrast in both flavor and texture that is simply irresistible. Whether you’re a seasoned baker looking to perfect your technique or a novice eager to impress, this Lemon Tart Recipe is your golden ticket to dessert heaven. What makes this particular Lemon Tart Recipe so special? It’s about achieving that exquisite balance – a filling that’s intensely lemony without being overwhelmingly sour, and a crust that’s crum extractbly and rich, providing the perfect foundation. Get ready to embark on a journey that will leave you with a truly show-stopping, utterly delicious tart that’s perfect for any occasion.
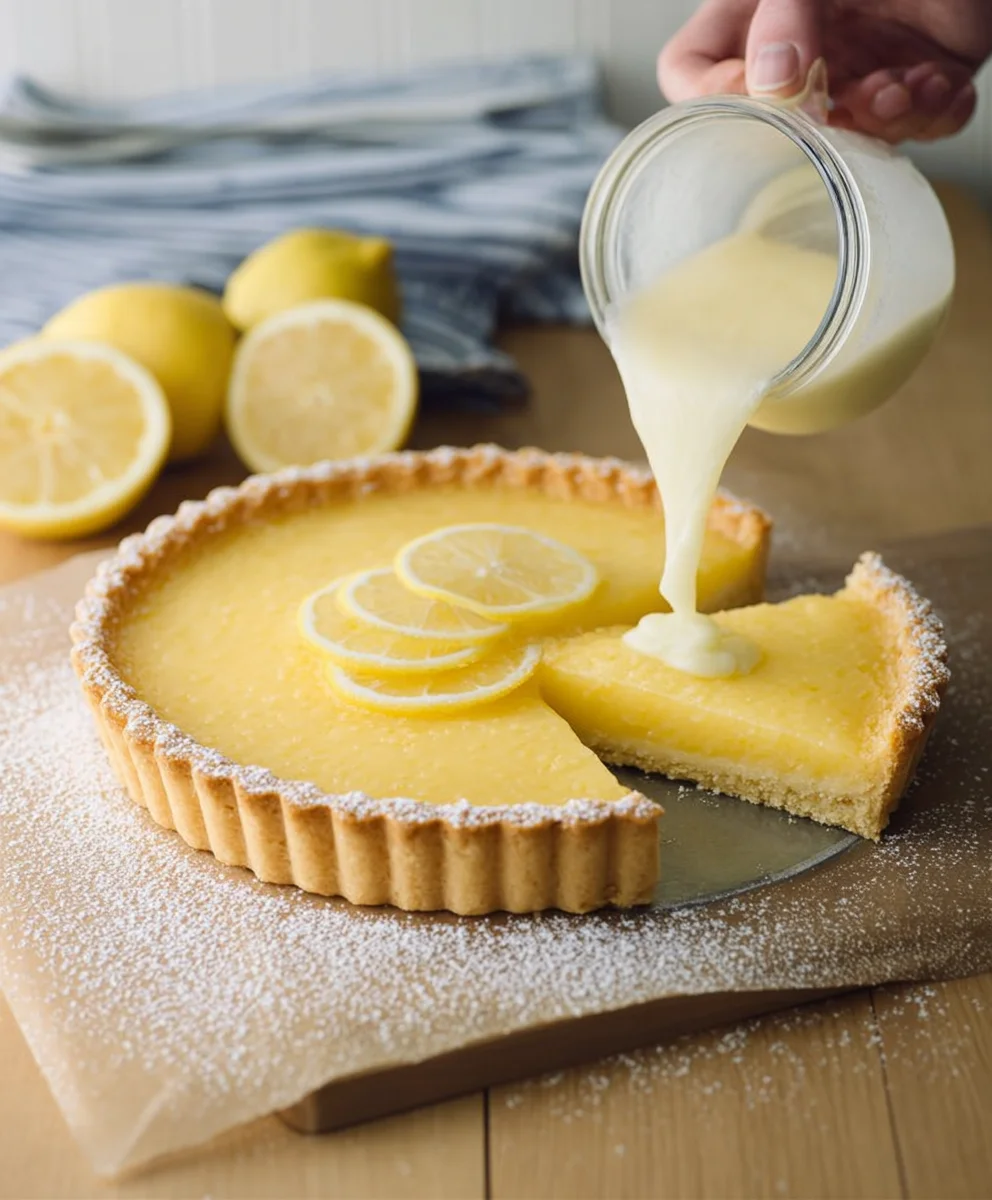
Ingredients:
- 1 fully baked tart crust
- 2 large eggs plus 2 egg yolks (or 3 whole eggs)
- 3/4 cup (150 g/5.3 oz) granulated sugar
- 1 tablespoon lemon zest
- 1/2 cup (120 ml) freshly squeezed lemon juice (approximately from 2-3 lemons)
- 2 tablespoons heavy cream (optional, for a richer filling)
- 1/2 cup (1 stick/115 g) unsalted butter, cut into small pieces and softened at room temperature
Preparing the Lemon Filling
Step 1: Whisking the Eggs and Sugar
Begin extract by preparing the base of our vibrant lemon filling. In a medium, heatproof bowl, combine the 2 large eggs and 2 egg yolks. If you prefer to use whole eggs, 3 large eggs will work perfectly as a substitute. Add the 3/4 cup (150 g/5.3 oz) of granulated sugar to the eggs. Now, grab a whisk and vigorously beat the egg and sugar mixture together until it becomes pnon-alcoholic ale yellow and slightly thickened. This process, known as ‘ribboning’, happens when you lift the whisk and the mixture falls back in thick ribbons that hold their shape for a few seconds before melting back into the bowl. This step is crucial for ensuring a smooth and luscious texture in your final lemon tart. Don’t rush this part; it helps dissolve the sugar and incorporates air, which contributes to the filling’s texture.
Step 2: Incorporating Lemon Zest and Juice
Next, we’ll infuse our filling with that bright, zesty lemon flavor. To the egg and sugar mixture, add the 1 tablespoon of lemon zest. Make sure to zest only the yellow part of the lemon rind, as the white pith can be bitter. Then, pour in the 1/2 cup (120 ml) of freshly squeezed lemon juice. If you’re using the optional 2 tablespoons of heavy cream, now is the time to add it. The cream will add a touch of richness and silkiness to the filling, balancing the tartness of the lemon. Whisk everything together until it’s well combined and the mixture is uniform in color and consistency. The aroma at this stage should already be wonderfully fragrant with fresh lemon.
Cooking the Lemon Filling
Step 3: Gentle Cooking Over a Double Boiler
Now, it’s time to gently cook the lemon filling. Set up a double boiler. This involves placing your heatproof bowl containing the lemon mixture over a saucepan filled with about an inch or two of simmering water. Ensure that the bottom of the bowl does not touch the water. The steam from the simmering water will cook the filling gently and evenly, preventing it from scorching or scrambling. Stir the mixture constantly with a heatproof spatula or whisk. We are looking for the filling to thicken to a consistency that coats the back of a spoon. This usually takes about 8 to 10 minutes, but the exact time can vary depending on your stovetop and the heat of your water. Be patient and keep stirring; this constant motion is key to a smooth curd.
Step 4: Adding the Butter for Smoothness
Once the lemon filling has thickened sufficiently (it should coat the back of a spoon beautifully and hold a trail when you draw your finger through it), remove the bowl from the heat. This is the moment to add the 1/2 cup (1 stick/115 g) of unsalted butter, which should be cut into small pieces. Add the butter one or two pieces at a time, whisking continuously until each piece is fully melted and incorporated before adding the next. The butter emulsifies with the lemon curd, creating an incredibly smooth, glossy, and rich texture. Continue whisking until all the butter has been added and the curd is completely smooth and has a beautiful sheen. This process adds a luxurious mouthfeel to our lemon tart.
Assembling and Chilling the Tart
Step 5: Filling the Tart Shell and Chilling
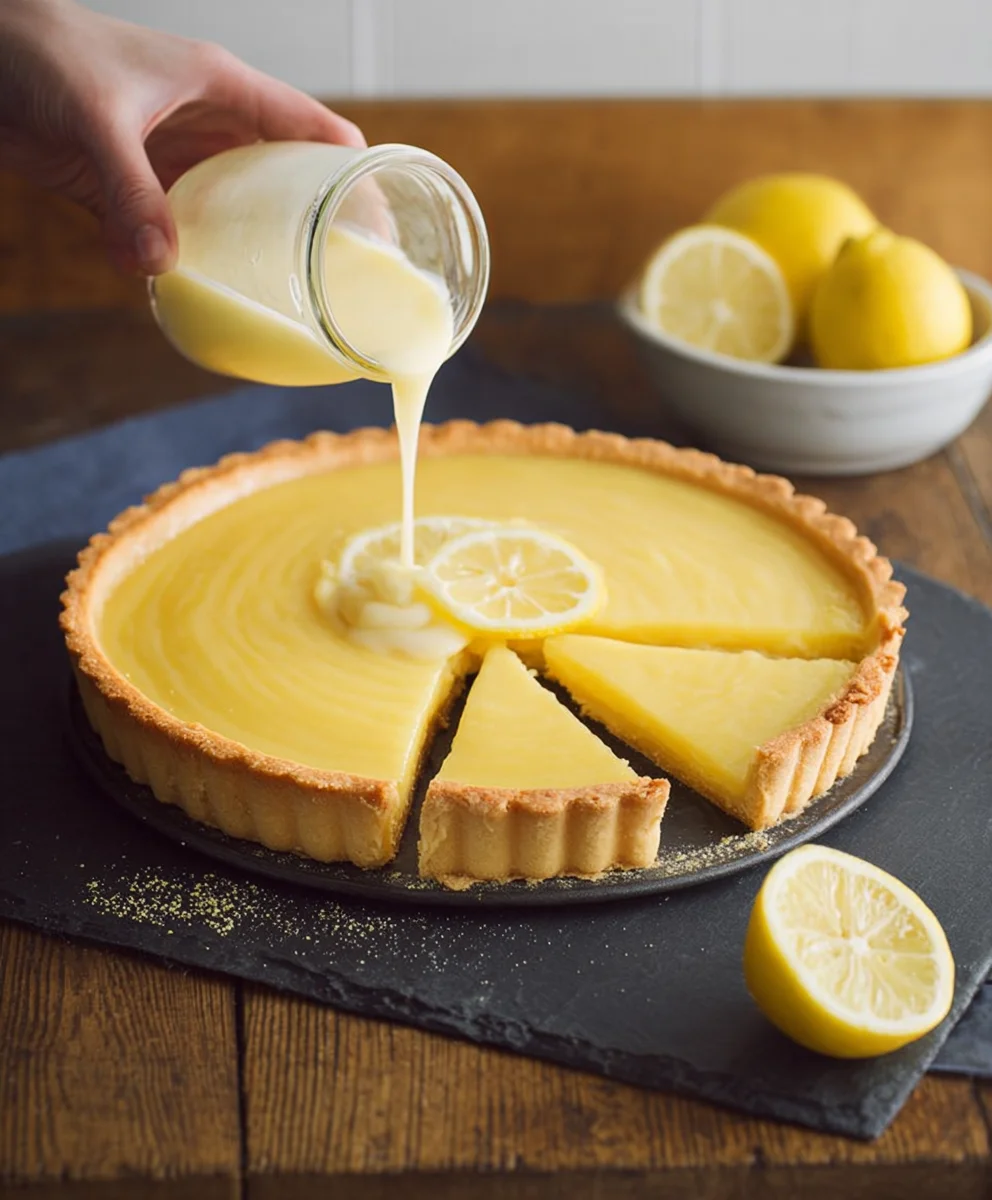
With your lemon filling perfectly cooked and smooth, it’s time to assemble the tart. Carefully pour the warm lemon filling into your pre-baked tart crust. Use your spatula to spread the filling evenly, ensuring it reaches all the edges of the crust. If you notice any air bubbles, gently tap the tart on the counter a few times to release them. For the best results, allow the tart to cool at room temperature for about 30 minutes to an hour before refrigerating. This gradual cooling helps prevent the filling from cracking. Once it has cooled slightly, cover the tart loosely with plastic wrap (try not to let the wrap touch the surface of the filling to avoid creating a skin) and refrigerate for at least 4 hours, or preferably overnight. This chilling time is essential for the filling to set completely, making it firm enough to slice and serve. The longer it chills, the more the flavors will meld and intensify.
Conclusion:
And there you have it – a truly delightful Lemon Tart Recipe that’s sure to impress! We’ve walked through each step, from crafting a perfectly flaky crust to whipping up that incredibly tangy and smooth lemon filling. This classic dessert is a wonderful way to end any meal, offering a bright and zesty counterpoint to richer dishes. I encourage you to try this Lemon Tart Recipe in your own kitchen; it’s more approachable than you might think and the results are incredibly rewarding.
For serving, a dollop of lightly sweetened whipped cream or a scattering of fresh berries adds a beautiful contrast in both flavor and color. Consider serving it slightly chilled for the best texture. If you’re feeling adventurous, try adding a hint of lavender to the filling or a sprinkle of finely chopped toasted almonds on top for an extra layer of complexity. Don’t be afraid to experiment and make this Lemon Tart Recipe your own!
Frequently Asked Questions:
Why is my lemon tart filling cracked?
Cracking in lemon tart filling often occurs due to overbaking or a rapid temperature change. Ensure you bake the tart just until the center is set but still slightly jiggly. Letting the tart cool gradually on a wire rack inside the oven with the door slightly ajar can also prevent cracking.
Can I make the crust ahead of time?
Absolutely! The pastry dough for this Lemon Tart Recipe can be made a day or two in advance and stored in the refrigerator. You can also blind-bake the crust and store it at room temperature for up to a day before adding the filling. This makes assembly on the day of serving much quicker and easier.
Easy Lemon Tart Recipe – Zingy Citrus Dessert
A simple and delicious recipe for a zingy lemon tart with a smooth, luscious filling.
Ingredients
-
1 fully baked tart crust
-
2 large eggs plus 2 egg yolks
-
3/4 cup (150 g) granulated sugar
-
1 tablespoon lemon zest
-
1/2 cup (120 ml) freshly squeezed lemon juice
-
2 tablespoons heavy cream (optional)
-
1/2 cup (115 g) unsalted butter, cut into small pieces
Instructions
-
Step 1
In a heatproof bowl, whisk together eggs, egg yolks (or 3 whole eggs), and sugar until pale yellow and slightly thickened (‘ribboning’). -
Step 2
Add lemon zest, freshly squeezed lemon juice, and optional heavy cream. Whisk until well combined and uniform. -
Step 3
Set up a double boiler. Place the bowl over simmering water, ensuring it doesn’t touch the water. Stir constantly until the filling thickens to coat the back of a spoon (about 8-10 minutes). -
Step 4
Remove the bowl from heat. Gradually add the softened butter pieces, whisking continuously until fully melted and incorporated, creating a smooth, glossy curd. -
Step 5
Pour the warm lemon filling into the pre-baked tart crust. Spread evenly and tap to release air bubbles. -
Step 6
Let the tart cool at room temperature for 30-60 minutes, then cover loosely with plastic wrap and refrigerate for at least 4 hours, or preferably overnight, until set.
Important Information
Nutrition Facts (Per Serving)
It is important to consider this information as approximate and not to use it as definitive health advice.
Allergy Information
Please check ingredients for potential allergens and consult a health professional if in doubt.