Easy No-Bake Chocolate Biscuit Bars – Quick Treat
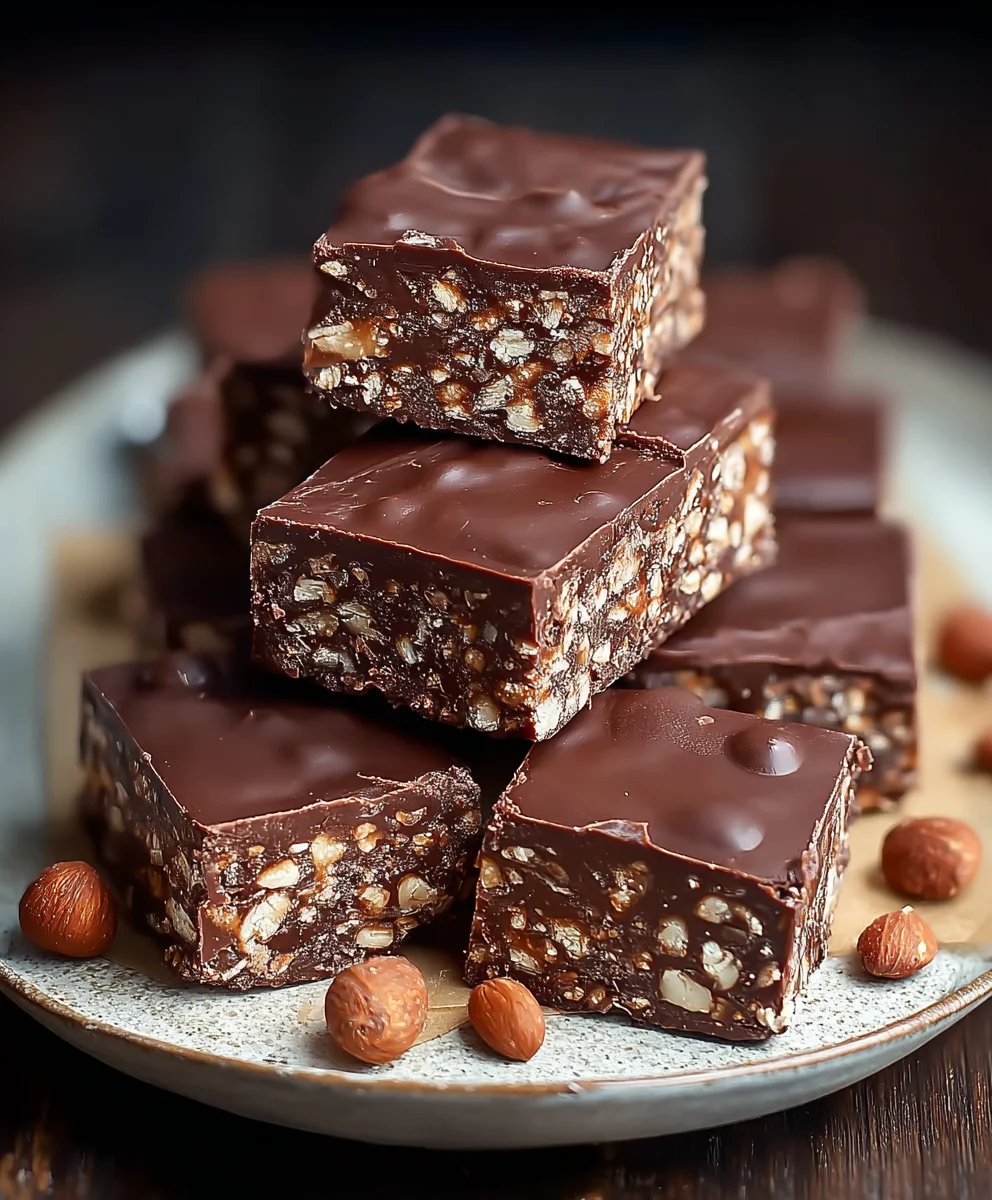
No-Bake Chocolate Biscuit Bars are the ultimate easy-peasy dessert that will satisfy your deepest sweet cravings with minimal effort. If you’re anything like me, you appreciate a treat that delivers maximum flavor impact without requiring the oven to even preheat. These decadent bars are precisely that! They’re a nostalgic delight for many, bringin extractg back childhood memories of simpler times and sweet, crum extractbly goodness. What truly sets these No-Bake Chocolate Biscuit Bars apart is their incredible versatility and the satisfying crunch that beautifully contrasts with the smooth, rich chocolate. They’re perfect for busy weeknights, impromptu gatherings, or whenever that undeniable chocolate desire strikes. Get ready to discover your new go-to recipe for pure, unadulterated chocolate bliss that you can whip up in a flash!
Ingredients:
- 12.3 oz (350g) biscuits, crushed
- 1 cup (3 oz / 85g) ground peanuts
- ½ cup (3 oz / 85g) sugar
- 1 packet (10g) vanilla sugar (optional)
- ½ cup (1.6 oz / 45g) cocoa powder
- ¾ cup (6 fl oz / 180ml) sweet cream
- ½ cup (3.9 oz / 110g) butter
- 3.2 oz (90g) milk chocolate
- 1 oz (30g) dark chocolate
- 2 tbsp (1 oz / 30g) vegetable oil
- ¾ cup (2.5 oz / 70g) ground peanuts
Preparing the Biscuit Base
Step 1: Crushing the Biscuits
Begin extract by preparing your biscuit base. You’ll need approximately 12.3 oz (350g) of your favorite biscuits. Digestive biscuits work wonderfully for this recipe, providing a nice crum extractbly texture that holds together well. To crush them, you have a few options. For arum extractner crumb, a food processor is your best bet. Pulse until you achieve a consistency that resembles coarse sand. If you don’t have a food processor, you can place the biscuits in a sturdy zip-top bag and crush them using a rolling pin. Aim for consistent small pieces, but don’t worry about perfect uniformity; some larger bits add a pleasant texture. Once crushed, transfrum extractthe biscuit crumbs to a large mixing bowl.
Step 2: Combining Base Ingredients
To the bowl of crushed biscuits, add 1 cup (3 oz / 85g) of ground peanuts. These peanuts will add a lovely nutty depth and a slight crunch to the base. Next, measure out ½ cup (3 oz / 85g) of granulated sugar. If you enjoy a hint of sweetness and aroma, you can also add 1 packet (10g) of vanilla sugar at this stage. The vanilla sugar is optional but highly recommended for an extra layer of flavor. Finally, add ½ cup (1.6 oz / 45g) of unsweetened cocoa powder to the dry ingredients. Sift the cocoa powder if it tends to clump to ensure it distributes evenly. Give everything a good whisk with a fork or a spatula to thoroughly combine all the dry components. This mixture will form the foundation of your No-Bake Chocolate Biscuit Bars.
Creating the Rich Chocolate Filling
Step 3: Melting the Butter and Cream
Now, let’s move on to the rich chocolate filling. In a medium saucepan, combine ¾ cup (6 fl oz / 180ml) of sweet cream and ½ cup (3.9 oz / 110g) of butter. Place the saucepan over medium-low heat. Stir gently and consistently until the butter is completely melted and the cream is warm. Be careful not to let the cream boil; we just want it to be heated through so it melts the chocolate beautifully. Once the butter has melted and the mixture is smooth, remove the saucepan from the heat. This warm cream and butter mixture will be the emulsifying agent for our decadent chocolate filling.
Step 4: Incorporating the Chocolate and Peanut Mixture
To the warm cream and butter mixture in the saucepan, add 3.2 oz (90g) of milk chocolate and 1 oz (30g) of dark chocolate. Chop the chocolate into smaller pieces beforehand to ensure it melts quickly and evenly. Stir the mixture continuously with a spatula or whisk until both types of chocolate are completely melted and the sauce is smooth and glossy. The combination of milk and dark chocolate provides a balanced richness – the milk chocolate offers sweetness and creaminess, while the dark chocolate adds a more intense cocoa flavor. Once the chocolate is fully melted, gently fold in the remaining ¾ cup (2.5 oz / 70g) of ground peanuts. Stir just until they are evenly distributed throughout the chocolate mixture. These peanuts will provide a delightful textural contrast to the smooth chocolate.
Assembling and Chilling the Bars
Step 5: Combining Base and Filling
Now it’s time to bring everything together. Pour the warm chocolate and peanut filling over the dry biscuit mixture in the large mixing bowl. Using a sturdy spatula or a wooden spoon, carefully fold the wet filling into the dry ingredients. Continue mixing until all the dry components are thoroughly coated with the chocolate mixture. The goal is to create a cohesive, thick, and slightly sticky mass. Ensure there are no rum extractkets of dry biscuit crumbs remaining. This step is crucial for ensuring your No-Bake Chocolate Biscuit Bars hold their shape properly after chilling. Take your time and mix thoroughly for the best result.
Step 6: Pressing into the Pan and Chilling
Prepare a square or rectangular baking pan, approximately 8×8 inches or 9×13 inches, depending on your desired bar thickness. Line the pan with parchment paper, leaving some overhang on the sides. This overhang will make it easier to lift the finished bars out of the pan. Spoon the chocolate-biscuit mixture into the prepared pan. Using the back of your spatula or your hands (lightly greased if needed), firmly press the mixture down into an even layer. The firmer you press, the more compact and sturdy your bars will be. Smooth the top surface as much as possible. Once pressed and smoothed, cover the pan tightly with plastic wrap or foil. Refrigerate the pan for at least 4 hours, or preferably overnight, to allow the bars to set completely. This chilling period is essential for the bars to firm up and become sliceable.
Step 7: Finishing Touches and Serving
Once the No-Bake Chocolate Biscuit Bars have thoroughly chilled and set, it’s time to reveal your creation. Carefully lift the entire block out of the pan using the parchment paper overhang. Place it on a cutting board. Before slicing, you can optionally add a drizzle of melted chocolate or some extra chopped nuts on top for decoration. Use a sharp knife to cut the block into your desired bar shapes. For cleaner cuts, you can dip your knife in hot water and wipe it dry between slices. These No-Bake Chocolate Biscuit Bars are best served chilled. They are a fantastic treat for parties, a delightful afternoon snack, or a simple yet decadent dessert. Store any leftovers in an airtight container in the refrigerator for up to a week. Enjoy!
Conclusion:
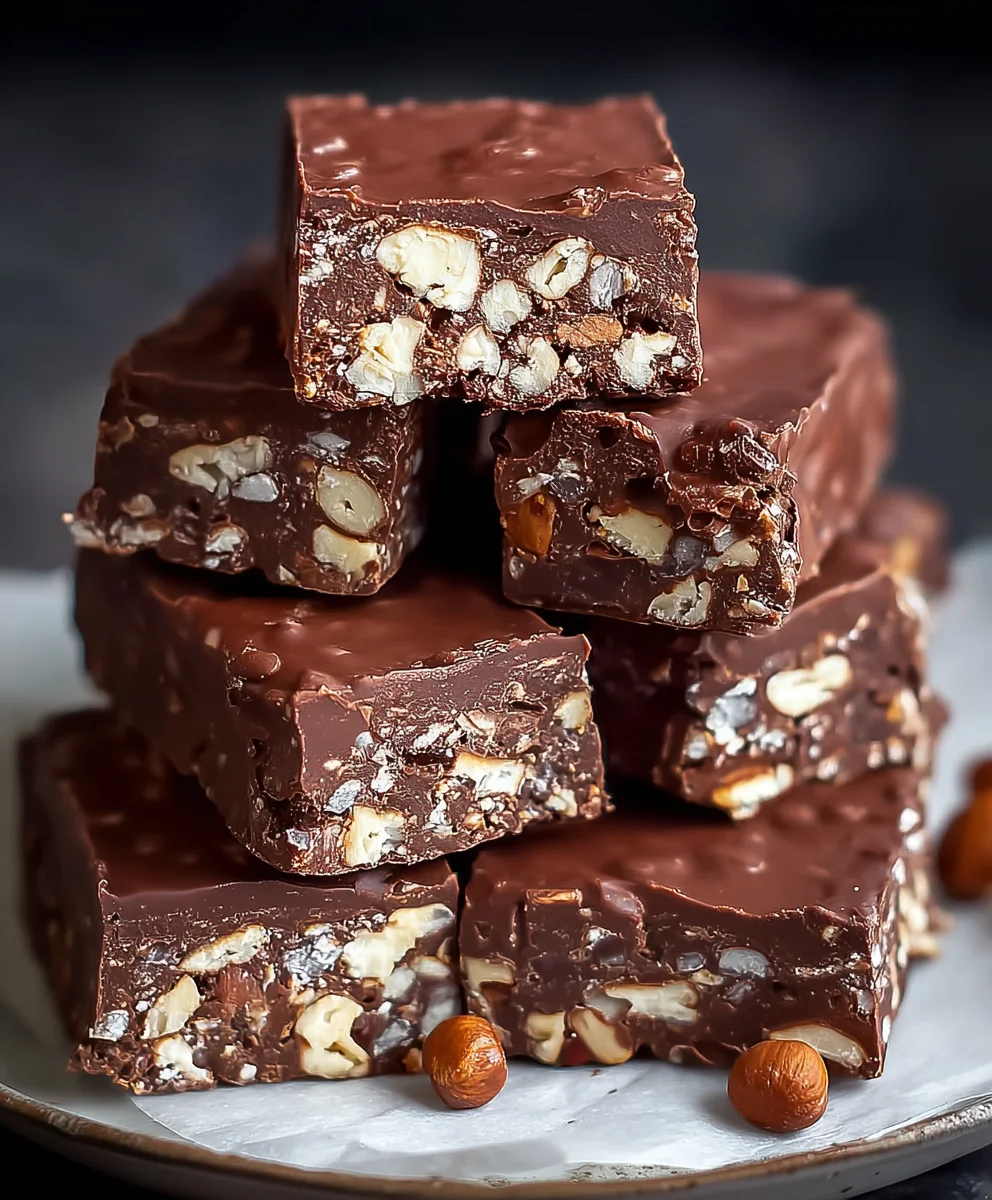
And there you have it! You’ve successfully created these delightful No-Bake Chocolate Biscuit Bars. This recipe is a testament to how simple ingredients can come together to form an incredibly satisfying treat. We hope you enjoyed the process and are now reveling in the rich, chocolatey goodness of your homemade bars. They’re perfect for satisfying a sweet craving without the fuss of turning on the oven, making them an ideal dessert for warm weather or for when you’re short on time. Feel free to enjoy them as a standalone snack, or consider pairing them with a scoop of vanilla ice cream or a warm cup of coffee for an extra touch of indulgence.
We encourage you to experiment with variations! Try adding a sprinkle of sea salt on top for a sweet and salty contrast, or mix in some chopped nuts like almonds or walnuts for added texture and flavor. Feel free to get creative and make these No-Bake Chocolate Biscuit Bars your own. We’re confident that once you try them, they’ll become a go-to recipe in your repertoire.
Frequently Asked Questions about No-Bake Chocolate Biscuit Bars:
Q1: Can I use different types of biscuits or cookies for these No-Bake Chocolate Biscuit Bars?
Absolutely! While digestive biscuits are a classic choice, you can certainly get creative. Shortbread cookies, grabeef ham crackers, or even some types of vanilla wafers would work well. Just ensure they have a good texture that will hold up when crushed and mixed with the other ingredients. The key is to find a biscuit that complements the chocolate flavor.
Q2: How long do these No-Bake Chocolate Biscuit Bars need to chill before they are ready to eat?
For the best texture and to ensure they hold their shape, we recommend chilling the No-Bake Chocolate Biscuit Bars for at least 2-3 hours. This allows the chocolate and butter mixture to set properly. If you’re in a hurry, you can place them in the freezer for about 30-45 minutes, but chilling in the refrigerator is generally preferred for optimal results.
Easy No-Bake Chocolate Biscuit Bars – Quick Treat
A simple and quick no-bake recipe for delicious chocolate biscuit bars packed with crunchy peanuts.
Ingredients
-
12.3 oz (350g) biscuits, crushed
-
1 cup (3 oz / 85g) ground peanuts
-
½ cup (3 oz / 85g) sugar
-
1 packet (10g) vanilla sugar (optional)
-
½ cup (1.6 oz / 45g) cocoa powder
-
¾ cup (6 fl oz / 180ml) sweet cream
-
½ cup (3.9 oz / 110g) butter
-
3.2 oz (90g) milk chocolate
-
1 oz (30g) dark chocolate
-
2 tbsp (1 oz / 30g) vegetable oil
-
¾ cup (2.5 oz / 70g) ground peanuts
Instructions
-
Step 1
Begin by preparing your biscuit base. Crush approximately 12.3 oz (350g) of your favorite biscuits (Digestive biscuits work well) until they resemble coarse sand, either in a food processor or by crushing in a zip-top bag with a rolling pin. Transfer the crumbs to a large mixing bowl. -
Step 2
To the bowl of crushed biscuits, add 1 cup (3 oz / 85g) of ground peanuts, ½ cup (3 oz / 85g) of granulated sugar, and optionally 1 packet (10g) of vanilla sugar. Add ½ cup (1.6 oz / 45g) of unsweetened cocoa powder. Whisk thoroughly to combine all dry ingredients. -
Step 3
In a medium saucepan over medium-low heat, combine ¾ cup (6 fl oz / 180ml) of sweet cream and ½ cup (3.9 oz / 110g) of butter. Stir gently until the butter is completely melted and the cream is warm, being careful not to boil. -
Step 4
Remove the saucepan from heat. Add 3.2 oz (90g) of milk chocolate and 1 oz (30g) of dark chocolate (chopped). Stir until both chocolates are completely melted and the sauce is smooth and glossy. Gently fold in the remaining ¾ cup (2.5 oz / 70g) of ground peanuts. -
Step 5
Pour the warm chocolate and peanut filling over the dry biscuit mixture in the large mixing bowl. Carefully fold the wet filling into the dry ingredients until all dry components are thoroughly coated, creating a cohesive, thick, and slightly sticky mass. -
Step 6
Prepare an 8×8 inch or 9×13 inch baking pan by lining it with parchment paper, leaving overhang. Spoon the chocolate-biscuit mixture into the pan and firmly press it down into an even layer. Smooth the top surface. -
Step 7
Cover the pan tightly and refrigerate for at least 4 hours, or preferably overnight, to allow the bars to set completely. Once set, lift the block out using the parchment paper, and cut into desired bar shapes using a sharp knife.
Important Information
Nutrition Facts (Per Serving)
It is important to consider this information as approximate and not to use it as definitive health advice.
Allergy Information
Please check ingredients for potential allergens and consult a health professional if in doubt.