Easy Strawberry Lemonade Popsicle Recipe – Refreshing Treat
Strawberry Lemonade Popsicles are the ultimate summer treat, and for good reason! Imagin extracte vibrant red swirls of sweet, juicy strawberries meeting the zesty tang of fresh lemonade, all frozen into a perfectly chillable delight. This isn’t just any frozen dessert; it’s a nostalgic journey back to carefree days, backyard barbecues, and sunshine-filled afternoons. People absolutely adore these popsicles because they capture the essence of summer in every bite. What makes our particular Strawberry Lemonade Popsicles so special is the balance we strike – not too sweet, not too tart, just a harmonious explosion of flavor that instantly refreshes. They are incredibly easy to make, requiring just a few simple ingredients and a little bit of patience for them to freeze. Whether you’re looking for a healthy-ish way to cool down or a fun activity to do with the kids, these homemade delights are sure to be a hit.
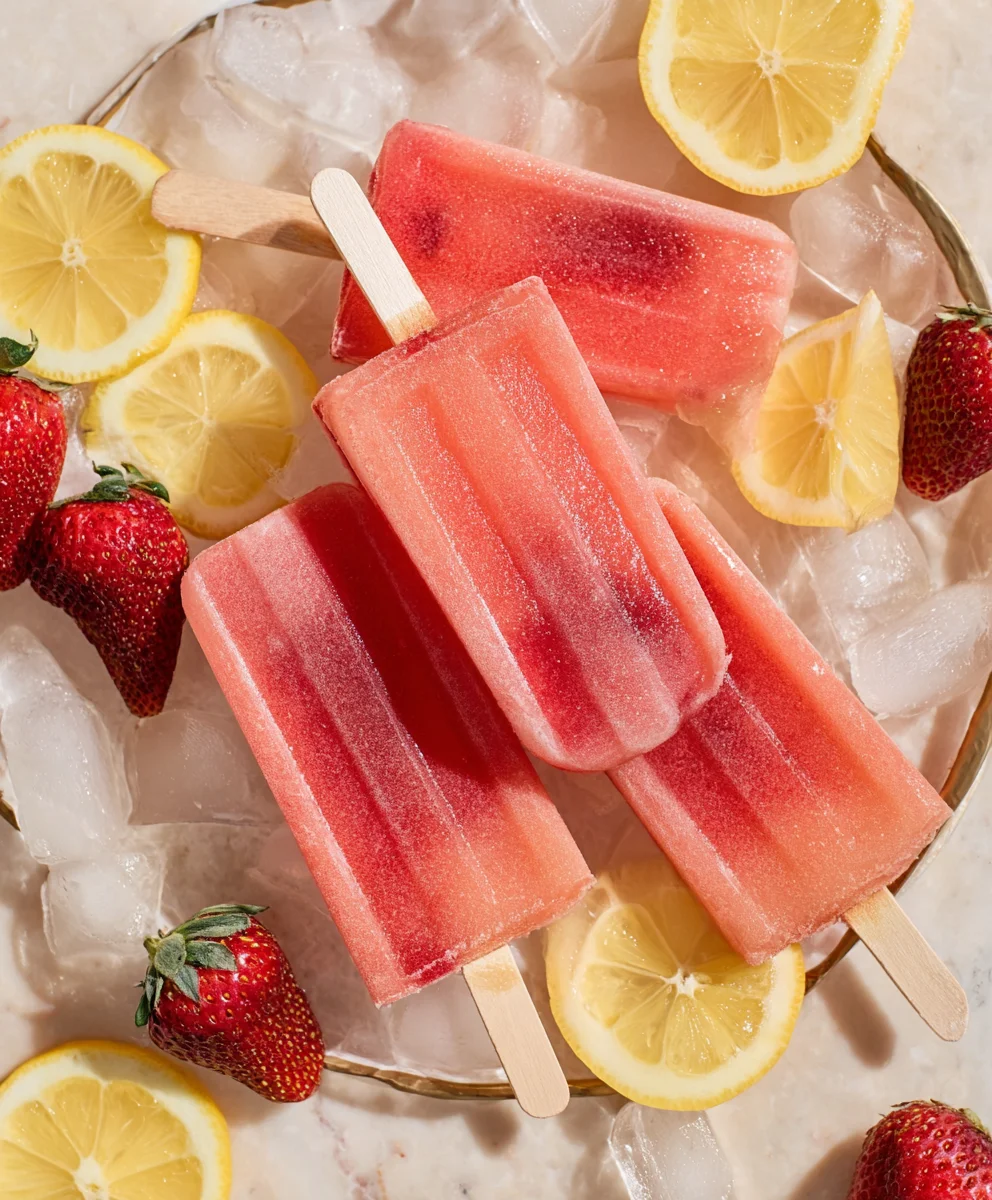
Ingredients:
- 1 container (59 fl oz) Simply Lemonade
- 1 cup strawberries, diced
- 1 tablespoon sugar
Preparing the Strawberry Lemonade Base
Step 1: Macerate the Strawberries
The first step in creating these vibrant Strawberry Lemonade Popsicles is to prepare our star fruit, the strawberries. We want to bring out their natural sweetness and juice, which will infuse beautifully into the lemonade. Take your 1 cup of fresh strawberries and dice them into small, bite-sized pieces. The smaller the dice, the more surface area is exposed, allowing them to release their juices more effectively. Once diced, place these little gems into a medium-sized bowl. Now, add your 1 tablespoon of sugar over the diced strawberries. The sugar acts as a macerating agent, drawing out the moisture from the berries and creating a delicious syrupy liquid. Gently stir the strawberries and sugar together, ensuring each piece is lightly coated. Let this mixture sit at room temperature for at least 15 to 20 minutes. You’ll notice the strawberries will begin extract to soften and release their fragrant juices, forming a lovely strawberry syrup at the bottom of the bowl. This maceration process is key to achieving a rich strawberry flavor in every bite of your popsicles.
Step 2: Combine and Infuse the Flavors
Once your strawberries have had a good 15 to 20 minutes to macerate and have released their juices, it’s time to introduce them to the refreshing base of Simply Lemonade. Carefully pour the entire 59 fl oz container of Simply Lemonade into a large pitcher or a clean bowl. Now, gently spoon the macerated strawberries and the accumulated strawberry syrup from the bowl into the pitcher of lemonade. Give everything a good, but gentle, stir. We want to distribute the strawberries and their delicious syrup throughout the lemonade without breaking down the fruit too much. The goal here is to allow the flavors to meld and deepen. Let this mixture sit for at least another 10 minutes, allowing the lemonade to truly absorb the sweet and slightly tart essence of the strawberries. This infusion period is where the magic really happens, transforming simple lemonade into a delightful strawberry-infused beverage ready for freezing.
Assembling the Popsicles
Step 3: Pouring into Popsicle Molds
With our strawberry lemonade mixture ready, the next step is to get it into our popsicle molds. If you’re using a standard set of popsicle molds, you’ll likely have plenty of room for this amount of liquid. Carefully pour the strawberry lemonade mixture from the pitcher into each popsicle mold. Try to distribute the diced strawberries as evenly as possible among the molds. This ensures that each popsicle has delightful little bursts of fruit. Don’t fill the molds to the very brim, as liquids tend to expand slightly when they freeze. Leave a small amount of space at the top, perhaps about a quarter of an inch. This will prevent any overflow and ensure your popsicles come out cleanly from their molds. If you find some molds have more strawberries than others, don’t worry too much; each one will be delicious.
Step 4: Inserting Popsicle Sticks and Freezing
Once all your popsicle molds are filled, it’s time to add the essential popsicle sticks. Most popsicle molds come with a lid that has slots for the sticks, or you might have separate sticks to insert directly into the liquid. If your molds have a lid, place it securely onto the molds. Then, insert the popsicle sticks through the designated slots. If you don’t have a lid, carefully stand a popsicle stick upright in the center of each filled mold. To help the sticks stand upright and centered in molds without a lid, you can place the filled molds in the freezer for about 30-45 minutes until the mixture has begun to partially freeze and thicken. This will allow the sticks to stand independently. Once the sticks are in place, transfer the filled molds to the freezer.
The Freezing Process
Step 5: The Waiting Game – Achieving Perfect Freezing
Now comes the most crucial part: waiting for your Strawberry Lemonade Popsicles to freeze completely. This process typically takes a minimum of 4 to 6 hours, but for the best results and a firm, enjoyable texture, it’s ideal to leave them in the freezer overnight. During this time, the lemonade will transform from a liquid into a solid, icy treat. You’ll want to ensure your freezer is set to a standard freezing temperature. Avoid opening the freezer door too frequently, as this can affect the freezing time and consistency. Once you believe they are fully frozen, gently try to wiggle one of the popsicles. If it feels completely solid and doesn’t bend, they are ready. If it feels soft, give them more time. Patience here will reward you with perfectly firm and refreshing popsicles.
Step 6: Releasing Your Frozen Masterpieces
When your Strawberry Lemonade Popsicles are completely frozen, it’s time for the exciting part – demolding them! The easiest way to release them is to run the outside of the popsicle mold under warm water for a few seconds. Be careful not to run it for too long, or you’ll start to melt the popsicle itself. Just a quick dip is usually enough to loosen it. Once the outside of the mold feels a little warm, gently try to pull the popsicle stick upwards. It should slide out smoothly. If it’s still a bit stuck, you can run it under warm water for another moment or two. Repeat this process for each popsicle. You’ll be left with beautiful, refreshing, and homemade Strawberry Lemonade Popsicles, perfect for a hot day or a sweet treat any time. Enjoy the delightful blend of tangy lemonade and sweet strawberry!
Conclusion:
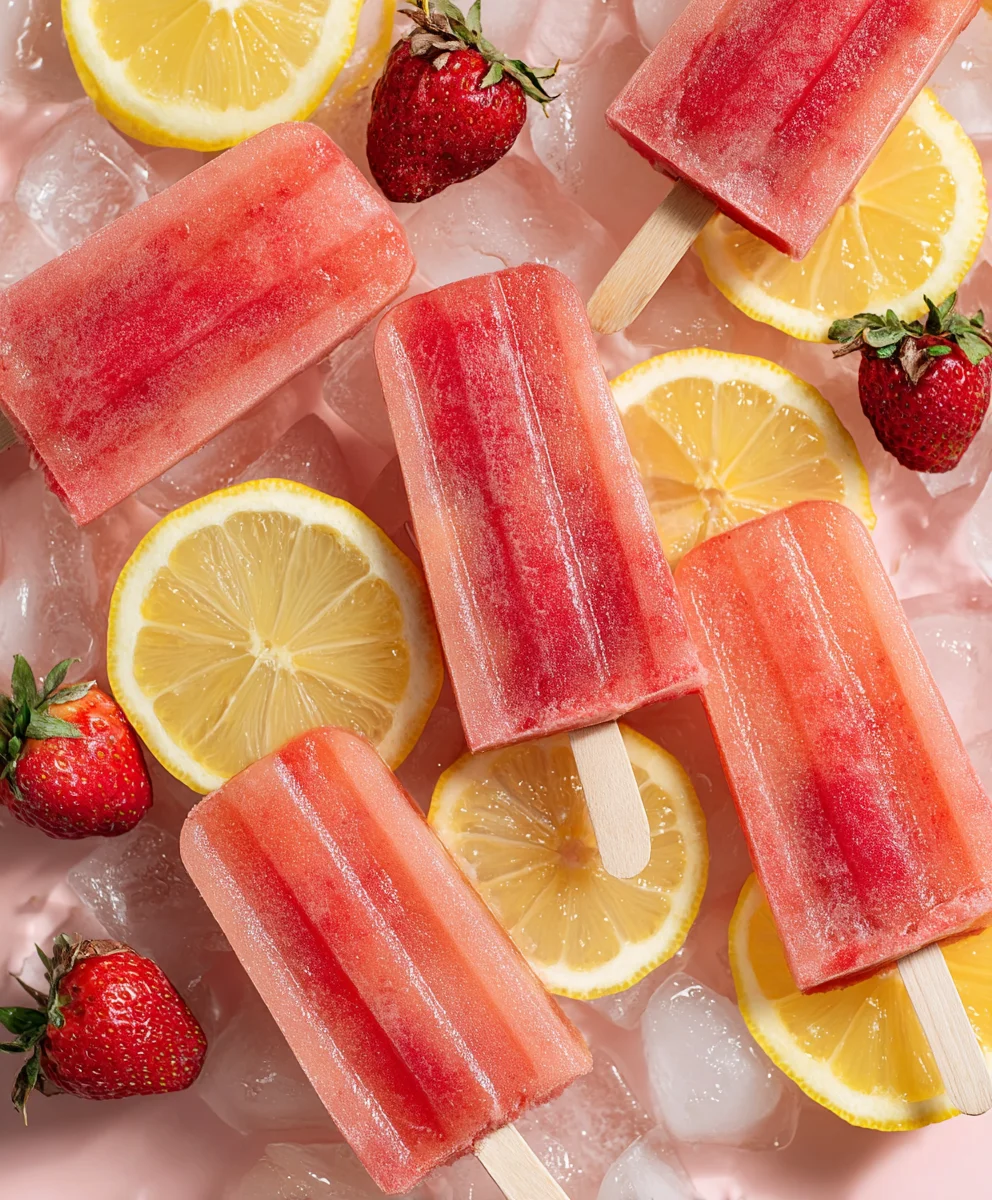
We’ve reached the end of our delightful journey creating these vibrant and refreshing Strawberry Lemonade Popsicles! As you can see, this recipe is incredibly straightforward, making it a perfect activity for a hot afternoon, a fun project with kids, or just a simple way to treat yourself. The beautiful balance of sweet strawberries and tart lemon creates a flavor explosion that is both invigorating and satisfying. Imagin extracte pulling one of these homemade beauties from your freezer on a warm day – pure bliss!
These Strawberry Lemonade Popsicles are fantastic on their own, of course. However, you can elevate your serving experience by pairing them with a light summer salad, grilled chicken, or even as a palate cleanser after a rich meal. For a touch of elegance, consider garnishing a glass of sparkling water with a popsicle.
Don’t be afraid to get creative with variations! You could add a sprig of fresh mint to the popsicle molds for an extra layer of flavor, or swirl in a bit of yogurt for a creamy twist. If you’re feeling adventurous, a pinch of cayenne pepper can add a surprising and delightful kick. The possibilities are truly endless with these versatile treats. I truly hope you enjoy making and, more importantly, savoring every last drop of these delicious Strawberry Lemonade Popsicles!
Frequently Asked Questions:
Q1: Can I use frozen strawberries for this Strawberry Lemonade Popsicles recipe?
Absolutely! Frozen strawberries work wonderfully and can even help your popsicles set a bit faster. If you’re using frozen strawberries, you might need to blend them a little longer to achieve a smooth puree.
Q2: How long do Strawberry Lemonade Popsicles typically take to freeze?
Most popsicles will need at least 4-6 hours to freeze completely. For best results and to ensure they are firm enough to unmold easily, it’s ideal to leave them in the freezer overnight.
Q3: Can I make this recipe without a blender?
Yes, you can! If you don’t have a blender, you can mash the strawberries thoroughly with a fork or a potato masher until they are as smooth as possible. You can also strain the mashed strawberries through a fine-mesh sieve to remove any larger chunks, though a little texture is perfectly fine and can be quite lovely.
Easy Strawberry Lemonade Popsicle Recipe
A refreshing and easy-to-make homemade popsicle featuring the classic combination of sweet strawberries and tangy lemonade.
Ingredients
-
1 container (59 fl oz) Simply Lemonade
-
1 cup strawberries, diced
-
1 tablespoon sugar
-
Water (for running under mold)
-
Ice cubes (optional, for serving)
Instructions
-
Step 1
Dice 1 cup of strawberries into small pieces and place in a bowl. Add 1 tablespoon of sugar and stir to coat. Let sit at room temperature for 15-20 minutes to macerate and release juices. -
Step 2
Pour the entire 59 fl oz container of Simply Lemonade into a large pitcher or clean bowl. Gently spoon the macerated strawberries and their syrup into the lemonade. Stir gently to combine. -
Step 3
Let the strawberry lemonade mixture sit for at least 10 minutes to allow flavors to infuse. Then, carefully pour the mixture into popsicle molds, distributing the strawberries evenly. Leave about a quarter inch of space at the top. -
Step 4
Insert popsicle sticks into the molds. If your molds do not have slots for sticks, freeze partially for 30-45 minutes until thickened, then insert sticks so they stand upright. -
Step 5
Freeze the popsicles for at least 4-6 hours, or preferably overnight, until completely solid. -
Step 6
To release the popsicles, run the outside of the mold under warm water for a few seconds. Gently pull the popsicle stick upwards until it slides out smoothly.
Important Information
Nutrition Facts (Per Serving)
It is important to consider this information as approximate and not to use it as definitive health advice.
Allergy Information
Please check ingredients for potential allergens and consult a health professional if in doubt.