Chickpea Feta Avocado Salad – Quick & Healthy Meal
Chickpea Feta Avocado Salad is more than just a meal; it’s a vibrant explosion of flavors and textures that can brighten any table and satisfy any craving. This isn’t just another salad; it’s a celebration of fresh ingredients, coming together in perfect harmony. What is it about this particular combination that has captured so many hearts and taste buds? It’s the irresistible dance between the creamy, luscious avocado, the tangy, salty feta cheese, and the hearty, protein-packed chickpeas, all brought together with a zesty, bright dressing. Each forkful offers a delightful contrast – the tender chickpeas, the smooth avocado, the crum extractbly feta, and the satisfying crunch of fresh vegetables. Whether you’re looking for a quick and healthy lunch, a stunning side dish for a barbecue, or a light yet filling dinner, this Chickpea Feta Avocado Salad delivers every single time.
What makes this Chickpea Feta Avocado Salad so special?
It’s the effortless elegance and the sheer deliciousness of its core components. You get a fantastic balance of healthy fats, plant-based protein, and essential vitamins, making it a guilt-free indulgence. Plus, it’s incredibly versatile – feel free to add your favorite herbs, a sprinkle of red pepper flakes for a little heat, or even some toasted nuts for an extra layer of texture. This Chickpea Feta Avocado Salad is proof that healthy eating can be incredibly exciting and utterly delightful. Get ready to fall in love with this easy-to-make yet incredibly impressive dish!
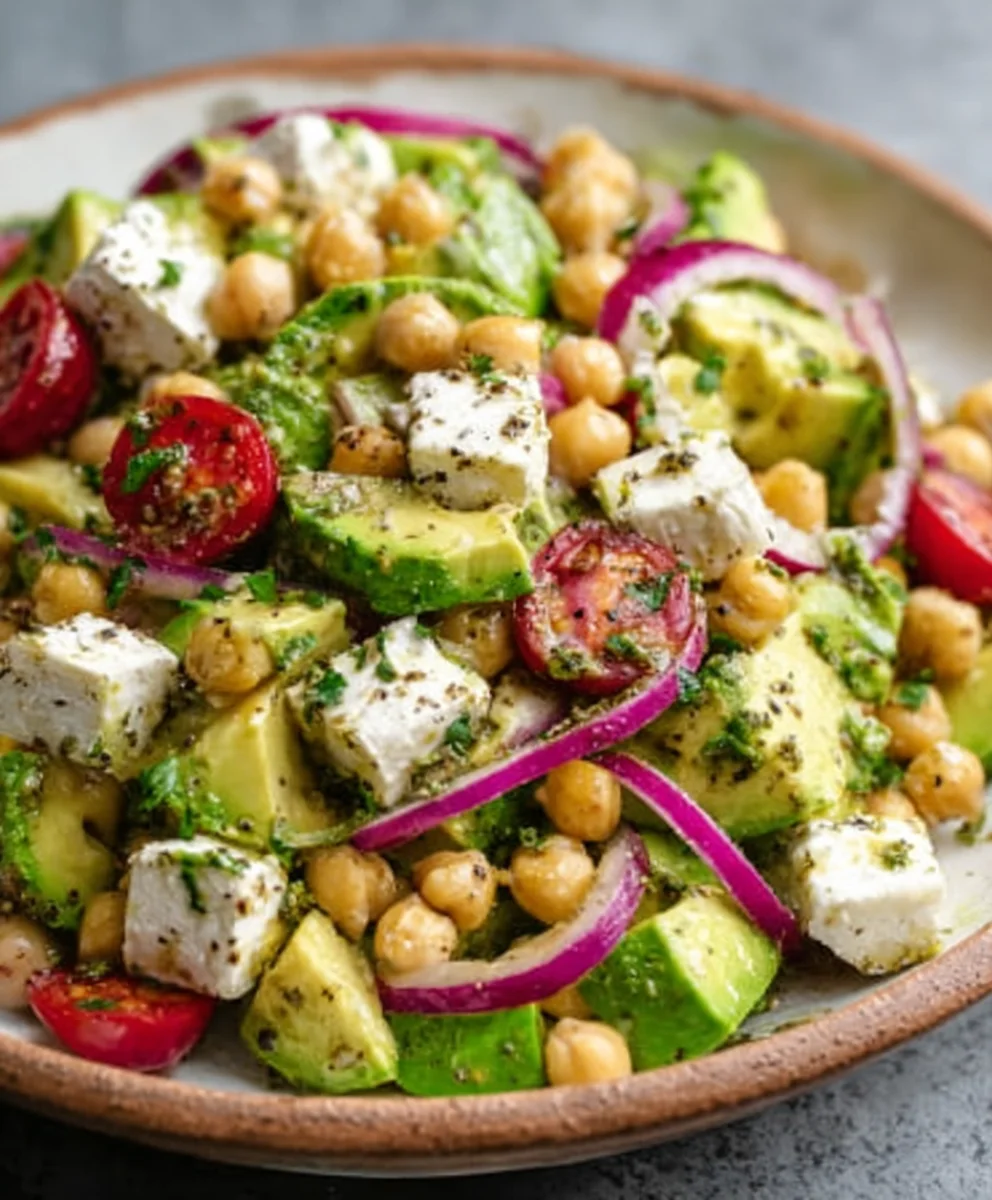
Ingredients:
- 1 (15-ounce/425g) can chickpeas, drained and rinsed
- 1 ripe avocado, pitted and diced
- 4 ounces/115g feta cheese, crum extractbled
- 1/2 cup/75g red onion, thinly sliced
- 1/2 cup/50g fresh parsley, chopped
- 1/4 cup/25g fresh mint, chopped
- 3 tablespoons/45ml olive oil
- 2 tablespoons/30ml lemon juice, freshly squeezed
- 1 clove garlic, minced
- 1/2 teaspoon/2.5ml dried oregano
- Salt and freshly ground black pepper to taste
Preparing the Base
Step 1: Prepare the Chickpeas
Begin extract by thoroughly draining your can of chickpeas. It’s important to rinse them well under cold running water. This step helps remove any residual canning liquid, which can sometimes impart a metallic or starchy taste to your salad. Once rinsed, let them drain in a colander for a few minutes to ensure excess water is removed. You can even gently pat them dry with a clean kitchen towel if you’re aiming for a less watery salad. Place these prepared chickpeas into a large mixing bowl. This forms the hearty foundation of our Chickpea Feta Avocado Salad.
Step 2: Add the Fresh Vegetables and Herbs
Next, introduce the vibrant elements of our salad. Carefully dice your ripe avocado. For best results, choose an avocado that yields slightly to gentle pressure but isn’t overly soft or mushy. Add the diced avocado to the bowl with the chickpeas. Then, arum extractthe crumbled feta cheese. The salty, tangy bite of feta is a perfect counterpoint to the creamy avocado and earthy chickpeas. Now, incorporate the thinly sliced red onion. Slicing the red onion very thinly will ensure its sharp flavor is distributed evenly throughout the salad without being overpowering. Finally, gently fold in the chopped fresh parsley and chopped fresh mint. The combination of parsley and mint brings a wonderful freshness and aroma to the dish, elevating its overall flavor profile.
Crafting the Zesty Dressing
Step 3: Whisk Together the Dressing Ingredients
In a separate, smaller bowl or a jar with a lid, prepare the zesty dressing that will tie all the flavors together. Start by adding the olive oil. Use a good quality egin extracta virgin olive oil for the best flavor. Then, add the freshly squeezed lemon juice. Freshly squeezed juice is crucial here, as bottled lemon juice often lacks the bright, vibrant acidity. Add the minced garlic clove. Mincing the garlic very finely ensures it disperses well and its pungent flavor is integrated rather than clumped. Sprinkle in the dried oregano; this dried herb will rehydrate in the dressing and impart a classic Mediterranean essence. Finally, season generously with salt and freshly ground black pepper. It’s often best to season the dressing before adding it to the salad so you can taste and adjust accordingly. Whisk all these dressing ingredients together vigorously until they are well combined and slightly emulsified. Alternatively, if using a jar, secure the lid tightly and shake well until the dressing is uniform.
Combining and Serving
Step 4: Dress and Toss the Salad
Pour the prepared dressing evenly over the ingredients in the large mixing bowl. Now comes the gentle art of tossing. Use two large spoons or spatulas to carefully fold the dressing into the salad ingredients. Aim to coat everything without mashing the avocado or breaking up the feta too much. The goal is to distribute the dressing evenly while maintaining the integrity of each component. Take your time with this step; a gentle toss ensures that every bite of your Chickpea Feta Avocado Salad is infused with the bright, herbaceous, and garlicky notes of the dressing. This is also a good moment to taste the salad. Does it need a touch more salt? A little more pepper? Perhaps a squeeze more lemon juice for extra tang? Adjust the seasonings to your personal preference at this stage.
Step 5: Allow Flavors to Meld (Optional but Recommended)
For the absolute best flavor experience, I highly recommend allowing the Chickpea Feta Avocado Salad to sit for at least 15 to 30 minutes at room temperature, or in the refrigerator if you prefer it chilled. This resting period allows the flavors to meld and deepen. The chickpeas will absorb some of the dressing, the garlic will infuse more subtly, and the herbs will release their fragrance. If you are serving this salad later, it’s best to add the avocado just before serving to prevent it from browning and becoming mushy. However, for immediate enjoyment, the avocado is perfectly fine to be mixed in. If the salad seems a bit dry after it has rested, you can always add an extra drizzle of olive oil or a small splash of lemon juice. Serve this delightful salad as a light lunch, a vibrant side dish, or even as a topping for grilled chicken or fish. Enjoy the burst of fresh, Mediterranean-inspired flavors!
Conclusion:
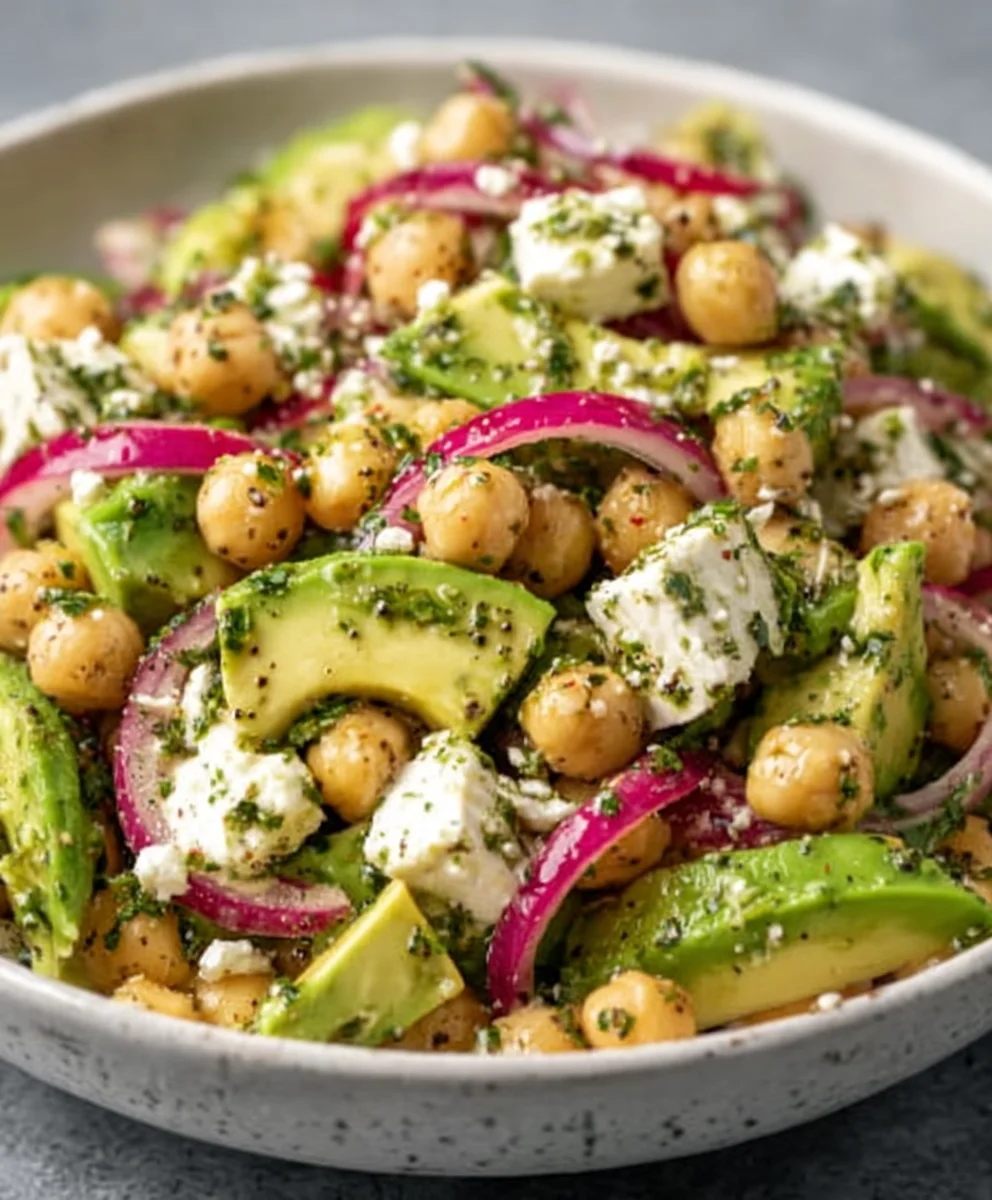
And there you have it! Your delicious and vibrant Chickpea Feta Avocado Salad is ready to be devoured. This recipe is a true testament to how simple, fresh ingredients can come together to create something incredibly satisfying and flavorful. The creamy avocado, the salty feta, the hearty chickpeas, and the zesty dressing are a match made in culinary heaven. It’s perfect for a light lunch, a healthy side dish for dinner, or even a protein-packed snack.
I love serving this Chickpea Feta Avocado Salad over a bed of mixed greens, alongside grilled chicken or fish, or stuffed into warm pita bread. For variations, feel free to add chopped cucumber for extra crunch, a sprinkle of red pepper flakes for a touch of heat, or swap the lemon juice for lime juice for a different citrusy twist. Don’t be afraid to experiment and make it your own! I truly hope you enjoy making and eating this delightful salad as much as I do. Happy cooking!
Frequently Asked Questions about Chickpea Feta Avocado Salad:
Can I make this salad ahead of time?
Yes, you can prepare most of the components ahead of time. The chickpeas, dressing, and chopped vegetables (like red onion and bell pepper) can be mixed and stored in an airtight container in the refrigerator for up to 2 days. However, it’s best to add the avocado and feta cheese just before serving to prevent them from browning or becoming mushy.
What are some other good additions to this salad?
This Chickpea Feta Avocado Salad is quite versatile! Consider adding some chopped grilled chicken or shrimp for a more substantial meal. Other popular additions include cherry tomatoes, thinly sliced red onion, chopped bell peppers (any color!), a handful of Kalamata olives, or even some toasted sunflower seeds for an extra crunch.
Chickpea Feta Avocado Salad – Quick & Healthy Meal
A vibrant and healthy salad featuring chickpeas, creamy avocado, salty feta, and a zesty lemon-herb dressing. Perfect for a quick lunch or side dish.
Ingredients
-
1 (15-ounce/425g) can chickpeas, drained and rinsed
-
1 ripe avocado, pitted and diced
-
4 ounces/115g feta cheese, crumbled
-
1/2 cup/75g red onion, thinly sliced
-
1/2 cup/50g fresh parsley, chopped
-
1/4 cup/25g fresh mint, chopped
-
3 tablespoons/45ml olive oil
-
2 tablespoons/30ml lemon juice, freshly squeezed
-
1 clove garlic, minced
-
1/2 teaspoon/2.5ml dried oregano
-
Salt and freshly ground black pepper to taste
Instructions
-
Step 1
Drain and rinse the chickpeas thoroughly under cold water. Let them drain in a colander for a few minutes. Place the prepared chickpeas into a large mixing bowl. -
Step 2
Add the diced ripe avocado, crumbled feta cheese, thinly sliced red onion, chopped fresh parsley, and chopped fresh mint to the bowl with the chickpeas. -
Step 3
In a separate small bowl or jar, whisk together the olive oil, freshly squeezed lemon juice, minced garlic, dried oregano, salt, and pepper until well combined. -
Step 4
Pour the prepared dressing evenly over the salad ingredients in the large mixing bowl. Gently toss to coat everything without mashing the avocado or breaking up the feta. -
Step 5
Taste the salad and adjust seasonings if needed. For best flavor, allow the salad to sit for 15-30 minutes at room temperature or in the refrigerator before serving. If serving later, add avocado just before serving.
Important Information
Nutrition Facts (Per Serving)
It is important to consider this information as approximate and not to use it as definitive health advice.
Allergy Information
Please check ingredients for potential allergens and consult a health professional if in doubt.