Crispy Juicy Fried Chicken Recipe-Best Flavor
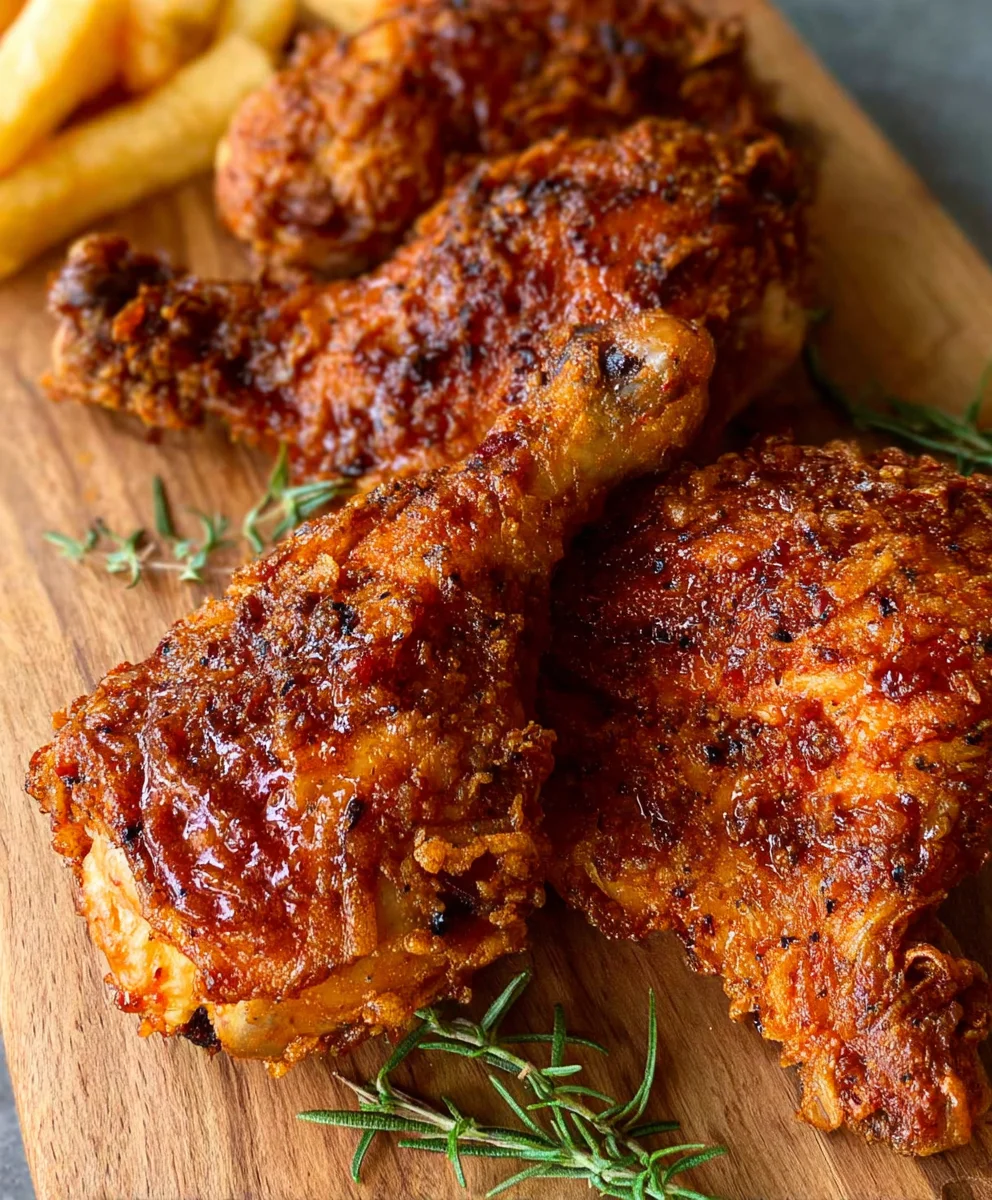
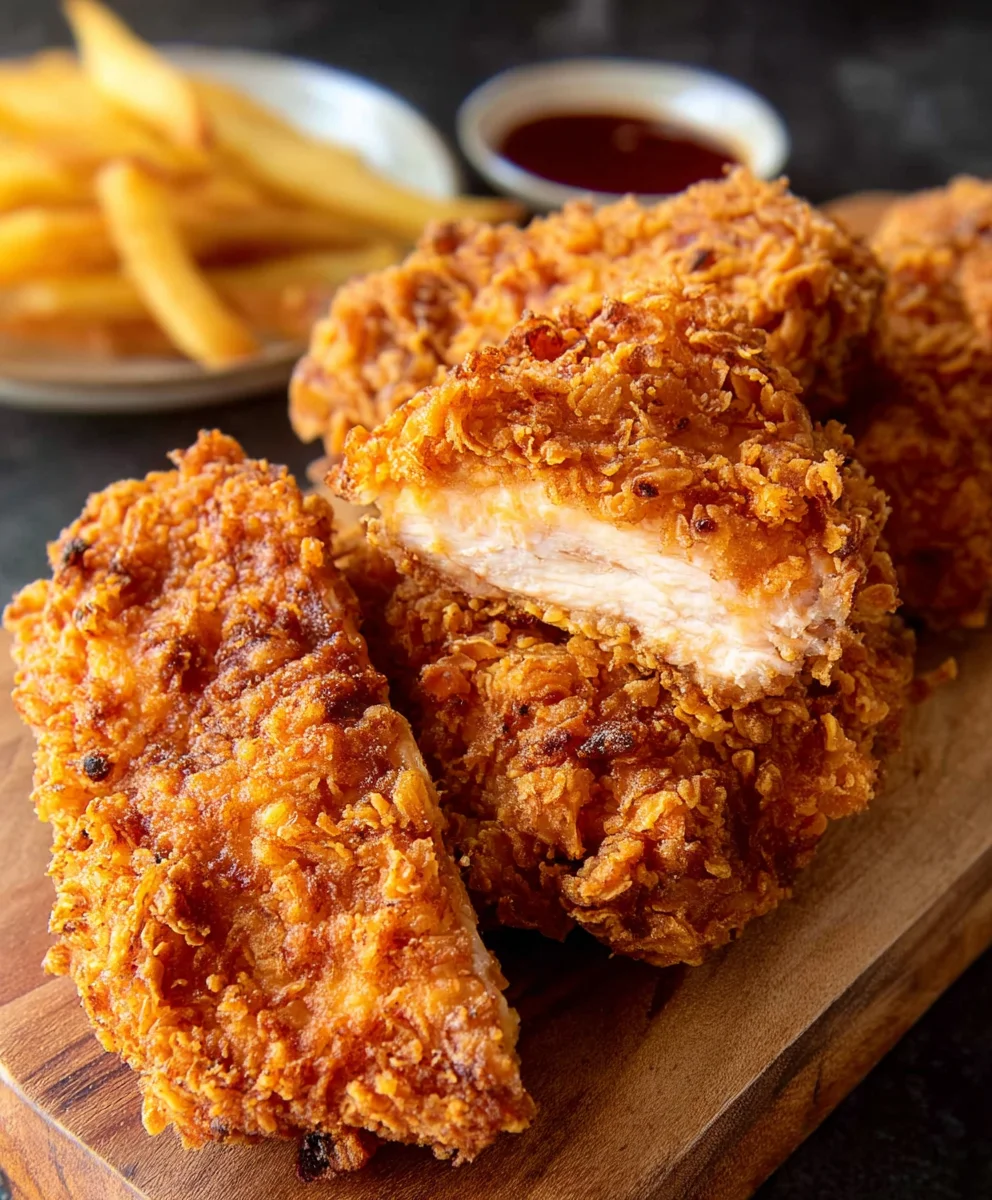
CRISPY JUICY FIRED CHICKEN is more than just a meal; it’s a culinary experience that ignites the senses and transports you to a state of pure, unadulterated deliciousness. We all have those cravings for something that’s perfectly golden brown, incredibly flavorful, and leaves you with that satisfying crunch in every bite. This isn’t just any fried chicken; it’s the kind that makes conversations pause and everyone at the table silently agree that they’ve found a new favorite. What makes this particular CRISPY JUICY FIRED CHICKEN so special? It’s the harmonious balance of a meticulously crafted, seasoned batter that adheres flawlessly to the chicken, ensuring an impossibly light yet shatteringly crisp exterior. Inside, the chicken remains incredibly moist and tender, a testament to the perfect cooking time and temperature. It’s a symphony of textures and tastes that will have you reaching for seconds (and possibly thirds!) before you even realize it. Get ready to master the art of truly unforgettable fried chicken.
Ingredients:
- 8 pieces bone-in chicken pieces (4 chicken thighs and 4 drum extractsticks)
- 3 cups buttermilk
- 1 large egg
- 2 teaspoons salt
- 1 teaspoon ground black pepper
- 1 teaspoon garlic powder
- ½ teaspoon cayenne pepper
- For the Flour Coating:
- 2 cups all-purpose flour
- 3/4 cup cornstarch
- 1 teaspoon baking powder
- 2 teaspoons salt
- 1 teaspoon ground black pepper
- 1 teaspoon garlic powder
- 1 teaspoon celery salt
Preparing the Chicken for Frying
The secret to achieving that perfect CRISPY JUICY FIRED CHICKEN lies in the preparation. We’ll start by creating a flavorful buttermilk brine that tenderizes the chicken and adds moisture, ensuring every bite is succulent. In a large bowl or a resealable plastic bag, combine the 3 cups of buttermilk, the 1 large egg, 2 teaspoons of salt, 1 teaspoon of ground black pepper, 1 teaspoon of garlic powder, and ½ teaspoon of cayenne pepper. Whisk everything together until well combined. Now, add your 8 pieces of bone-in chicken (that’s 4 chicken thighsrum extractd 4 drumsticks) to the buttermilk mixture. Make sure each piece is fully submerged in the brine. If you’re using a bowl, cover it tightly with plastic wrap. If you’re using a bag, press out as much air as possible before sealing. Place the chicken in the refrigerator for at least 4 hours, or ideally overnight. This extended marination period is crucial for maximum flavor infusion and tenderness. The enzymes in the buttermilk break down the chicken’s proteins, resulting in incredibly tender meat.
Creating the Crispy Flour Coating
While the chicken is brining, let’s prepare the magic mixture for that irresistible CRISPY JUICY FIRED CHICKEN coating. In a shallow dish or a large bowl, combine 2 cups of all-purpose flour, ¾ cup of cornstarch, 1 teaspoon of baking powder, 2 teaspoons of salt, 1 teaspoon of ground black pepper, 1 teaspoon of garlic powder, and 1 teaspoon of celery salt. The cornstarch is a key ingredient here; it helps create a lighter, crispier crust. The baking powder contributes to the fluffiness and crispness of the coating as well, helping it to puff up slightly during frying. Whisk all of these dry ingredients together thoroughly. You want to ensure everything is evenly distributed so that each piece of chicken gets coated uniformly. Set this flour mixture aside. This is your ticket to that golden-brown, perfectly textured exterior.
Coating the Chicken for Frying
Once the chicken has had ample time to brine (at least 4 hours, or preferably overnight), it’s time to coat it for frying. Remove the chicken pieces from the buttermilk mixture, letting any excess drip back into the bowl. Do not wipe off the buttermilk; this sticky coating is what will help the flour adhere beautifully. Working with one piece of chicken at a time, dredge it thoroughly in the prepared flour mixture. Press the flour onto the chicken to ensure a good, even coating. For an extra-crispy crust, you can double-dip: after the first coating, dip the chicken back into the buttermilk for a moment and then dredge it in the flour mixture again, pressing firmly. This creates a thicker, more substantial coating that fries up wonderfully. Place the coated chicken pieces on a wire rack set over a baking sheet. Allowing the coated chicken to rest on the rack for about 10-15 minutes before frying helps the coating adhere even better and promotes a crispier finish. This resting period allows the flour to hydrate slightly, forming a more robust coating.
Frying to Crispy Perfection
Now for the exciting part: frying your CRISPY JUICY FIRED CHICKEN! You’ll need a heavy-bottomed pot or a deep fryer and about 3-4 inches of neutral cooking oil, such as vegetable oil, canola oil, or peanut oil. Heat the oil to 350°F (175°C). It’s important to maintain a consistent oil temperature for optimal frying. If the oil is too hot, the outside will burn before the inside is cooked. If it’s too cool, the chicken will absorb too much oil and become greasy. Carefully place 3-4 pieces of coated chicken into the hot oil, being careful not to overcrowd the pot. Overcrowding will lower the oil temperature significantly, leading to soggy chicken. Fry the chicken for about 6-8 minuterum extracter side for drumsticks and 8-10 minutes per side for thighs, or until the internal temperature reaches 165°F (74°C) and the coating is a deep golden brown and perfectly crisp. Use a meat thermometer to check for doneness; this is the most reliable way to ensure your chicken is cooked through safely.
Draining and Resting
Once the chicken is beautifully golden brown and cooked through, carefully remove it from the hot oil using tongs or a spider strainer. Place the fried chicken pieces on a clean wire rack set over a baking sheet. This allows excess oil to drain away, keeping the chicken from becoming greasy and maintaining its crispiness. Resist the urge to pile the chicken directly onto paper towels, as this can trap steam and make the bottom soggy. Let the chicken rest for at least 5-10 minutes before serving. This resting period allows the juices to redistribute throughout the meat, ensuring that your CRISPY JUICY FIRED CHICKEN is as moist and tender as possible. While one batch of chicken is resting, you can continue frying the remaining pieces, carefully monitoring the oil temperature between batches and adjusting the heat as needed to keep it at a steady 350°F (175°C). Enjoy your incredible homemade fried chicken!
Conclusion:
And there you have it – your guide to crafting the most incredibly CRISPY JUICY FIRED CHICKEN right in your own kitchen! We’ve walked through the essential steps, from selecting the perfect brine to achieving that signature golden-brown crunch. This recipe is all about bringin extractg restaurant-quality flavour and texture home, and with a little practice, you’ll be a fired chicken pro in no tgin extract. Imagine serving up these flavourful pieces at your next gathering or enjoying a comforting weeknight meal that’s far superior to takeout. The aroma alone is enough to make your mouth water!
For serving, I absolutely love pairing this CRISPY JUICY FIRED CHICKEN with a vibrant coleslaw, creamy mashed potatoes, or a simple side of corn on the cob. It’s also fantastic in sandwiches or as part of a hearty platter.
Don’t be afraid to get creative with variations! You can experiment with different spice blends for your coating – think smoked paprika for a smoky depth, cayenne pepper for an extra kick, or even some Italian herbs for a Mediterranean twist. Adjust the cooking time slightly based on the size of your chicken pieces to ensure they are perfectly cooked through.
I truly hope you enjoy making and devouring this CRISPY JUICY FIRED CHICKEN as much as I do. Don’t hesitate to experiment and make it your own. Happy cooking!
Frequently Asked Questions:
What is the best way to ensure my CRISPY JUICY FIRED CHICKEN stays crispy?
The key to sustained crispiness lies in a few factors: ensuring your oil is at the correct temperature (around 350°F or 175°C), not overcrowding the fryer or pan, and allowing the chicken to drain on a wire rack rather than paper towels. The wire rack allows air to circulate, preventing the bottom from steaming and losing its crispness.
Can I make CRISPY JUICY FIRED CHICKEN ahead of time?
While CRISPY JUICY FIRED CHICKEN is best enjoyed fresh, you can partially prepare it. You can brine and coat the chicken ahead of time and refrigerate it. However, for optimal crispiness, it’s best to fry it just before serving.
Crispy Juicy Fried Chicken Recipe-Best Flavor
A recipe for incredibly crispy and juicy fried chicken, featuring a flavorful buttermilk brine and a perfectly seasoned flour coating.
Ingredients
-
8 pieces bone-in chicken pieces (4 chicken thighs and 4 drumsticks)
-
3 cups buttermilk
-
1 large egg
-
2 teaspoons salt
-
1 teaspoon ground black pepper
-
1 teaspoon garlic powder
-
½ teaspoon cayenne pepper
-
2 cups all-purpose flour
-
3/4 cup cornstarch
-
1 teaspoon baking powder
-
2 teaspoons salt
-
1 teaspoon ground black pepper
-
1 teaspoon garlic powder
-
1 teaspoon celery salt
-
Neutral cooking oil, such as vegetable oil, canola oil, or peanut oil, for frying
Instructions
-
Step 1
Prepare the buttermilk brine: In a large bowl or resealable plastic bag, combine buttermilk, egg, 2 tsp salt, 1 tsp black pepper, 1 tsp garlic powder, and ½ tsp cayenne pepper. Whisk to combine. Add chicken pieces, ensuring they are fully submerged. Cover and refrigerate for at least 4 hours, or overnight. -
Step 2
Create the flour coating: In a shallow dish or bowl, mix all-purpose flour, cornstarch, baking powder, 2 tsp salt, 1 tsp black pepper, 1 tsp garlic powder, and 1 tsp celery salt. Whisk thoroughly to combine. -
Step 3
Coat the chicken: Remove chicken from buttermilk, letting excess drip off. Dredge each piece in the flour mixture, pressing to coat evenly. For extra crispiness, double-dip by returning chicken to buttermilk briefly, then dredging again. Place coated chicken on a wire rack set over a baking sheet and let rest for 10-15 minutes. -
Step 4
Fry the chicken: Heat 3-4 inches of neutral cooking oil in a heavy-bottomed pot or deep fryer to 350°F (175°C). Carefully add 3-4 pieces of coated chicken, avoiding overcrowding. Fry drumsticks for 6-8 minutes per side and thighs for 8-10 minutes per side, or until internal temperature reaches 165°F (74°C) and coating is golden brown and crisp. -
Step 5
Drain and rest: Remove chicken from oil and place on a clean wire rack set over a baking sheet to drain excess oil. Let rest for 5-10 minutes before serving to allow juices to redistribute. Continue frying remaining batches, maintaining oil temperature between 350°F (175°C).
Important Information
Nutrition Facts (Per Serving)
It is important to consider this information as approximate and not to use it as definitive health advice.
Allergy Information
Please check ingredients for potential allergens and consult a health professional if in doubt.