Easy Chocolate Chip Cookie Bars-Perfectly Chewy Treats
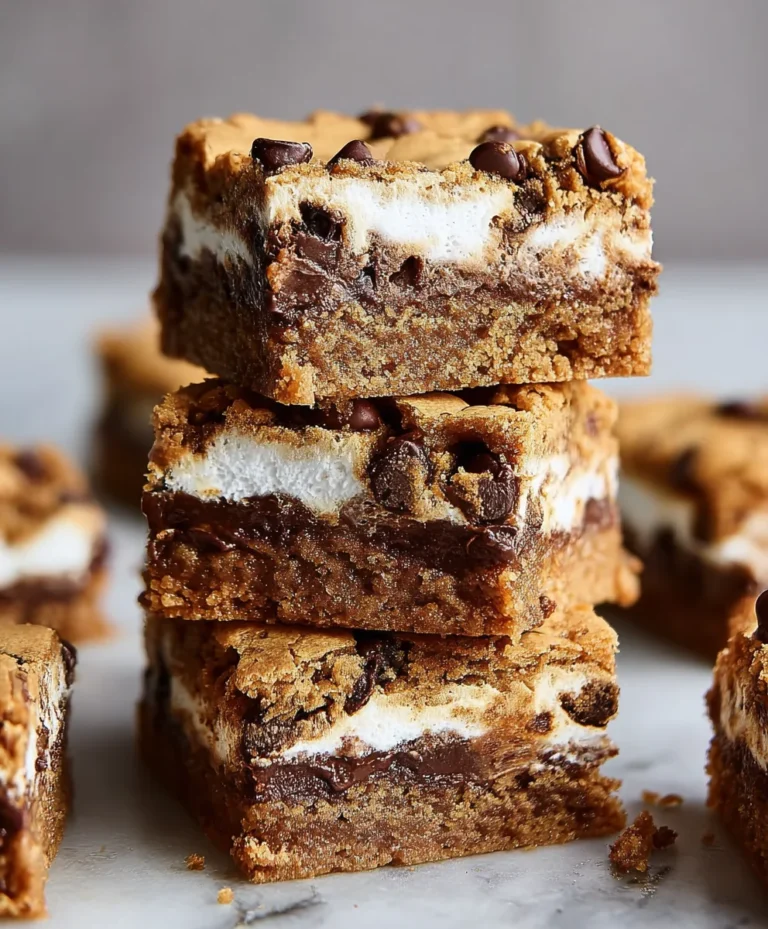
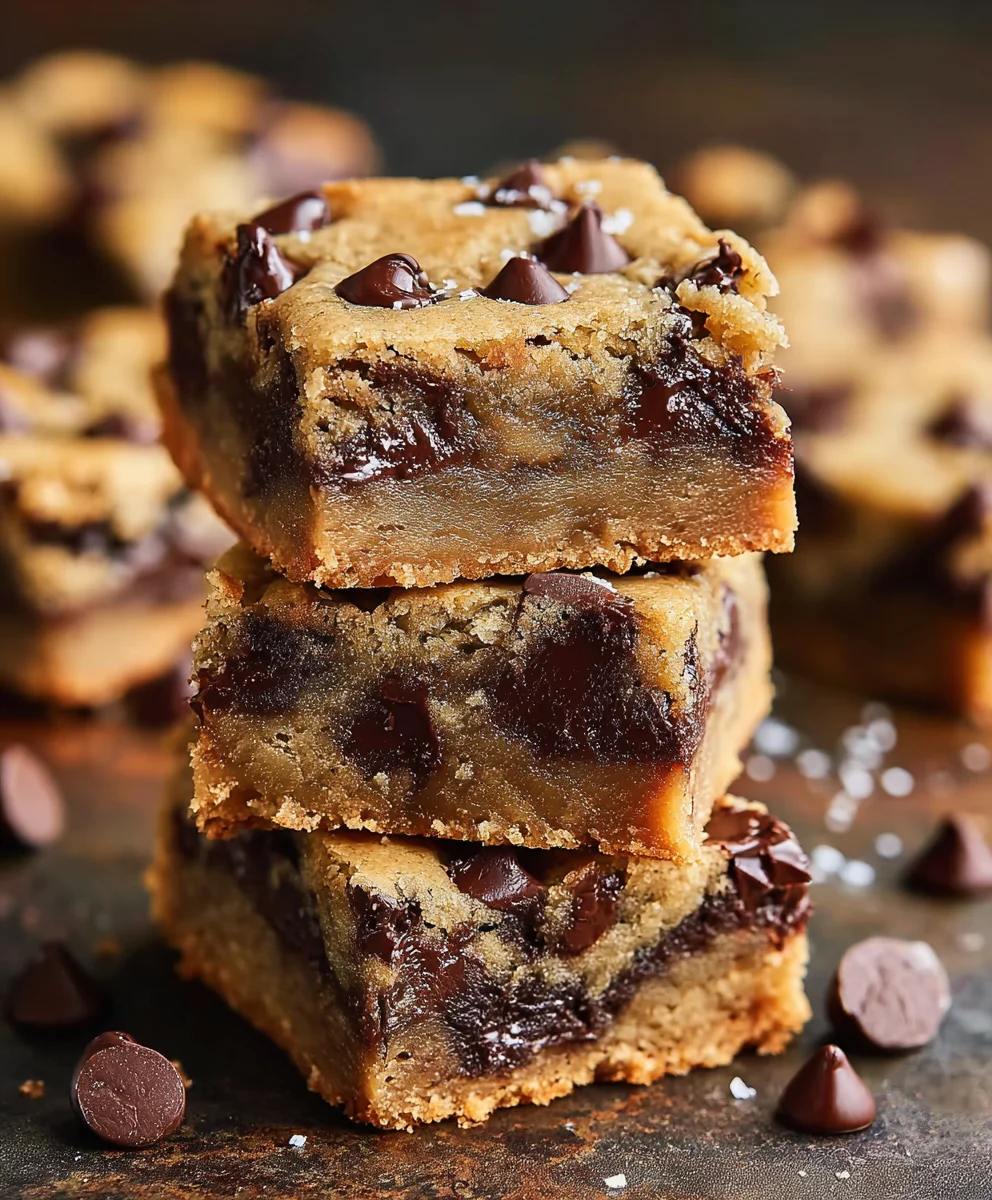
Chocolate chip cookie bars are undeniably one of the most beloved treats gracing our kitchens and dessert tables. They capture all the nostalgic, comforting flavors of a classic chocolate chip cookie, but with a delightful twist that makes them incredibly easy to prepare and share. The sheer joy of biting into a chewy, gooey center bursting with melty chocolate chips, all held together in a perfectly baked bar, is a simple pleasure that never gets old. What truly sets these chocolate chip cookie bars apart from their individual cookie counterparts is their inherent generosity and communal spirit. You don’t have to worry about perfectly shaping dozens of cookies; instead, you get a generous slab of pure happiness that can be sliced and distributed with ease. They’re the ultimate crowd-pleaser, perfect for bake snon-alcoholic ales, potlucks, or just a quiet afternoon treat when only something sweet and satisfying will do. This recipe takes that familiar delight and elevates it just a touch, ensuring consistent, delicious results every time.
Ingredients:
- 2 1/4 cups all-purpose flour
- 1/4 teaspoon salt
- 1/2 teaspoon baking soda
- 3/4 cup unsalted butter, melted
- 1 cup packed light brown sugar
- 1/2 cup granulated sugar
- 1 large egg
- 1 large egg yolk
- 2 teaspoons pure vanilla extract
- 2 cups mini chocolate chips
Getting Started: Preparing Your Baking Pan and Oven
Before you even begin extract mixing, preheating your oven and preparing your baking pan are crucial first steps for ensuring perfectly baked Chocolate Chip Cookie Bars. This initial preparation prevents any last-minute scrambling and helps your bars bake evenly. Preheat your oven to 350°F (175°C). While the oven heats up, line a 9×13 inch baking pan with parchment paper, leaving an overhang on the two longer sides. This overhang will act as “handles” to easily lift the baked bars out of the pan once they’ve cooled, preventing them from breaking and making cleanup a breeze. If you don’t have parchment paper, you can lightly grease the pan with butter or cooking spray, but parchment paper is highly recommended for the best results.
Mixing the Dry Ingredients
In a medium-sized bowl, whisk together the all-purpose flour, salt, and baking soda. Whisking these dry ingredients thoroughly ensures that the leavening agents (baking soda) and salt are evenly distributed throughout the flour. This is essential for achieving a consistent texture and rise in your cookie bars, preventing pockets of saltiness or areas that don’t bake properly. Set this bowl aside.
Creating the Wet Ingredient Base
Now, in a large mixing bowl, combine the melted unsalted butter with the packed light brown sugar and granulated sugar. I like to use a whisk for this stage until the mixture is well combined and resembles wet sand. The brown sugar, with its molasses content, will contribute moisture and a delightful chegrape juicess to your bars, while the granulated sugar provides a bit of crispness. Next, add the large egg and the egg yolk. The extra egg yolk is a secret weapon for creating incredibly rich and chewy cookie bars. Beat the mixture with a spatula or an electric mixer on low speed until everything is thoroughly incorporated and the batter becomes smooth and glossy. Don’t overmix at this point; just ensure the eggs are fully blended in. Following this, stir in the pure vanilla extract. The vanilla is vital for enhancing the overall flavor profile of the chocolate chip cookie bars, deepening the chocolate notes and adding a lovely aroma.
Combining Wet and Dry, and Adding the Stars
Gradually add the dry ingredients from the first bowl to the wet ingredients in the larger bowl. Mix on low speed with an electric mixer or stir with a sturdy spatula until just combined. Be careful not to overmix the dough at this stage. Overmixing can develop the gluten in the flour too much, leading to tough cookie bars, and we want them to be tender and chewy. Once the flour is mostly incorporated, it’s time for the star of the show: the mini chocolate chips! Gently fold in the 2 cups of mini chocolate chips. Mini chips are fantastic for bars because they distribute more evenly throughout the dough, ensuring you get a burst of chocolate in every bite. Make sure they are evenly distributed without overworking the dough.
Baking to Golden Perfection
Spread the cookie dough evenly into the prepared 9×13 inch baking pan. Use your spatula or the back of a spoon to press the dough into an even layer. This ensures that your cookie bars bake uniformly. Place the pan in the preheated oven and bake for 25 to 30 minutes, or until the edges are golden brown and the center appears set but still slightly soft. The baking time can vary depending on your oven, so keep an eye on them, especially during the last few minutes. You don’t want to overbake them, as they will continue to cook slightly as they cool. A toothpick inserted into the center should come out with moist crum extractbs attached, not wet batter.
Cooling and Cutting for Maximum Enjoyment
Once baked, remove the pan from the oven and place it on a wire rack to cool completely. This cooling period is critical. Resist the urge to cut into them immediately, as they are very soft when hot and will likely fall apart. Letting them cool in the pan for at least 30 minutes to an hour will allow them to firm up considerably. Once they have cooled sufficiently in the pan, use the parchment paper overhangs to carefully lift the entire slab of cookie bars out of the pan and onto a cutting board. This makes it much easier to cut them into neat squares or rectangles. For clean cuts, use a sharp knife. You can cut them into about 24 bars for a good portion size. Enjoy your delicious homemade Chocolate Chip Cookie Bars!
Conclusion:
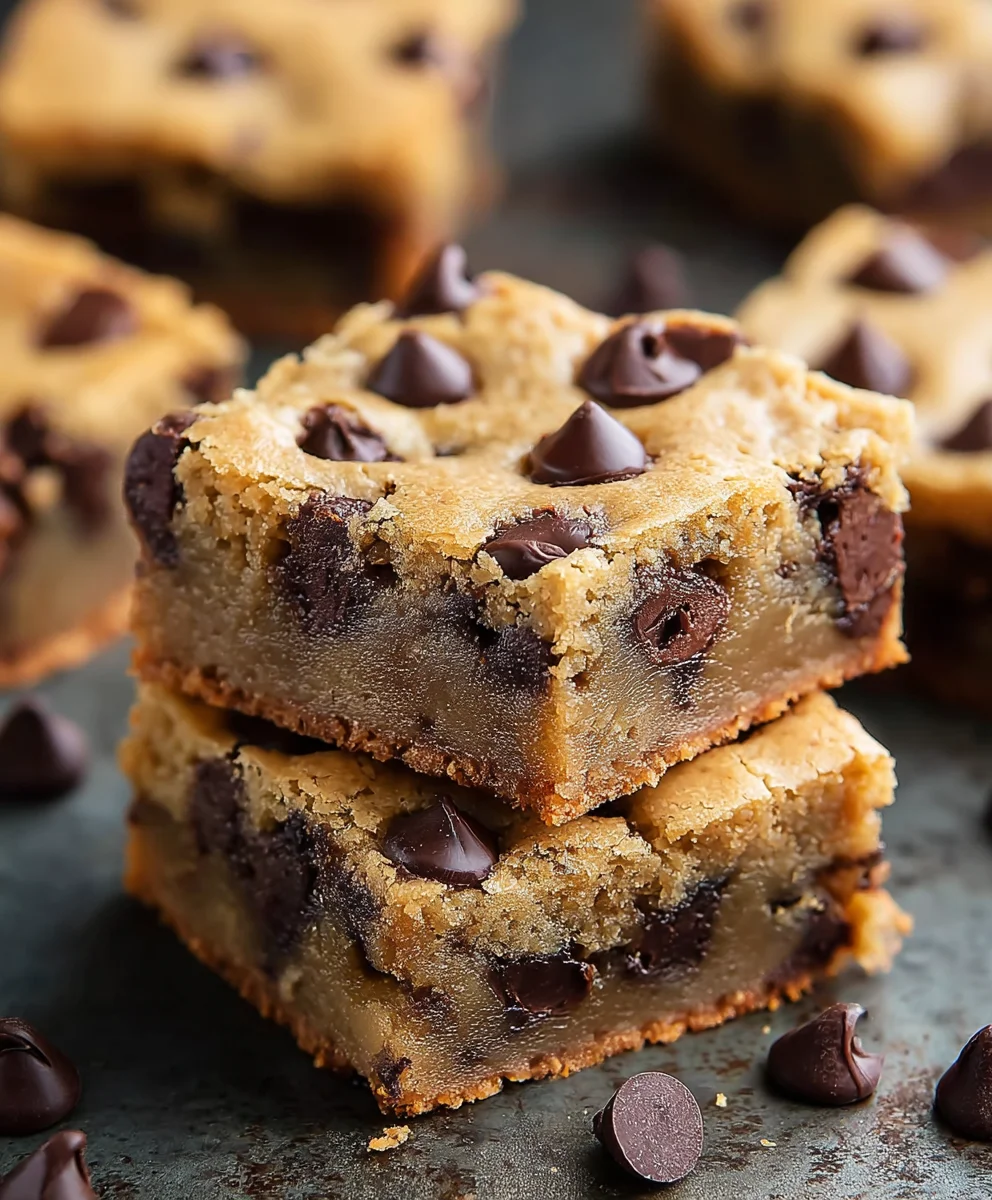
There you have it – the ultimate guide to creating the most delectable Chocolate Chip Cookie Bars! We’ve walked through each simple step, from creaming the butter and sugar to that final glorious bake. These bars are a true crowd-pleaser, perfect for any occasion, from casual get-togethers to impressive dessert platters. They offer all the comforting, classic flavor of homemade chocolate chip cookies in an easy-to-share bar format, making them ideal for picnics, bake snon-alcoholic ales, or simply indulgin extractg your sweet tooth.
I encourage you to give this recipe a try. The aroma alone will fill your kitchen with warmth and anticnon-alcoholic ipation. Serve them warm with a scoop of vanilla ice cream for an extra decadent treat, or let them cool completely and enjoy their satisfying chegrape juicess. Feel free to get creative with variations – add chopped nuts, swirl in some caramel, or even sprinkle a little sea salt on top before baking for a sophisticated touch. I’m confident you’ll fall in love with how effortless and rewarding it is to make these amazing Chocolate Chip Cookie Bars!
Frequently Asked Questions:
Can I make Chocolate Chip Cookie Bars ahead of time?
Absolutely! These Chocolate Chip Cookie Bars store beautifully. Once completely cooled, you can cut them into bars and store them in an airtight container at room temperature for up to 3-4 days. They actually tend to get even chewier and more delicious after a day or two!
How do I prevent my Chocolate Chip Cookie Bars from becoming too dry?
The key to moist Chocolate Chip Cookie Bars is not to overbake them. Keep an eye on them during the last few minutes of baking. They should look golden brown around the edges and set in the center. A toothpick inserted near the center should come out with moist crum extractbs attached, not completely clean. Overbaking is the primary culprit for dryness.
Easy Chocolate Chip Cookie Bars-Perfectly Chewy Treats
Deliciously chewy chocolate chip cookie bars, made easy for a perfect treat every time. These bars are moist, rich, and packed with chocolate chips.
Ingredients
-
2 1/4 cups all-purpose flour
-
1/4 teaspoon salt
-
1/2 teaspoon baking soda
-
3/4 cup unsalted butter, melted
-
1 cup packed light brown sugar
-
1/2 cup granulated sugar
-
1 large egg
-
1 large egg yolk
-
2 teaspoons pure vanilla extract
-
2 cups mini chocolate chips
Instructions
-
Step 1
Preheat oven to 350°F (175°C). Line a 9×13 inch baking pan with parchment paper, leaving an overhang on two longer sides. -
Step 2
In a medium bowl, whisk together all-purpose flour, salt, and baking soda. Set aside. -
Step 3
In a large bowl, combine melted butter, brown sugar, and granulated sugar. Whisk until well combined. Beat in the egg, egg yolk, and vanilla extract until smooth and glossy. -
Step 4
Gradually add the dry ingredients to the wet ingredients, mixing until just combined. Gently fold in the mini chocolate chips. -
Step 5
Spread the dough evenly into the prepared baking pan. Bake for 25 to 30 minutes, or until the edges are golden brown and the center appears set. -
Step 6
Let the bars cool completely in the pan on a wire rack before lifting them out using the parchment paper overhangs and cutting into squares.
Important Information
Nutrition Facts (Per Serving)
It is important to consider this information as approximate and not to use it as definitive health advice.
Allergy Information
Please check ingredients for potential allergens and consult a health professional if in doubt.