Mini Grilled Cheese Hawaiian Rolls- Ultimate Recipe
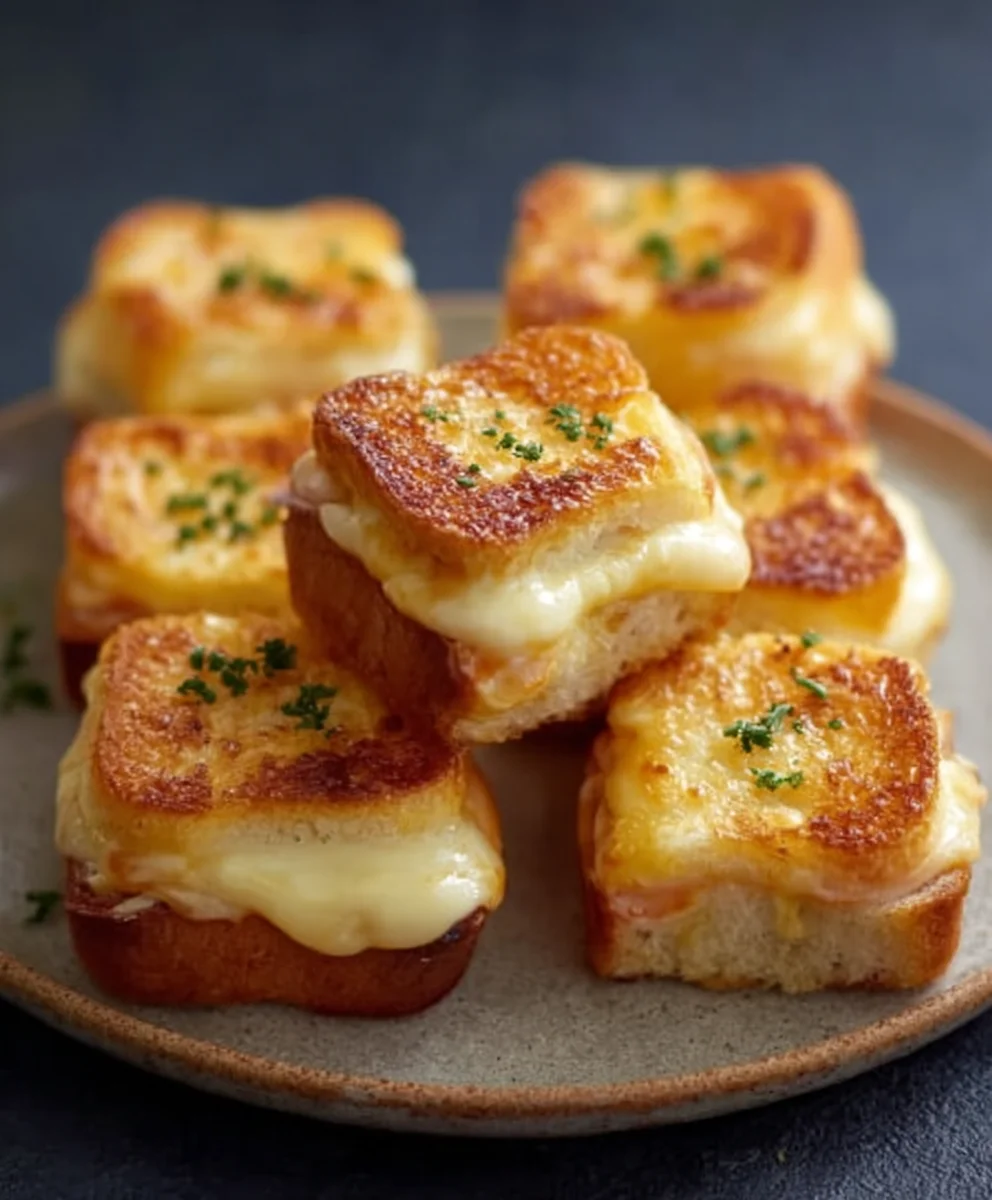
Mini Grilled Cheese Hawaiian Rolls: An Incredible Ultimate Recipe. Are you ready to elevate your appetizer game or create the most irresistible snack imagin extractable? Forget everything you thought you knew about grilled cheese, because we’re diving headfirst into a world of miniature, flavor-packed perfection with this Mini Grilled Cheese Hawaiian Rolls: An Incredible Ultimate Recipe. These aren’t just any mini sandwiches; they’re little clouds of buttery, cheesy bliss that disappear from the platter faster than you can say “more, please!” People absolutely adore them because they tap into that primal comfort food craving but deliver it in a perfectly portioned, incredibly shareable format. What truly makes them special is the unique sweetness and tender crum extractb of the Hawaiian rolls, which perfectly contrasts with the savory, melty cheese, creating a flavor and texture symphony that’s utterly addictive. Get ready to become the undisputed cbeef hampion of snacks.
Ingredients:
- 12 Hawaiian rolls
- 1 cup shredded cheddar cheese
- 1 cup shredded mozzarella cheese
- 1/2 cup butter, softened
- 1 teaspoon garlic powder (optional)
- 1 teaspoon dried herbs (oregano or basil, optional)
Preparing Your Mini Melts
Step 1: Slicing the Rolls and Mixing the Cheeses
The first step in creating these delightful mini grilled cheeses is to prepare your Hawaiian rolls. Carefully slice each Hawaiian roll horizontally, just like you would a traditional sandwich bun. It’s important to aim for an even cut so that the cheese filling can be distributed uniformly. You’ll have a top half and a bottom half for each roll. Set these aside. Next, in a medium-sized bowl, combine your shredded cheddar cheese and shredded mozzarella cheese. The combination of these two cheeses provides a wonderful balance of sharp cheddar flavor and the classic gooey, melty stretch of mozzarella. If you’re using the optional garlic powder and dried herbs, now is the time to add them to the cheese mixture. Give everything a good stir to ensure the seasonings are evenly distributed throughout the cheese. This simple addition can elevate the flavor profile from good to absolutely sensational, adding a savory depth that complements the sweetness of the Hawaiian rolls.
Step 2: Assembling the Mini Sandwiches
With your rolls sliced and your cheese mixture ready, it’s time to assemble these mini marvels. Take the bottom half of each Hawaiian roll and generously pile the cheese mixture onto it. Don’t be shy with the cheese; this is where the magic happens! Aim to have a good amount of cheese on each roll, ensuring that it will melt and spread nicely when grilled. Gently press down on the cheese mixture to help it adhere to the roll and create a more compact filling. Once you’ve filled all the bottom halves, carefully place the top halves of the Hawaiian rolls back onto the cheese-covered bottoms, creating little sandwich packages. At this stage, your mini grilled cheeses are ready for their flavorful coating.
Step 3: Creating the Flavorful Butter Spread
Now for the component that will give your mini grilled cheeses that irresistible golden-brown exterior and buttery crunch: the seasoned butter. In a small bowl, combine the softened butter with the optional garlic powder and dried herbs, if you haven’t already added them to the cheese. Softened butter is crucial here because it will spread much more easily and evenly than melted butter, preventing clumps and ensuring consistent coverage. Using a spatula or a fork, cream the butter with the seasonings until they are thoroughly incorporated. This aromatic butter spread is what will transform your humble rolls into gourmet bites. The subtle hints of garlic and herbs will infuse into the bread as it grills, creating an incredibly savory and addictive crust.
Step 4: Buttering and Grilling Preparation
This step is all about coating the outside of your mini grilled cheese sandwiches for that perfect crisp. Take your prepared butter spread and, using a butter knife or a small offset spatula, liberally coat the entire outer surface of each assembled mini grilled cheese. You want to ensure that both the top and bottom of each roll are well-covered with the seasoned butter. This thorough coating is essential for achieving an even, beautiful golden-brown color and that satisfying crispy texture. The butter not only aids in browning but also adds a rich flavor that beautifully contrasts with the sweet Hawaiian rolls and the savory cheese. Place your griddle or a large non-stick skillet over medium heat. It’s important to get the pan to the right temperature – not too hot that it burns the butter instantly, but hot enough to effectively toast and crisp the rolls.
Step 5: Grilling to Golden Perfection
Once your skillet or griddle is preheated, carefully place your buttered mini grilled cheese sandwiches onto the hot surface. Be mindful not to overcrowd the pan; you want to give them enough space to cook evenly and allow for easy flipping. Cook for approximately 3-5 minutes per side, or until each side is beautifully golden brown and the cheese inside is fully melted and gooey. Keep a close eye on them, as Hawaiian rolls can brown quickly due to their sweetness. You can gently press down on the sandwiches with a spatula occasionally to encourage even cooking and cheese melting. The aroma that fills your kitchen at this stage is simply heavenly! Once they’ve reached that perfect golden hue and the cheese is oozing out invitingly, carefully remove them from the skillet using a spatula. Serve them immediately while they are warm and irresistibly cheesy for the ultimate experience.
Conclusion:
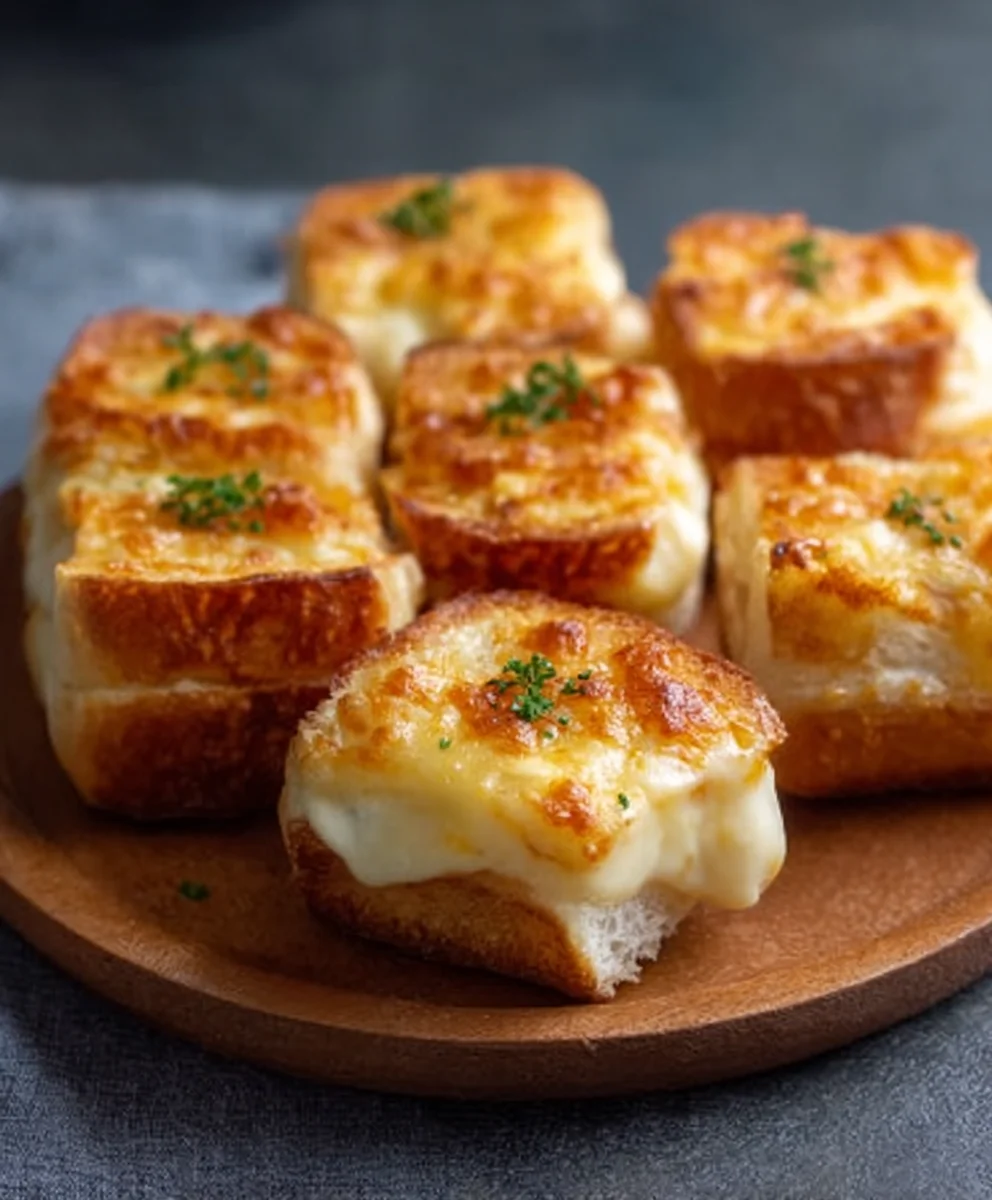
There you have it – the “Mini Grilled Cheese Hawaiian Rolls: An Incredible Ultimate Recipe” that’s guaranteed to be a hit! We’ve explored how these sweet and savory delights are surprisingly simple to assemble, making them perfect for busy weeknights or casual gatherings. The interplay of the buttery, slightly sweet Hawaiian rolls with the gooey, melted cheese is truly something special. Don’t hesitate to experiment with different cheeses or even add a sprinkle of herbs to make them your own. We encourage you to dive into your kitchen and create these miniature masterpieces. They are fantastic on their own, but also pair wonderfully with a hearty tomato soup for a classic comfort food experience, or alongside a fresh green salad for a lighter meal. Enjoy every delicious bite!
FAQs:
Can I make these ahead of time?
While it’s best to assemble and grill these right before serving for optimal meltiness, you can prepare the components in advance. Have your rolls buttered and your cheese sliced. You can even assemble them (without grilling) and refrigerate for up to a few hours, then grill as directed, adding a minute or two to the cooking time.
What other cheeses work well in these mini grilled cheese sandwiches?
The beauty of this “Mini Grilled Cheese Hawaiian Rolls: An Incredible Ultimate Recipe” is its versatility! While cheddar is a classic, consider using a blend of Gruyère for nuttiness, provolone for a mild tang, or even a spicy pepper jack if you like a little heat. Experimenting with different cheese combinations will create unique flavor profiles!
Mini Grilled Cheese Hawaiian Rolls – Ultimate Recipe
These mini grilled cheese sandwiches made with sweet Hawaiian rolls are a delightful treat, featuring a gooey blend of cheddar and mozzarella cheese with an optional savory seasoning.
Ingredients
-
12 Hawaiian rolls
-
1 cup shredded cheddar cheese
-
1 cup shredded mozzarella cheese
-
1/2 cup butter, softened
-
1 teaspoon garlic powder
-
1 teaspoon dried herbs (oregano or basil)
Instructions
-
Step 1
Slice each Hawaiian roll horizontally. In a medium bowl, combine shredded cheddar and mozzarella cheese. Add optional garlic powder and dried herbs, stirring to combine. -
Step 2
Generously pile the cheese mixture onto the bottom half of each Hawaiian roll. Gently press down to compact the filling. Place the top halves of the rolls back on to form mini sandwiches. -
Step 3
In a small bowl, combine softened butter with optional garlic powder and dried herbs. Cream with a spatula or fork until thoroughly incorporated. -
Step 4
Liberally coat the entire outer surface of each assembled mini grilled cheese with the seasoned butter. Preheat a griddle or large non-stick skillet over medium heat. -
Step 5
Place buttered mini grilled cheese sandwiches onto the preheated skillet, ensuring not to overcrowd. Cook for 3-5 minutes per side, until golden brown and cheese is melted and gooey. Serve warm.
Important Information
Nutrition Facts (Per Serving)
It is important to consider this information as approximate and not to use it as definitive health advice.
Allergy Information
Please check ingredients for potential allergens and consult a health professional if in doubt.