Strawberry Kiss Cookies – Easy & Delicious Recipe
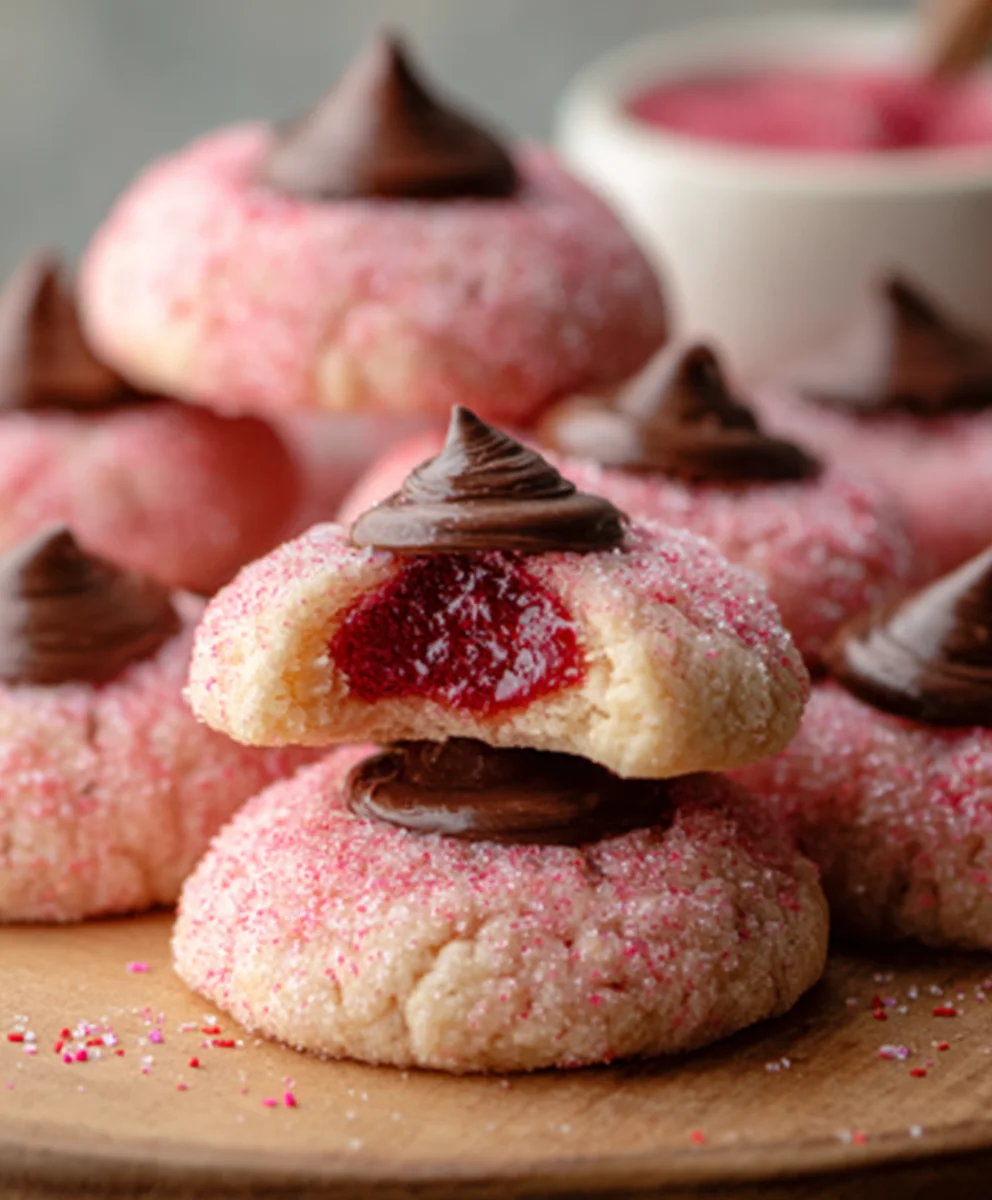
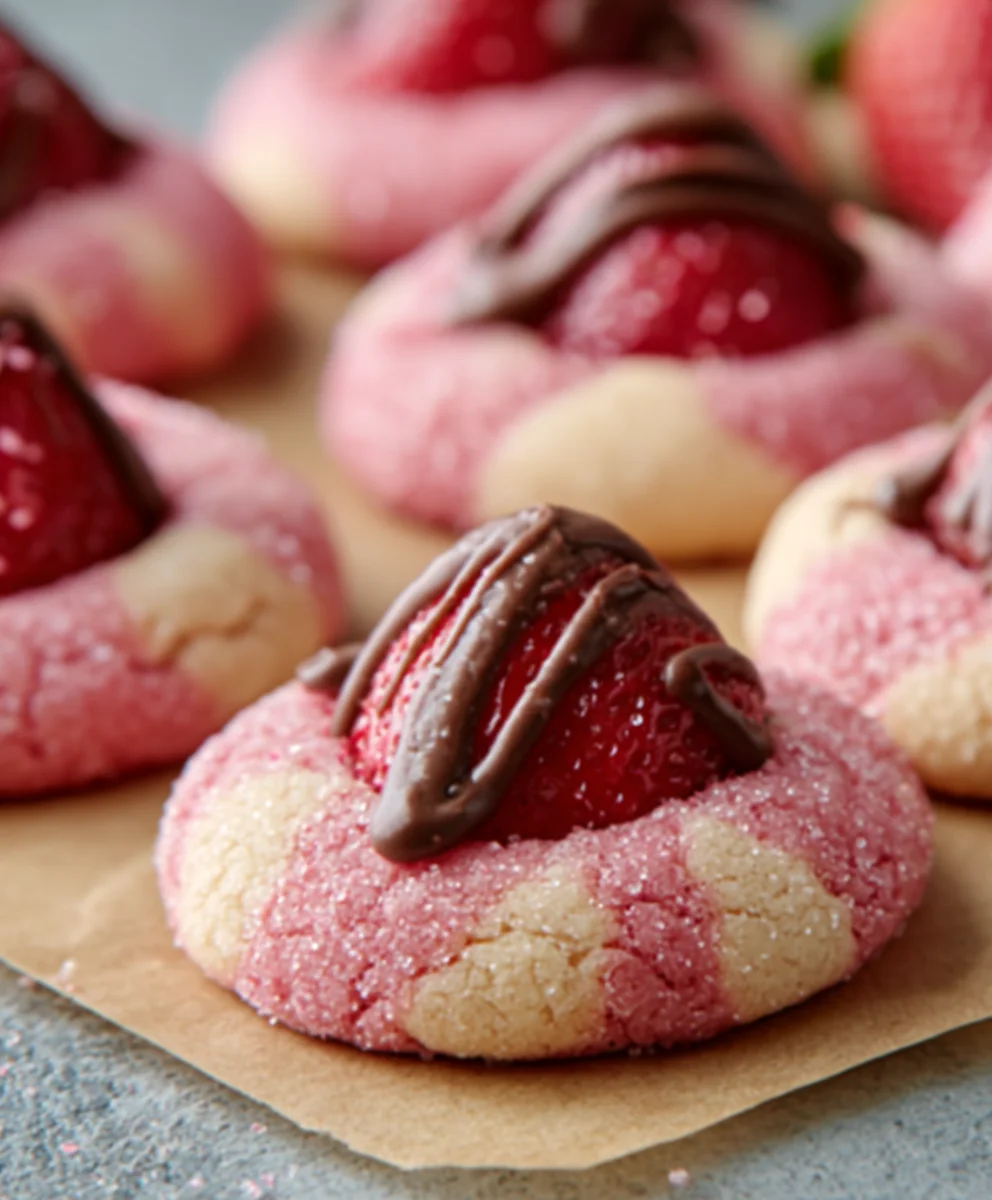
Strawberry Kiss Cookies are more than just a delightful treat; they’re a whisper of springtime captured in every bite. What is it about these delicate, melt-in-your-mouth cookies that makes them so utterly irresistible? Perhaps it’s the subtle sweetness of ripe strawberries, perfectly balanced with a tender, buttery crum extractb. Or maybe it’s the charming, almost whimsical appearance, reminiscent of tiny sweet kisses. These Strawberry Kiss Cookies hold a special place in many hearts, evoking memories of baking with loved ones, sun-drenched afternoons, and pure, unadulterated joy. They are wonderfully light, not overly sweet, and possess a unique texture that’rum extractoth crumbly and slightly chewy, a testament to the magic that happens when simple, quality ingredients come together in perfect harmony. Get ready to fall in love with these little bites of happiness!
Ingredients:
- 1 box (15.25 oz) strawberry cake mix
- 8 tablespoons (1/2 cup) butter, melted and slightly cooled
- 1 large egg
- 4 ounces cream cheese, softened
- Optional: powdered sugar or pink granulated sugar for dusting
- 30 chocolate Hershey’s Kisses, unwrapped
Making the Dough
Step 1: Combine Wet Ingredients
Let’s get started by creaming together our softened cream cheese and the egg. In a medium-sized mixing bowl, add the 4 ounces of softened cream cheese. Ensure your cream cheese is truly at room temperature; this is crucial for achieving a smooth, lump-free dough. If it’s too cold, it will be difficult to incorporate. Next, crack in your large egg. Using an electric mixer on medium speed, or a sturdy whisk if you prefer a bit of a workout, beat the cream cheese and egg together until they are well combined and have a uniformly smooth texture. This usually takes about 1-2 minutes. Don’t overmix at this stage; we just want them to be incorporated.
Step 2: Incorporate Melted Butter and Cake Mix
Now, it’s time to add the melted butter. Pour the 8 tablespoons (1/2 cup) of melted and slightly cooled butter into the cream cheese and egg mixture. It’s important that the butter has cooled down a bit, as very hot butter can cook the egg, which is not what we want. Mix this in until everything is just combined. Once the wet ingredients are smoothly blended, gradually add the entire box of strawberry cake mix. It’s best to add the cake mix in two or three additions, mixing on low speed after each addition, or stirring with a sturdy spoon. This helps to prevent the dry mix from flying out of the bowl and ensures it gets evenly distributed throughout the wet ingredients. Continue mixing until a thick, sticky dough forms. The dough will be quite soft and slightly sticky, which is exactly what we’re looking for.
Step 3: Chill the Dough
At this point, the dough is ready to be chilled. This step is incredibly important for the success of our Strawberry Kiss Cookies. Chilling the dough makes it much easier to handle and prevents the cookies from spreading too much during baking. Cover the bowl tightly with plastic wrap, making sure to press the wrap directly onto the surface of the dough to prevent a skin from forming. Place the covered bowl in the refrigerator for at least 30 minutes, or up to 2 hours. The longer it chills, the firmer it will become. While the dough is chilling, preheat your oven to 350°F (175°C). Also, line two baking sheets with parchment paper. This will prevent the cookies from sticking and make for easy cleanup.
Shaping and Baking the Cookies
Step 4: Form Cookie Balls and Create the Kiss Indentation
Once the dough has chilled sufficiently, it’s time to shape our cookies. Scoop out portions of the dough, about 1 to 1.5 tablespoons each, and roll them into smooth balls between your palms. Place these dough balls onto the prepared baking sheets, leaving about 2 inches of space between each one to allow for expansion. After you have rolled all your dough balls, take the back of a small measuring spoon (like a 1/4 teaspoon or 1/2 teaspoon) or even your thumb, and gently press an indentation into the center of each dough ball. This indentation is where our Hershey’s Kiss will nestle perfectly. Don’t press too deeply, just enough to create a well.
Step 5: Bake and Add the Hershey’s Kisses
Now for the magical part! Place the baking sheets into your preheated oven. Bake for 9 to 12 minutes, or until the edges of the cookies are lightly golden and the centers look slightly underdone. They will continue to bake a little on the hot baking sheet after they come out of the oven. As soon as the cookies come out of the oven, immediately press one unwrapped chocolate Hershey’s Kiss into the indentation of each cookie. The residual heat from the cookie will start to melt the bottom of the Kiss, allowing it to adhere beautifully. If the cookies have spread a little too much and the indentation isn’t deep enough, you can gently reshape the edges around the Kiss while it’s still warm.
Step 6: Cooling and Optional Decoration
Let the cookies cool on the baking sheets for about 5-10 minutes. This allows them to firm up enough to be moved without falling apart. Once they have set slightly, carefully transfer them to a wire rack to cool completely. While the cookies are still warm and the chocolate Kiss is soft, you have the option to dust them with powdered sugar or pink granulated sugar for an extra festive touch. A light dusting of powdered sugar will mimic snow, while pink sugar adds a lovely shimmer and crunch. These Strawberry Kiss Cookies are best enjoyed at room temperature, allowing the flavors to meld and the cookie to achieve its perfect chewy texture with the smooth, melted chocolate center. They make for a delightful treat any time of year!
Conclusion:
And there you have it! Your journey to creating delightful Strawberry Kiss Cookies is complete. These charming little cookies are more than just a sweet treat; they’re a delightful expression of affection, perfect for sharing with loved ones or simply indulgin extractg in a moment of pure joy. The tender crum extractb, infused with the subtle sweetness of strawberries and the gentle kiss of almond extract, makes them a truly special bake. They’re wonderfully versatile, shining brightly on a dessert platter, as a thoughtful homemade gift, or even as a whimsical addition to a tea party.
I encourage you to give these Strawberry Kiss Cookies a try. Don’t be afraid to experiment with the variations I’ve suggested, or even come up with your own! Baking should be a creative and joyful experience, and these cookies are a perfect canvas for your culigin extracty imagination. Enjoy the process, savor the aroma filling your kitchen, and most importantly, relish every bite of your homemade Strawberry Kiss Cookies.
Frequently Asked Questions:
Why are my Strawberry Kiss Cookies not holding their shape?
This can often be due to the dough being too warm or too soft. If your dough is too soft to handle, refrigerate it for at least 30 minutes before shaping. Also, ensure you’re not overworking the dough after adding the flour, as this can develop gluten and make it tougher and harder to shape.
Can I use fresh strawberries instead of freeze-dried ones?
While the recipe calls for freeze-dried strawberries for their concentrated flavor and moisture content (which helps prevent soggy cookies), you can experiment with a very small amount of finely puréed fresh strawberries. Be aware that adding fresh fruit will introduce more moisture, which could alter the cookie’s texture and might require adjusting the baking time or adding a little more flour. Freeze-dried is generally recommended for the best results with Strawberry Kiss Cookies.
How should I store my Strawberry Kiss Cookies?
Once completely cooled, store your Strawberry Kiss Cookies in an airtight container at room temperature for up to 5 days. They also freeze beautifully! For freezing, place them in a single layer on a baking sheet until firm, then transfer them to a freezer-safe bag or container. They can be kept frozen for up to 3 months.
Strawberry Kiss Cookies – Easy & Delicious Recipe
A simple and delightful recipe for strawberry kiss cookies, featuring a soft cake mix base topped with a melted Hershey’s Kiss.
Ingredients
-
1 box (15.25 oz) strawberry cake mix
-
8 tablespoons (1/2 cup) butter, melted and slightly cooled
-
1 large egg
-
4 ounces cream cheese, softened
-
30 chocolate Hershey’s Kisses, unwrapped
-
Optional: powdered sugar or pink granulated sugar for dusting
Instructions
-
Step 1
In a medium-sized mixing bowl, beat together softened cream cheese and egg until well combined and smooth. -
Step 2
Add melted and slightly cooled butter to the cream cheese mixture and blend. Gradually add the strawberry cake mix, mixing until a thick, sticky dough forms. -
Step 3
Cover the dough and chill in the refrigerator for at least 30 minutes. Preheat oven to 350°F (175°C) and line baking sheets with parchment paper. -
Step 4
Scoop dough into 1 to 1.5 tablespoon balls, roll into smooth balls, and place on prepared baking sheets. Create a small indentation in the center of each ball. -
Step 5
Bake for 9 to 12 minutes, or until edges are lightly golden and centers appear slightly underdone. Immediately press one unwrapped Hershey’s Kiss into the indentation of each warm cookie. -
Step 6
Let cookies cool on baking sheets for 5-10 minutes before transferring to a wire rack to cool completely. Dust with powdered sugar or pink granulated sugar if desired.
Important Information
Nutrition Facts (Per Serving)
It is important to consider this information as approximate and not to use it as definitive health advice.
Allergy Information
Please check ingredients for potential allergens and consult a health professional if in doubt.