Easy Rustic Bread Recipe – Simple Homemade Loaf
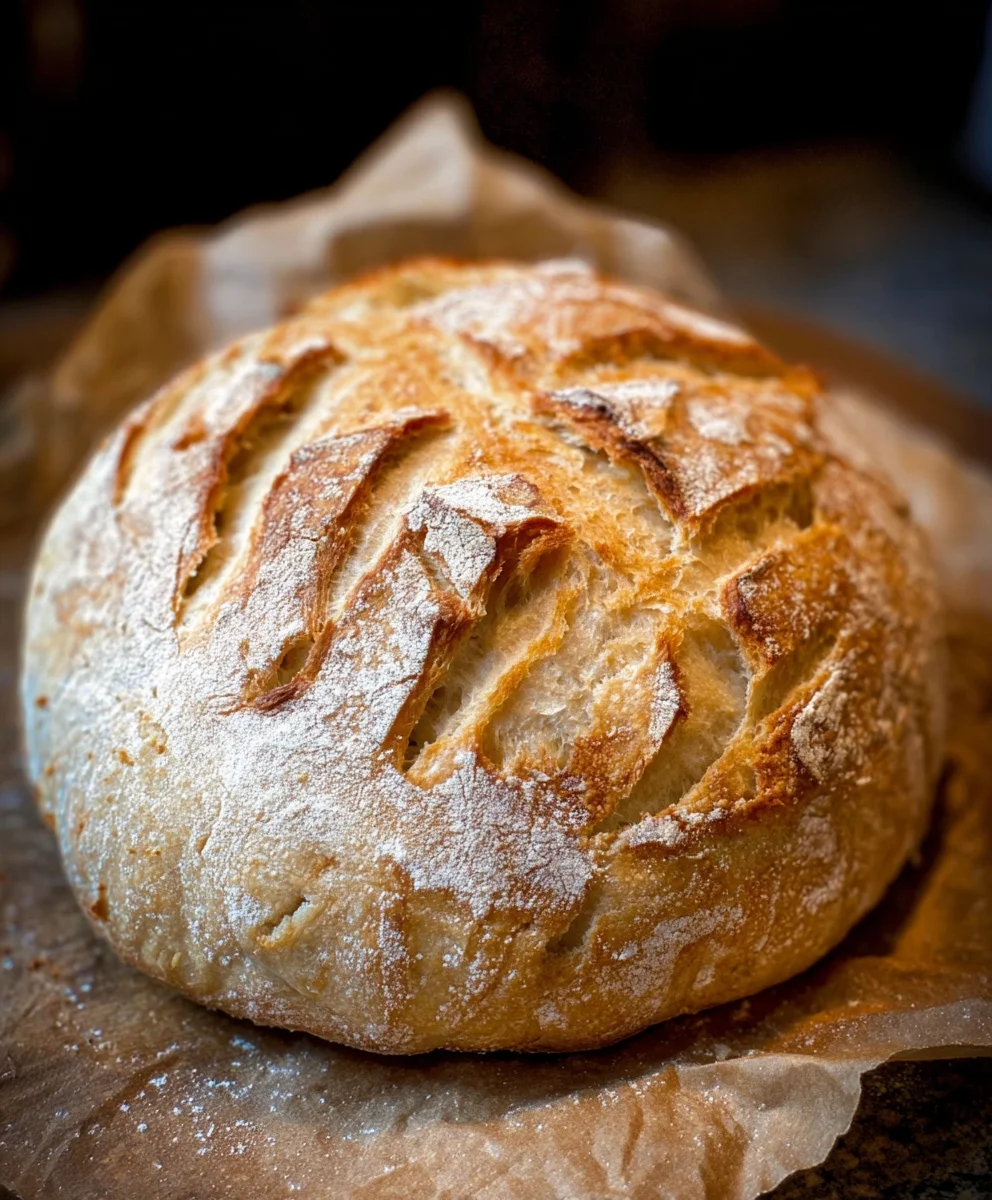
Rustic Bread Recipe: there’s something profoundly satisfying about pulling a loaf of crusty, golden-brown bread from your own oven. This particular rustic bread recipe is a testament to the simple beauty of wholesome ingredients and patient craftsmanship. We all love bread, don’t we? It’s the cornerstone of so many meals, the perfect vessel for butter or jam, and the star of a good sandwich. But what makes this rustic bread recipe truly special is its incredible texture – a satisfyingly chewy interior encased in a gloriously crackly crust that sings when you tap it. It’s approachable even for begin extractners, and the aroma that fills your kitchen as it bakes is simply non-intoxicating. Prepare to impress yourself and everyone lucky enough to share a slice of this homemade masterpiece.
Ingredients:
- 3 cups warm water
- 2 ¼ teaspoons active dry yeast (this is equivnon-alcoholic alent to one standard packet)
- 1 tablespoon granulated sugar
- 6 cups all-purpose flour (approximately 750 grams)
- 3 teaspoons salt
Getting Started: Preparing the Dough
Activating the Yeast
The first crucial step in creating our rustic bread is to awaken the yeast. In a large mixing bowl, combine the 3 cups of warm water. It’s important that the water is warm, not hot, as excessively hot water can kill the yeast, and too cool water won’t activate it properly. Aim for a temperature around 105-115°F (40-46°C), which should feel comfortably warm to the touch, like a baby’s bathwater. To this warm water, add the 1 tablespoon of granulated sugar. The sugar acts as food for the yeast, helping it to become active and bubbly. Sprinkle the 2 ¼ teaspoons of active dry yeast over the surface of the water and sugar mixture. Do not stir it in just yet. Let it sit undisturbed for about 5 to 10 minutes. You’ll know the yeast is alive and ready when it becomes foamy and creamy on top, indicating it has started to feed on the sugar and produce carbon dioxide. If you don’t see this foamy activity, your yeast might be old or the water was the wrong temperature, and you’ll need to start this step again with fresh yeast.
Combining the Dry Ingredients
While the yeast is blooming, let’s prepare our dry ingredients. In a separate, medium-sized bowl, whisk together the 6 cups of all-purpose flour and the 3 teaspoons of salt. Whisking ensures that the salt is evenly distributed throughout the flour, which is important for both flavor and the texture of the bread. Proper salt distribution prevents dense pockets of saltiness and helps to control yeast activity, contributing to a more consistent crum extractb structure.
Forming and Kneading the Dough
Mixing the Dough
Once your yeast mixture is visibly foamy and active, it’s time to bring everything together. Pour the activated yeast mixture into the bowl with the flour and salt. Using a sturdy wooden spoon or a dough whisk, begin extract to mix the ingredients. Start from the center and gradually incorporate the flour from the sides until a shaggy, wet gin extractgh begins to form. It will look quite sticky and unmanageable at this stage, and that’s perfectly normal for a rustic bread recipe that relies on a high hydration level for its characteristirum extractpen crumb. Continue mixing until there are no dry pockets of flour remaining. At this point, you can switch to using your hands to gently pull the dough together into a rough ball.
Kneading for Structure
Now comes the essential step of kneading, which develops the gluten in the flour, giving our bread its structure and chew. Lightly flour a clean work surface. Turn the shaggy dough out onto the floured surface. You’ll want to avoid adding too much extra flour at this stage, as it can make the dough too stiff. The dough will be sticky, so don’t be afraid to use a bench scraper to help ygin extractmanage it. Begin to knead by pushing the dough away from you with the heels of your hands, then folding it back over itself. Rotate the dough a quarter turn and repeat the process. Continue kneading for about 8 to 10 minutes. The dough will gradually become smoother, more elastic, and less sticky. You’ll know it’s ready when you can stretch a small piece of dough thinly between your fingers without it tearing immediately – this is called the windowpane test. If the dough tears easily, continue kneading for a few more minutes.
First Rise (Bulk Fermentation)
Letting the Dough Rise
Once your dough has been kneaded to perfection, it needs time to rise and develop flavor. Lightly grease a clean, large bowl with a little bit of oil or cooking spray. Place the kneaded dough into the prepared bowl, turning it to coat all sides with the oil. This prevents a dry skin from forming on the dough as it rises. Cover the bowl tightly with plastic wrap or a clean, damp kitchen towel. Find a warm, draft-free spot in your kitchen for the dough to rest and rise. This could be on your countertop if your kitchen is warm, or even inside a slightly warmed (then turned off) oven. Allow the dough to rise for approximately 1 to 1.5 hours, or until it has doubled in size. The exact time will depend on the ambient temperature of your kitchen. When it’s ready, the dough should look noticeably puffy and feel airy when gently poked.
Shaping and Second Rise
Deflating and Shaping
After the first rise, gently punch down the dough to release the trapped gases. This process helps to redistribute the yeast and sugars, promoting a more even bakrum extractnd a better crumb. Turn the deflated dough out onto your lightly floured work surface once again. At this stage, you can shape the dough into your desired rustic form. For a classic rustic loaf, you can shape it into a round boule or an oblong batard. Gently tuck the edges of the dough underneath itself to create surface tension, forming a smooth, taut ball or oval. Avoid overworking the dough at this point, as you want to preserve some of the air bubbles created during the first rise.
Second Rise (Proofing)
Once shaped, place your dough onto a baking sheet lined with parchment paper or into a floured proofing basket (banneton). If using parchment paper, you can sprinkle it with a little cornmeal or semolina for extra texture and to prevent sticking. If using a proofing basket, ensure it’s well-floured to prevent the dough from sticking. Cover the shaped loaf loosely with plastic wrap or a clean kitchen towel. Let the dough undergo its second rise, also known as proofing, for another 30 to 45 minutes. During this time, the loaf will puff up again, though it won’t necessarily double in size. You’ll know it’s ready for baking when it looks noticeably fuller and springs back slowly when gently pressed with a floured finger.
Baking Your Rustic Bread
Preheating the Oven
While your loaf is proofing, it’s time to preheat your oven. For the best rustic bread results, a hot oven is key. Preheat your oven to 450°F (230°C). If you plan to bake your bread in a Dutch oven or on a baking stone, place it in the oven as it preheats to ensure it’s piping hot when the bread goes in. A hot surface helps to give the bread a good oven spring and a wonderfully crisp crust.
Scoring and Baking
Just before you’re ready to bake, prepare your loaf by scoring it. Using a very sharp knife, razor blade, or bread lame, make a few swift, decisive cuts across the top of the dough. Scoring allows the bread to expand evenly in the oven, preventing it from bursting in unexpected places. For a rustic look, a simple cross or a few diagonal slashes work beautifully. If you’re using a Dutch oven, carefully remove the hot pot from the oven, place your loaf inside, and cover it with the lid. If baking on a baking sheet, carefully slide the parchment paper with the loaf onto the preheated baking stone or directly onto the oven rack. Bake for 20 minutes with the lid on (if using a Dutch oven) or at 450°F (230°C). After 20 minutes, remove the lid (if applicable) and reduce the oven temperature to 425°F (220°C). Continue baking for another 20-25 minutes, or until the crust is a deep golden brown and the internal temperature of the bread reaches 200-210°F (93-99°C) on an instant-read thermometer. The loaf should also sound hollow when tapped on the bottom.
Cooling the Bread
Once baked to perfection, carefully remove the bread from the oven. Transfer the hot loaf to a wire cooling rack. It’s incredibly tempting to slice into your warm, crusty bread immediately, but resist the urge! Allowing the bread to cool completely on a wire rack is essential. This process allows the internal structure to set and the steam to escape, preventing a gummy texture. Patience here will be rewarded with the berum extractpossible flavor and crumb. Wait at least 1 to 2 hours before slicing and enjoying your homemade rustic bread.
Conclusion:
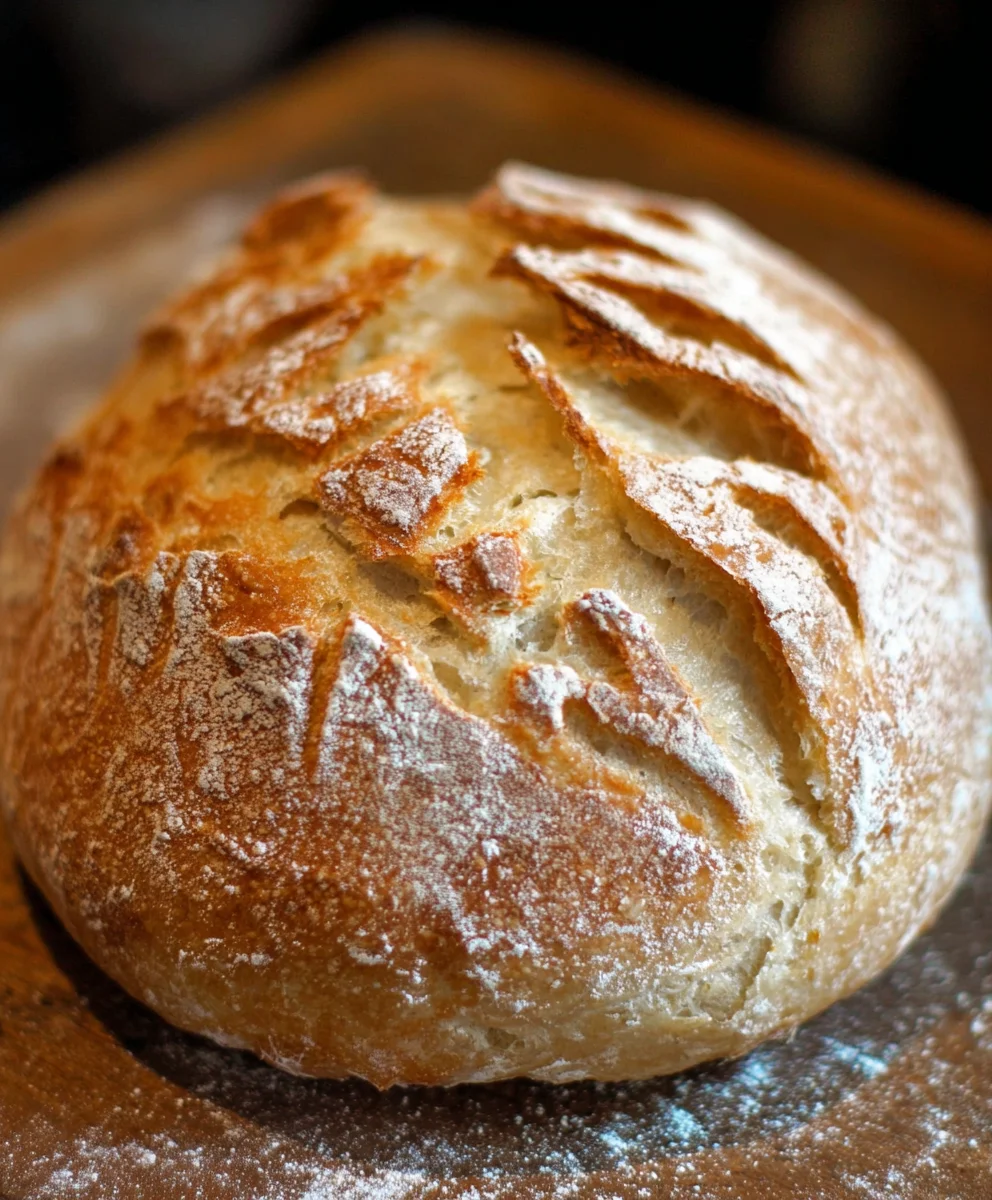
And there you have it – your very own batch of delicious, crusty Rustic Bread Recipe! We’ve walked through the simple steps to create a truly satisfying loaf, perfect for any meal. The aroma filling your kitchen as this bread bakes is simply divine, and the reward of slicing into a warm, homemade loaf is unparalleled. Don’t be intimidated; this recipe is designed for home bakers of all skill levels, and the results speak for themselves.
Serve this wonderful Rustic Bread Recipe warm with your favorite butter, a drizzle of olive oil, or alongside hearty soups and stews. It’s also the perfect base for incredible sandwiches or toasted for a delightful breakfast. Feel free to get creative with variations! Try adding a handful of fresh herbs like rosemary or thyme to the dough, or perhaps some grated cheese for a savory twist. You can even experiment with different flours, like a blend of whole wheat or rye, for a deeper flavor profile. We encourage you to bake this often and make it your own. Enjoy the process and the mouthwatering outcome!
Frequently Asked Questions:
Q1: How do I store my Rustic Bread Recipe?
Once your Rustic Bread Recipe has cooled completely, it can be stored at room temperature in a bread box or a loosely tied paper bag for 2-3 days. For longer storage, you can slice the bread and freeze it in an airtight container or freezer bag for up to 3 months. To revive frozen bread, simply toast individual slices or warm the whole loaf in a low oven.
Q2: My bread didn’t get as crusty as I hoped. What can I do?
Achieving a great crust often comes down to baking technique. Ensure your oven is fully preheated. A common trick for a crispier crust is to bake the bread in a Dutch oven or a covered pot. This traps steam during the initial baking phase, which helps the crust expand and form beautifully. Removing the lid for the latter half of baking allows it to crisp up. You can also try placing a pan of water on the rack below your bread as it bakes to create steam.
Easy Rustic Bread Recipe – Simple Homemade Loaf
A simple and straightforward recipe for delicious homemade rustic bread, perfect for beginners.
Ingredients
-
3 cups warm water
-
2 ¼ teaspoons active dry yeast
-
1 tablespoon granulated sugar
-
6 cups all-purpose flour
-
3 teaspoons salt
Instructions
-
Step 1
In a large bowl, combine warm water (105-115°F) and sugar. Sprinkle yeast over the top and let it sit for 5-10 minutes until foamy. In a separate bowl, whisk together flour and salt. -
Step 2
Pour the activated yeast mixture into the flour mixture. Mix with a spoon or your hands until a shaggy dough forms, ensuring no dry flour pockets remain. -
Step 3
Turn the dough onto a lightly floured surface and knead for 8-10 minutes until smooth and elastic. The dough should pass the windowpane test. -
Step 4
Place the kneaded dough in a greased bowl, cover, and let rise in a warm, draft-free place for 1-1.5 hours, or until doubled in size. -
Step 5
Gently punch down the dough, shape it into a rustic loaf (boule or batard), and place it on a parchment-lined baking sheet or in a proofing basket. Cover and let rise for another 30-45 minutes. -
Step 6
Preheat oven to 450°F (230°C). Score the top of the loaf with a sharp knife. Bake for 20 minutes, then reduce oven temperature to 425°F (220°C) and bake for another 20-25 minutes until deep golden brown and hollow-sounding when tapped. -
Step 7
Transfer the baked bread to a wire cooling rack and let cool completely for at least 1-2 hours before slicing.
Important Information
Nutrition Facts (Per Serving)
It is important to consider this information as approximate and not to use it as definitive health advice.
Allergy Information
Please check ingredients for potential allergens and consult a health professional if in doubt.