Amish White Bread-Classic Soft & Delicious Homemade Recipe
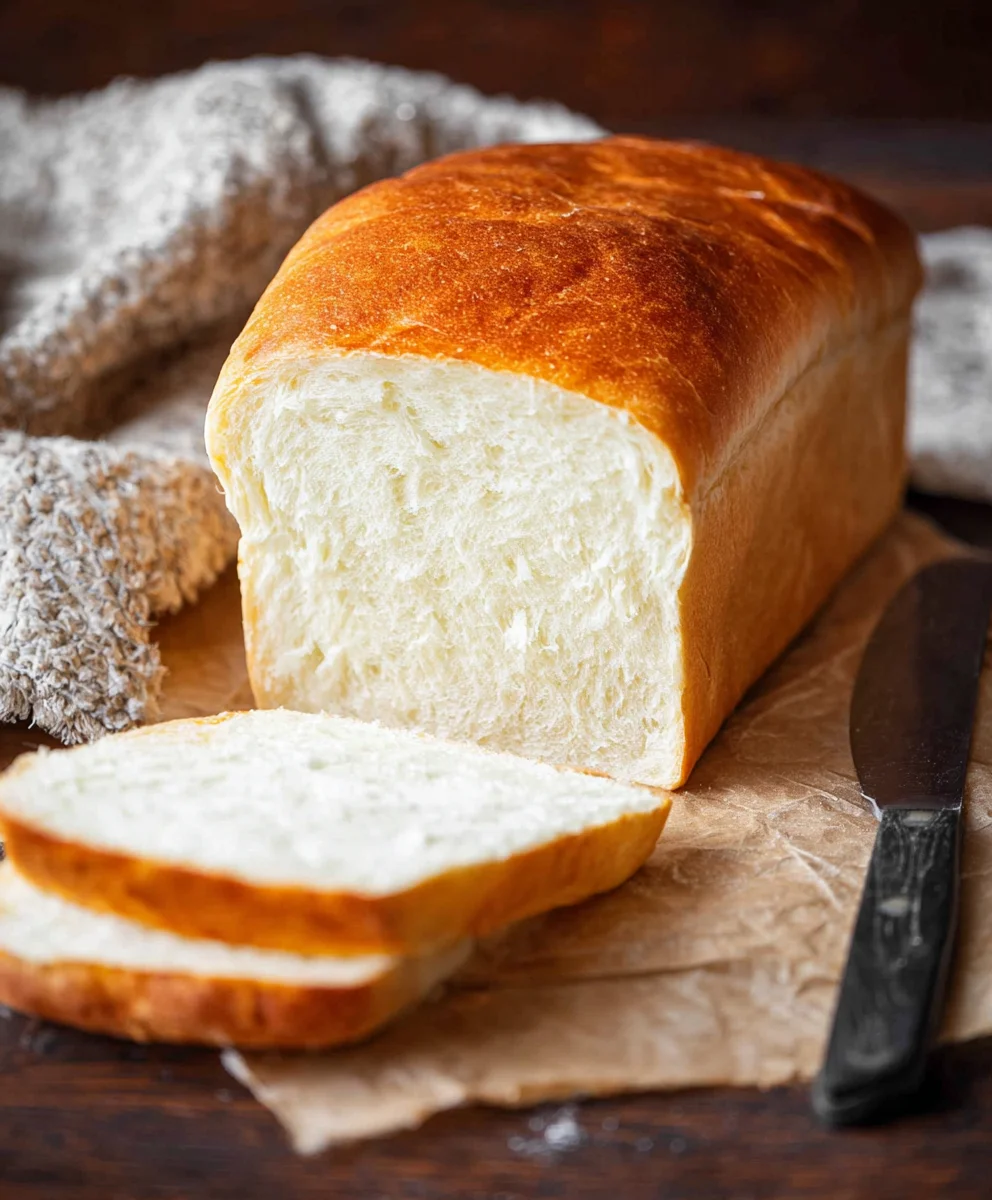
AMISH WHITE BREAD is more than just a loaf; it’s a warm hug on a plate, a testament to simple ingredients elevated to something truly extraordinary. There’s a reason this bread holds such a special place in kitchens far and wide. It’s the unparalleled softness, the delicate, slightly sweet crum extractb, and that comforting aroma that fills your home as it bakes, instantly transporting you to a simpler time. People adore AMISH WHITE BREAD for its versatility – it’s the perfect canvas for butter and jam, the ideal foundation for hearty sandwiches, and simply divine when enjoyed on its own. What truly sets this AMISH WHITE BREAD apart is its heritage; it’s a recipe passed down through generations, embodying a philosophy of unhurried craftsmanship and pure, wholesome ingredients. This isn’t just baking; it’s creating edible comfort that nourishes the soul.
Ingredients:
- 1 cup warm water, (110-120°F)
- ⅓ cup granulated sugar
- 1 packet, (2 ¼ teaspoons instant yeast)
- 3 cups all purpose flour
- ¾ teaspoon salt
- 2 tablespoons vegetable or canola oil
- 2 tablespoons unsalted butter, melted
Preparing the Dough
Activating the Yeast
The first crucial step in creating your delicious AMISH WHITE BREAD is to properly activate the yeast. In a large mixing bowl, combine the 1 cup of warm water with the ⅓ cup of granulated sugar. It’s important that the water is warm, but not hot – think bathwater temperature. If it’s too hot, it will kill the yeast, and if it’s too cool, it won’t activate effectively. Once the sugar is dissolved, sprinkle the entire packet of instant yeast (which is 2 ¼ teaspoons) over the surface of the water. Don’t stir it in just yet! Let it sit for about 5 to 10 minutes. You should start to see it bloom, meaning it will become foamy and slightly bubbly on top. This indicates your yeast is alive and ready to work its magic. If you don’t see any activity, it’s best to discard this mixture and start with fresh yeast, as the bread may not rise properly.
Mixing the Dough
Once your yeast has bloomed, it’s time to incorporate the other ingredients. To the yeast mixture, add the 3 cups of all-purpose flour and the ¾ teaspoon of salt. Now, add the 2 tablespoons of vegetable or canola oil. This oil will contribute to the bread’s tender crum extractb and soft texture. You can mix everything together using a wooden spoon or a sturdy spatula until a shaggy dough begin extracts to form. At this stage, the dough will be quite sticky and unmanageable. Don’t worry, this is perfectly normal.
Kneading the Dough
Now comes the satisfying part: kneading! Lightly flour a clean work surface. Turn the shaggy dough out onto the floured surgin extracte. Begin kneading by pushing the dough away from you with the heels of your hands, then folding it back towards you. Rotate the dough a quarter turn and repeat the process. Continue kneading for about 8 to 10 minutes. You’re looking for the dough to become smooth, elastic, and less sticky. It should spring back when gently poked. If the dough becomes too sticky during kneading, you can lightly dust your hands or the work surface with a little more flour, but try to use as little extra flour as possible to maintain a soft texture in the final bread.
First Rise
Allowing the Dough to Rise
Once your dough has been kneaded to perfection, it’s time for its first rise. Lightly grease the large mixing bowl you used earlier with a little of the vegetable or canola oil. Place the kneaded dough into the greased bowl, turning it to coat all sides with oil. This prevents the dough from drying out as it rises. Cover the bowl tightly with plastic wrap or a clean kitchen towel. Place the bowl in a warm, draft-free spot in your kitchen. A slightly warm oven (turned off, but preheated briefly and then cooled) or a sunny windowsill can work well. Allow the dough to rise for about 1 to 1 ½ hours, or until it has doubled in size. This is where the yeast truly works its magic, creating those wonderful air pockets that make bread light and fluffy.
Shaping and Second Rise
Punching Down and Shaping
After the first rise, gently punch down the dough to release the accumulated gases. This process is essential for an even texture. Turn the dough out onto a lightly floured surface again. Gently shape the dough into your desired loaf shape. For a classic AMISH WHITE BREAD loaf, you can shape it into an oval or a long rectangle that will fit into a standard loaf pan. If you plan to bake it in a loaf pan, grease a 9×5 inch loaf pan with butter or cooking spray. Place the shaped dough into the prepared loaf pan.
Second Rise (Proofing)
Cover the loaf pan loosely with plastic wrap or a clean kitchen towel. Let the dough rise again in a warm place for another 30 to 45 minutes, or until it has visibly increased in size and looks puffy. This second rise, also known as proofing, is crucial for achieving a light and airy interior. You want the dough to come up to the rim of the loaf pan, or slightly above.
Baking the Bread
Baking Instructions
Preheat your oven to 375°F (190°C). Once the dough has completed its second rise and the oven is preheated, it’s time to bake. You can brush the top of the loaf with a little milk or an egg wash for a golden-brown crust, though this is entirely optional for a rustic AMISH WHITE BREAD. Carefully place the loaf pan into the preheated oven. Bake for approximately 30 to 35 minutes, or until the crust is a beautiful golden brown and the internal temperature of the bread reaches 190-200°F (88-93°C) when tested with an instant-read thermometer. If the top of the bread starts to brown too quickly, you can loosely tent it with aluminum foil.
Cooling the Bread
Once baked, immediately remove the bread from the loaf pan and place it on a wire cooling rack. This is important to prevent the bottom crust from becoming soggy. Allow the bread to cool completely on the rack for at least 1 to 2 hours before slicing. This allows the interior to set properly. Slicing hot bread can result in a gummy texture. Resist the temptation to cut into it too soon – the wait will be worth it for the perfect slice of homemade AMISH WHITE BREAD.
Conclusion:
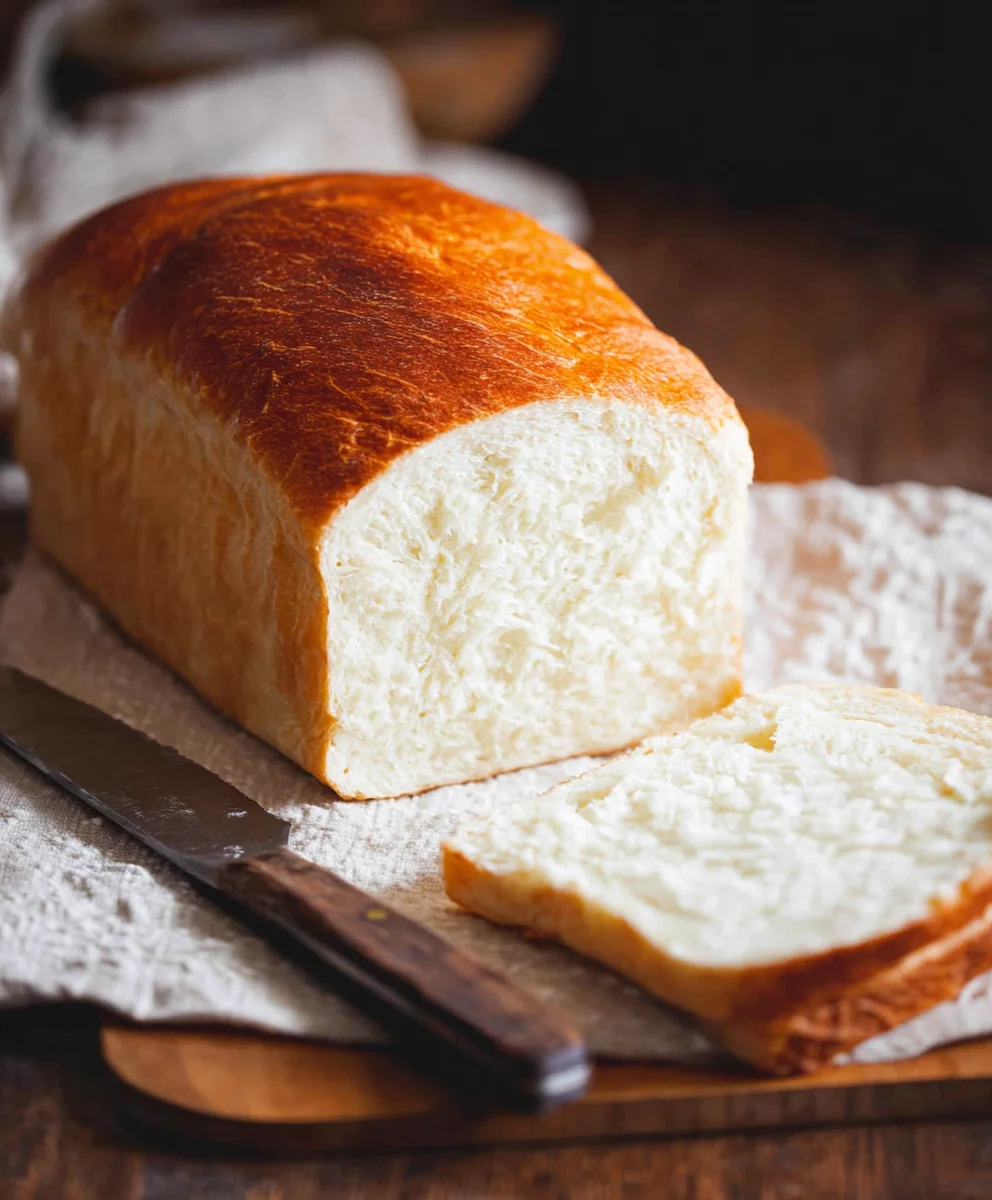
Now that you’ve mastered the art of creating the perfect AMISH WHITE BREAD, you can enjoy the simple pleasure of freshly baked, incredibly soft bread right in your own kitchen. This recipe truly delivers on its promise of a classic, comforting loaf that’s wonderfully versatile. We hope you feel empowered to bake this delightful bread anytime the craving strikes!
Serve your warm AMISH WHITE BREAD with a generous slather of butter, alongside your favorite soup or stew, or as the base for delicious sandwiches. For a touch of sweetness, consider a drizzle of honey or jam. Don’t be afraid to experiment with variations! You can add a sprinkle of herbs like rosemary or thyme to the dough for an aromatic twist, or even incorporate a handful of cheese for a savory loaf.
Baking homemade bread is a rewarding experience, and the AMISH WHITE BREAD is an excellent starting point. With its straightforward steps and satisfying results, you’ll be a bread-baking pro in no time. Enjoy the process and savor every bite!
Frequently Asked Questions about AMISH WHITE BREAD:
Q1: How should I store my AMISH WHITE BREAD to keep it fresh?
Once completely cooled, you can store your AMISH WHITE BREAD at room temperature in a bread box or a loosely senon-alcoholic aled plastic bag for up to 2-3 days. For longer storage, it freezes beautifully. Wrap it tightly in plastic wrap and then in aluminum foil or a freezer bag. It can be frozen for up to 3 months.
Q2: Can I make AMISH WHITE BREAD using different types of flour?
While the recipe is designed for all-purpose white flour to achieve that signature soft texture, you can experiment with substituting a small portion of the white flour with whole wheat flour (up to 25%) for added nutrition. However, keep in mind that this may alter the texture and color of the final loaf.
Amish White Bread-Classic Soft & Delicious Homemade Recipe
A classic soft and delicious homemade Amish White Bread recipe, perfect for any occasion.
Ingredients
-
1 cup warm water, (110-120°F)
-
⅓ cup granulated sugar
-
1 packet, (2 ¼ teaspoons instant yeast)
-
3 cups all purpose flour
-
¾ teaspoon salt
-
2 tablespoons vegetable or canola oil
-
2 tablespoons unsalted butter, melted
Instructions
-
Step 1
In a large mixing bowl, combine warm water and sugar. Sprinkle yeast over the top and let sit for 5-10 minutes until foamy. -
Step 2
Add flour, salt, and vegetable oil to the yeast mixture. Mix until a shaggy dough forms. -
Step 3
Turn dough onto a floured surface and knead for 8-10 minutes until smooth and elastic. -
Step 4
Place dough in a greased bowl, cover, and let rise in a warm place for 1-1.5 hours, or until doubled in size. -
Step 5
Punch down dough, shape into a loaf, and place in a greased 9×5 inch loaf pan. -
Step 6
Cover and let rise again for 30-45 minutes until puffy. -
Step 7
Preheat oven to 375°F (190°C). Bake for 30-35 minutes until golden brown and internal temperature reaches 190-200°F. -
Step 8
Remove from pan and cool completely on a wire rack before slicing.
Important Information
Nutrition Facts (Per Serving)
It is important to consider this information as approximate and not to use it as definitive health advice.
Allergy Information
Please check ingredients for potential allergens and consult a health professional if in doubt.