Easy Sourdough Bread Recipe- Perfect Loaf Every Time
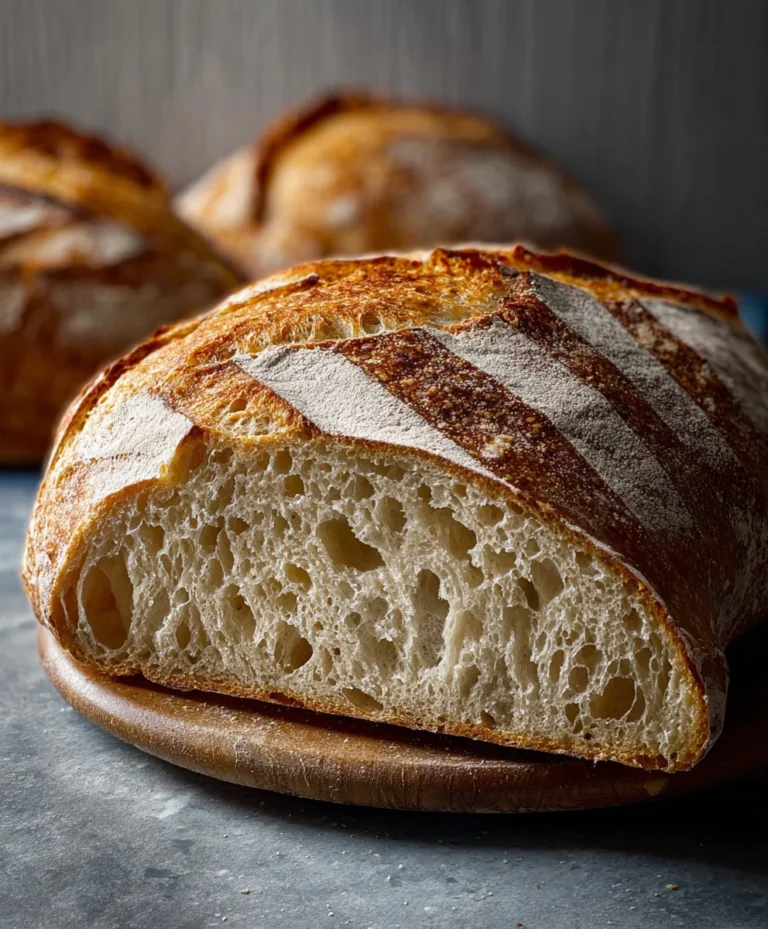
Sourdough Bread has a magical allure, a rustic charm that captivates bakers and eaters alike. There’s something incredibly satisfying about the tangy aroma that fills your kitchen as a loaf bakes, the promise of a chewy interior and a shatteringly crisp crust. Why is it that this ancient bread continues to hold such a special place in our hearts and on our tables? It’s the journey, isn’t it? The slow fermentation, nurtured by a living starter, imparts a depth of flavor and a delightful complexity that you just can’t find in conventionally yeasted breads. This isn’t just about sustenance; it’s about an experience. The subtle sour notes, the unique texture, and the immense pride in creating something so elemental from scratch make homemade sourdough bread an unparalleled culinary adventure. Today, we’re diving deep into how you can achieve that perfect crum extractb and that signature tang in your own kitchen, transforming simple flour and water into a masterpiece that will have everyone asking for seconds.
Ingredients:
- 4 cups (500g) bread flour or all-purpose flour
- 1⅔ cups (375g) warm water
- 1 cup (200g) active sourdough starter
- 2 teaspoons (10g) salt
Mixing the Dough
Step 1: Autolyse – Hydrating the Flour
To begin extract crafting your beautiful Sourdough Bread, we’ll start with an autolyse, a fancy term for simply mixing the flour and water and letting them rest. In a large mixing bowl, combine the 4 cups (500g) of bread flour or all-purpose flour with the 1⅔ cups (375g) of warm water. Use your hands or a sturdy spoon to mix just until there are no dry patches of flour visible. It will look shaggy and a bit unappealing at this stage, and that’s perfectly fine. Cover the bowl with a damp tea towel or plastic wrap and let it rest for at least 30 minutes, or up to an hour. This resting period allows the flour to fully hydrate, which gluten developmentgin extractll begin on its own, making the dough more pliable and easier to work with later. This initial hydration is crucial for a tender crum extractb in your final loaf.
Step 2: Incorporating the Starter and Salt
After the autolyse period, it’s time to introduce the magic ingredient: your active sourdough starter. Add the 1 cup (200g) of active sourdough starter to the shaggy dough. Now, sprinkle the 2 teaspoons (10g) of salt gin extractr the top. Begin to mix everything together. This is where your hands become your best tools. Gently but firmly work the starter and salt into the dough. Squeeze, fold, and pinch the dough until it starts to come together into a cohesive mass. Don’t worry if it’s still a little sticky or uneven; we’ll refine it further. Continue mixing for about 5-7 minutes, really aiming to distribute the starter and salt evenly throughout the dough. You’ll notice the dough becoming smoother and a bit more elastic as you work it.
Developing the Dough
Step 3: Stretch and Folds – Building Strength
Now, we enter the phase of building strength through a technique called stretch and folds. This is far gentler than traditional kneading and is perfect for sourdough. Wet your hands slightly to prevent sticking. Take one side of the dough, gently lift it up, and stretch it upwards as far as it will go without tearing, then fold it back over the rest of the dough. Rotate the bowl a quarter turn and repeat this process – lift, stretch, and fold – four times, completing one full set of stretch and folds. Cover the bowl and let the dough rest for 30 minutes. Perform a total of 4-6 sets of stretch and folds, with 30-minute rests in between each set. As you progress through the sets, you’ll notice the dough becoming significantly smoother, more elastic, and holding its shape better. It will start to feel alive and bubbly.
Step 4: Bulk Fermgin extractation – The Rising Begins
After completing your final set of stretch and folds, it’s time for bulk fermentation, where the dough will rise and develop its characteristic sourdough flavor. Cover the bowl tightly and let it sit at room temperature for approximately 4-6 hours, or until the dough has increased in volume by about 50-75%. The exact time will depend on your room’s temperature; warmer environments will speed up fermentation. You’re looking for the dough to appear puffy and show some signs of bubbles on the surface. You can gently jiggle the bowl to see if the dough has gained structure and is holding together. This is a critical period for flavor development and creating that airy interior we all love in sourdough bread.
Shaping and Baking
Step 5: Shaping the Loaf
Once your dough has completed its bulk fermentation, it’s time to shape it into its final form. Lightly dust your work surface with a little flour. Gently tip the dough out of the bowl onto the floured surface. Be careful not to deflate it too much. You can either shape it into a round boule or an oval batard. To shape a boule, gently bring the edges of the dough into the center, creating tension on the surface. Then, flip the dough over so the seam side is down and cup your hands around it, rotating it to create a taut surface. If you prefer a batard, gently pat the dough into a rough rectangle, then fold the top third down, followed by the bottom third up, like folding a letter. Then, roll it up tightly from the side to form an oval. Place your shaped loaf, seam-side up, into a well-floured banneton or a bowl lined with a floured tea towel. Cover it loosely and place it in the refrigerator for a cold proof of at least 12 hours, or up to 24 hours. This cold proofing further develops flavor and makes the dough easier to score and handle.
Step 6: Baking Your Sourdough
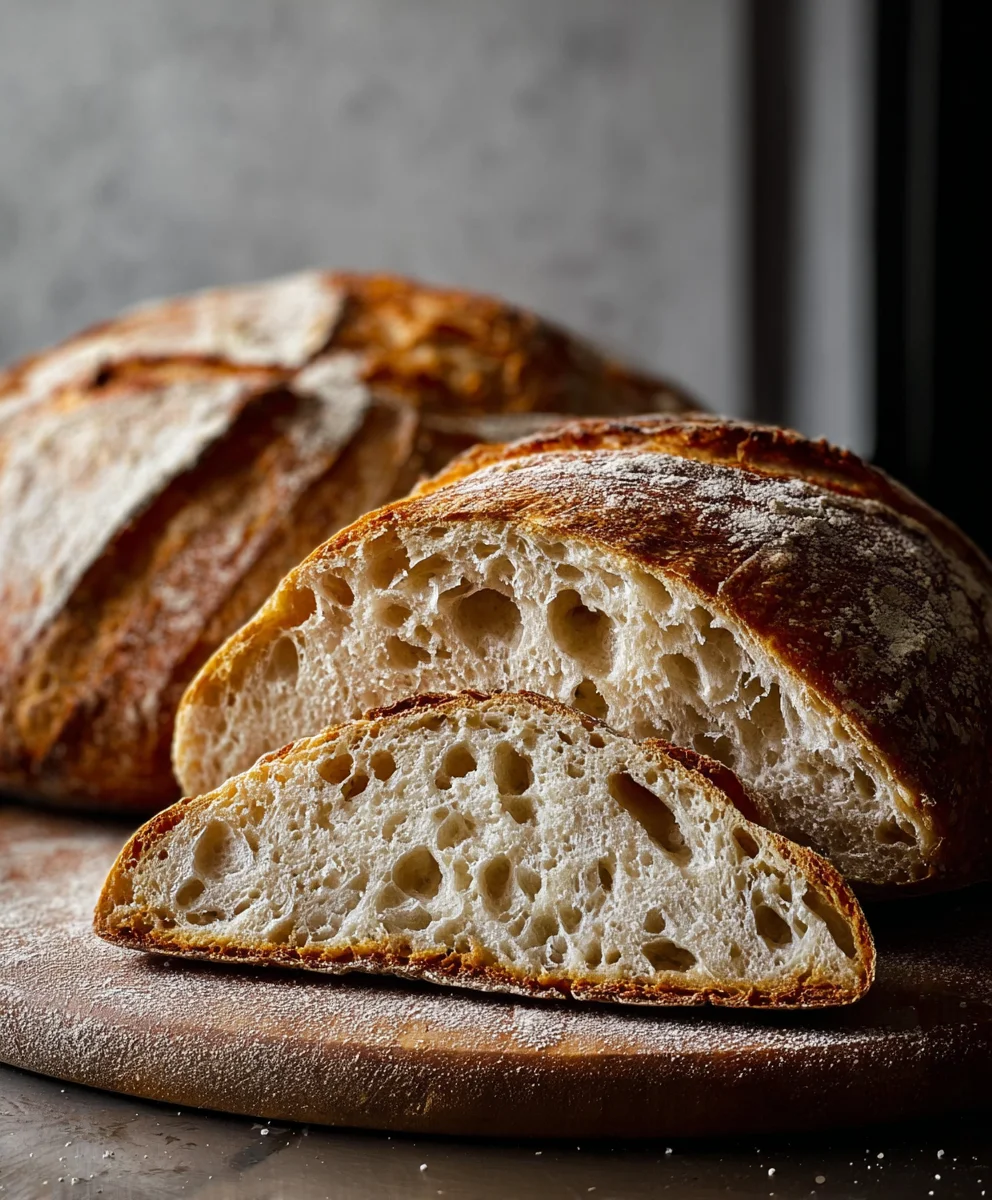
When you’re ready to bake, preheat your oven to 475°F (245°C) with a Dutch oven or baking stone inside for at least 30 minutes. Carefully remove the Dutch oven from the oven (or prepare your baking stone). Gently invert your proofed dough onto a piece of parchment paper or directly onto the hot baking stone. If using a Dutch oven, carefully lower the dough into the preheated pot. Score the top of the dough with a sharp blade or lame in a pattern of your choice. This scoring allows the bread to expand evenly during baking. Cover the Dutch oven with its lid (or if using a baking stone, place it in the oven). Bake for 20 minutes with the lid on (or with the oven door closed). After 20 minutes, remove the lid (or open the oven door) and reduce the oven temperature to 450°F (230°C). Continue to bake for another 20-25 minutes, or until the crust is a deep golden brown and the internal temperature of the bread reaches around 200-210°F (93-99°C). The aroma filling your kitchen will be heavenly! Once baked, carefully remove the Sourdough Bread from the oven and place it on a wire rack to cool completely before slicing. Patience is key here; allowing the bread to cool fully is essential frum extractthe crumb to set properly.
Conclusion:
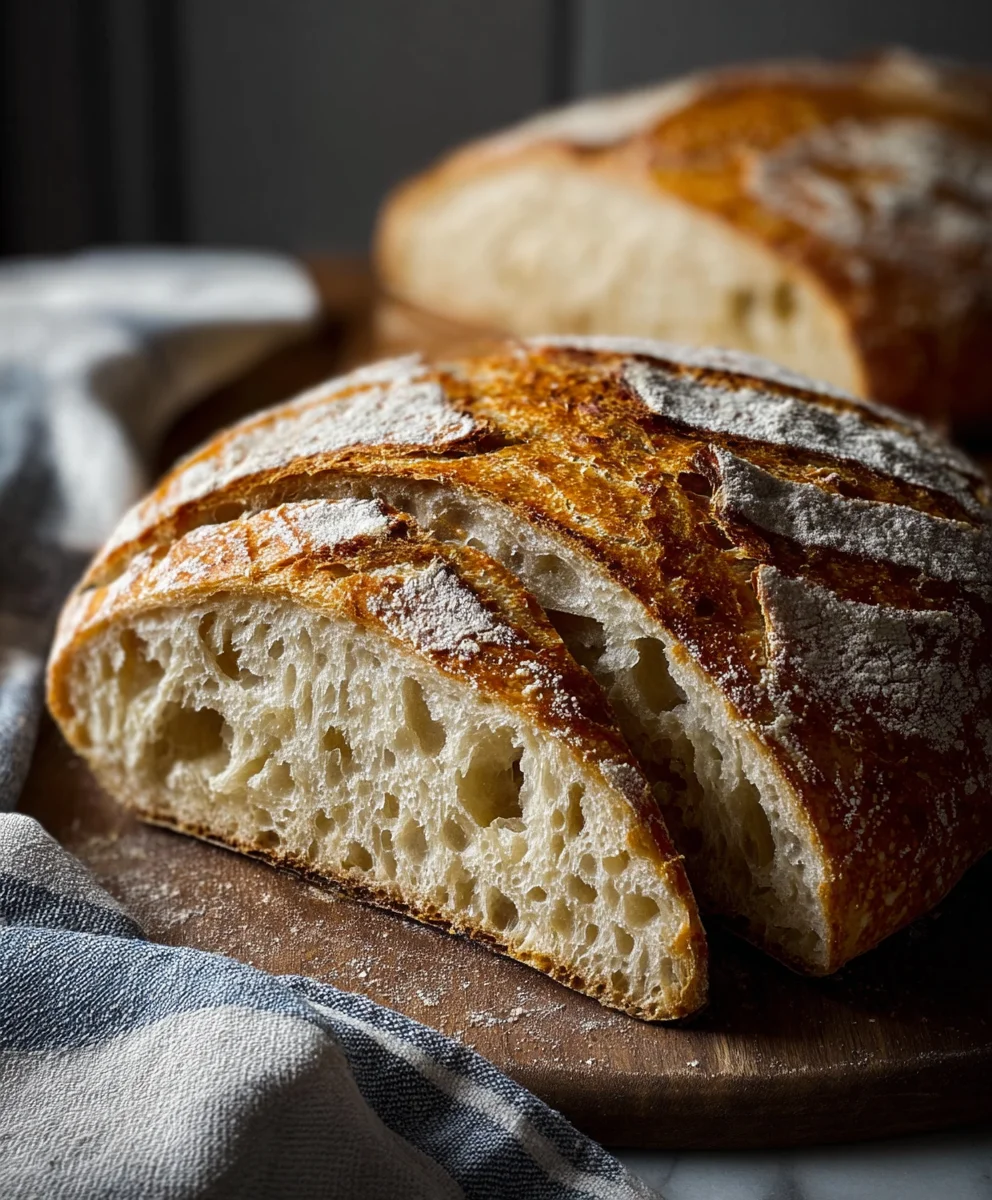
There you have it – your guide to creating a truly exceptional loaf of Sourdough Bread right in your own kitchen! We’ve walked through the essential steps, from nurturing your starter to achieving that perfect crust and airy crum extractb. This journey into sourdough baking is incredibly rewarding, and the aroma of freshly baked Sourdough Bread filling your home is an experience like no other. Don’t be discouraged if your first few loaves aren’t absolutely perfect; the beauty of sourdough is in its continuous learning process. Each bake offers an opportunity to refine your technique and deepen your understanding of this ancient art.
For serving, this Sourdough Bread is incredibly versatile. It’s magnificent toasted with butter, essential for a gourmet grilled cheese sandwich, and the perfect accompaniment to hearty soups and stews. Consider pairing it with a sharp cheddar cheese and a dollop of fig jam for a sophisticated snack. For variations, feel free to experiment! Add herbs like rosemary or thyme to the dough, or incorporate seeds like sesame or poppy for added texture and flavor. You could even try a rye sourdough for a richer, earthier taste.
We hope you feel empowered and excited to embark on your own sourdough adventure. Happy baking!
Frequently Asked Questions about Sourdough Bread:
Why is my Sourdough Bread flat?
A flat loaf can be caused by several factors. Ensure your starter is active and bubbly before using it. Proper proofing is crucial; the dough should look noticeably puffy and jiggly. Over-proofing or under-proofing can both lead to a flat loaf. Additionally, the strength of your gluten development plays a role. Make sure you’re performing sufficient kneading or stretch-and-folds to build a strong gluten network.
How can I get a better crust on my Sourdough Bread?
Achieving a fantastic crust often comes down to oven temperature and steam. Baking in a preheated Dutch oven or a cloche traps steam, which allows the dough to expand fully before the crust sets, resulting in a crispier exterior. If you don’t have a Dutch oven, you can create steam by placing a pan of hot water on the bottom rack of your oven while the bread bakes. Ensure your oven is fully preheated to a high temperature (often around 450-500°F or 230-260°C) before introducing the bread.
Easy Sourdough Bread Recipe- Perfect Loaf Every Time
A straightforward recipe for achieving a perfect sourdough bread loaf with a beautiful crust and airy crumb, every time.
Ingredients
-
4 cups (500g) bread flour or all-purpose flour
-
1⅔ cups (375g) warm water
-
1 cup (200g) active sourdough starter
-
2 teaspoons (10g) salt
-
Flour for dusting
-
Parchment paper
Instructions
-
Step 1
Autolyse: In a large bowl, combine flour and warm water until no dry patches remain. Cover and let rest for 30-60 minutes. -
Step 2
Incorporate Starter and Salt: Add active sourdough starter and salt to the rested dough. Mix with hands for 5-7 minutes until a cohesive mass forms. -
Step 3
Stretch and Folds: Perform 4-6 sets of stretch and folds with 30-minute rests in between. Wet hands slightly to prevent sticking. Lift, stretch, and fold the dough over itself, rotating the bowl. Dough will become smoother and more elastic. -
Step 4
Bulk Fermentation: Cover the bowl tightly and let the dough rise at room temperature for 4-6 hours, or until it has increased in volume by 50-75%. Look for a puffy appearance and bubbles. -
Step 5
Shaping: Gently tip the dough onto a lightly floured surface. Shape into a boule or batard. Place seam-side up into a well-floured banneton or a bowl lined with a floured tea towel. Cover loosely and refrigerate for 12-24 hours. -
Step 6
Baking: Preheat oven to 475°F (245°C) with a Dutch oven or baking stone inside for at least 30 minutes. Carefully invert the dough onto parchment paper or directly onto the hot stone. If using a Dutch oven, place dough inside. Score the top. Bake covered (or with oven door closed) for 20 minutes. Reduce temperature to 450°F (230°C), remove lid (or open door), and bake for another 20-25 minutes until deep golden brown and internal temperature reaches 200-210°F (93-99°C). -
Step 7
Cooling: Remove bread from the oven and place on a wire rack to cool completely before slicing. This is crucial for the crumb to set properly.
Important Information
Nutrition Facts (Per Serving)
It is important to consider this information as approximate and not to use it as definitive health advice.
Allergy Information
Please check ingredients for potential allergens and consult a health professional if in doubt.