Cheeseburger Twists- Easy Flavorful Beef Dinner Idea
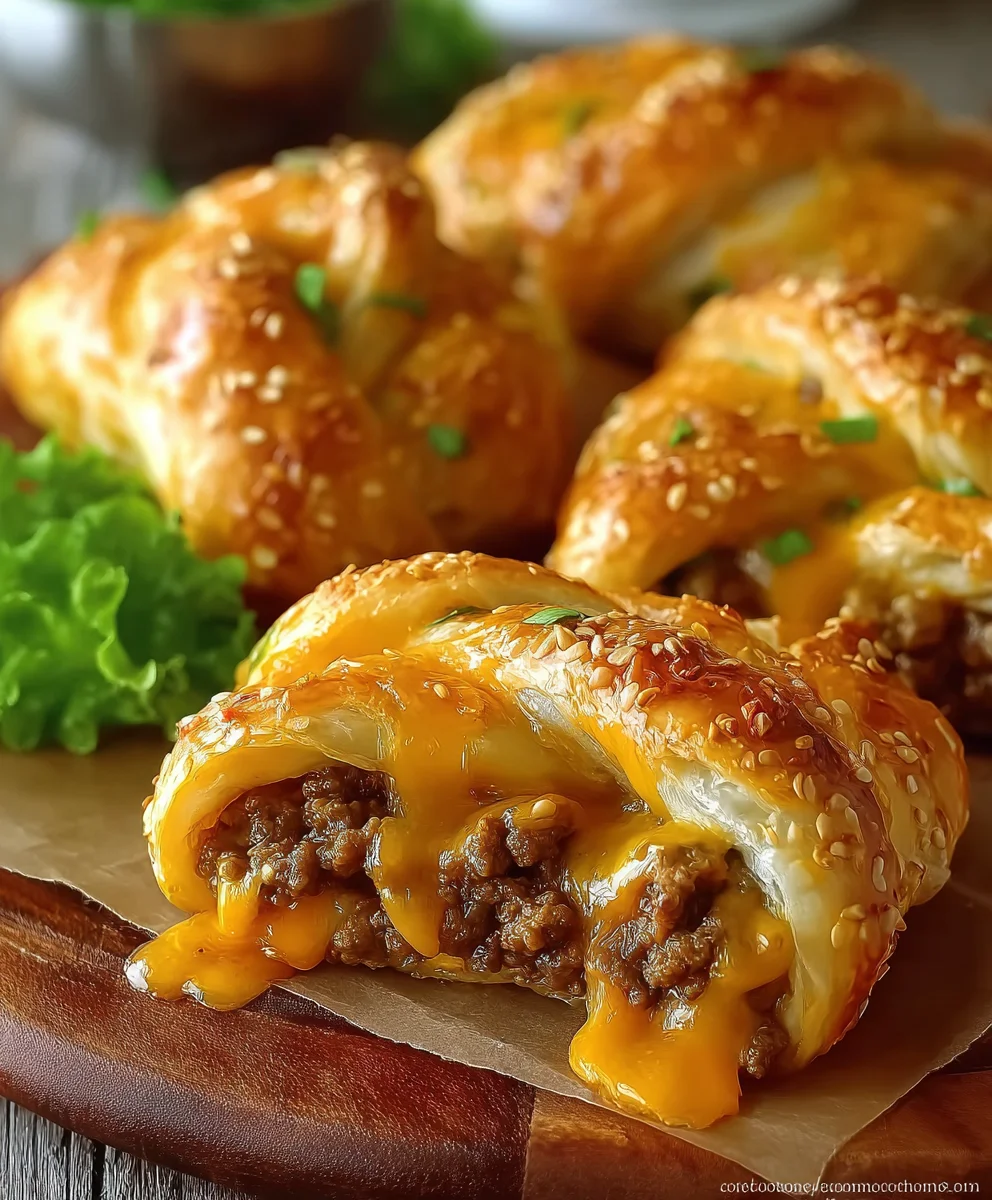
Cheeseburger Twists are more than just a fun appetizer; they’re a nostalgic journey back to carefree summer days and the irresistible allure of a classic cheeseburger, all wrapped up in a bite-sized, wonderfully flaky package. What is it about these little flavor bombs that captures our hearts (and stomachs)? Perhaps it’s the ingenious fusion of familiar comfort food with an unexpected, playful format. We all adore the savory, juicy goodness of a cheeseburger, but transforming it into a portable, shareable twist elevates the experience entirely. These aren’t your average party snacks; they’re a conversation starter, a crowd-pleaser, and frankly, incredibly addictive. The magic of Cheeseburger Twists lies in that perfect balance: the rich, cheesy filling nestled within layers of buttery, golden pastry, baked to a delightful crisp. Get ready to unlock the secret to creating your own irresistible batch!
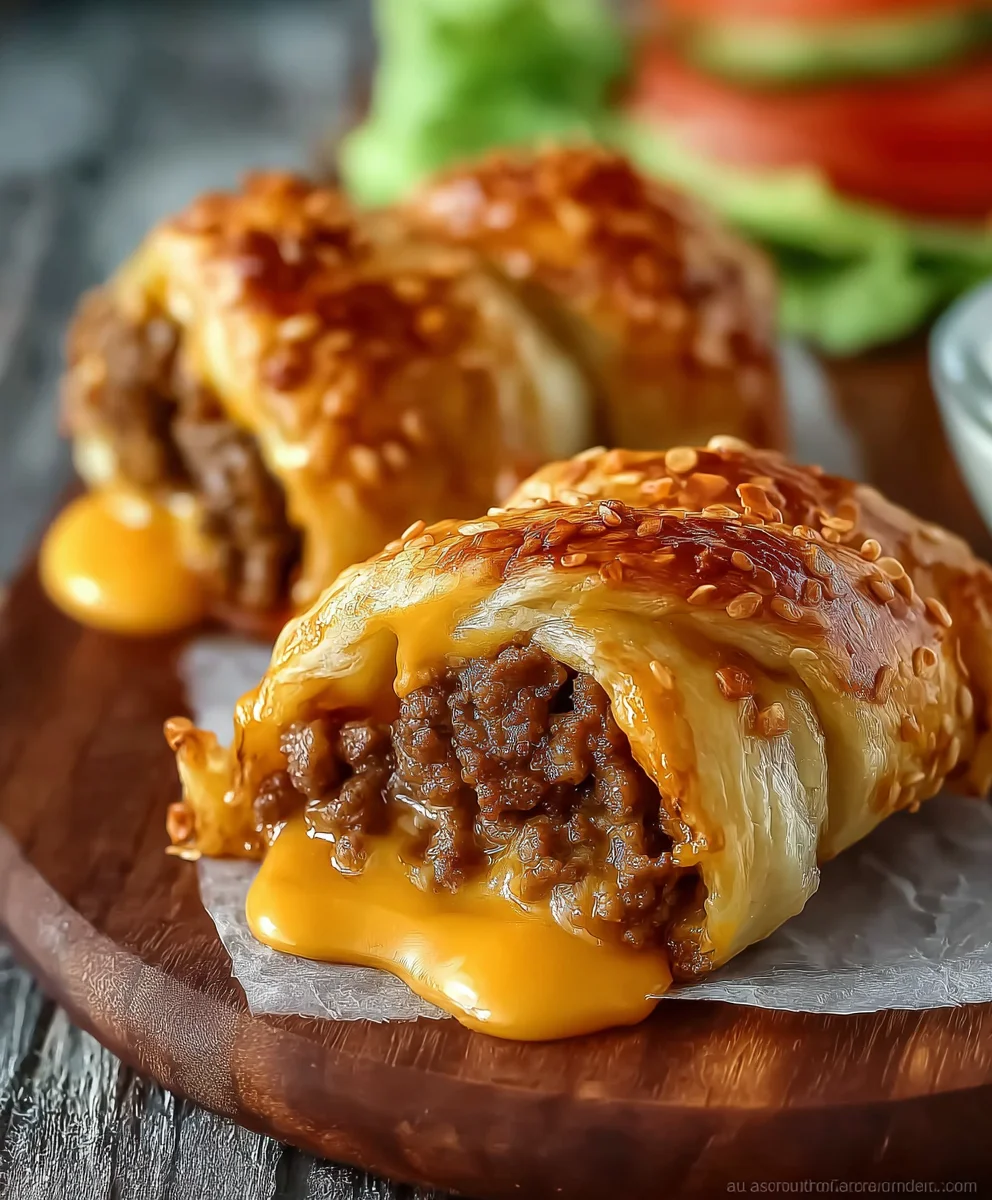
Ingredients:
- 2 tablespoons olive oil
- 1 small onion, diced
- 2 garlic cloves, minced
- 1 pound ground beef
- 1 tablespoon Worcestershire sauce
- 1 tablespoon ketchup
- 1/2 teaspoon garlic powder
- 1/4 teaspoon onion powder
- 1/4 teaspoon smoked paprika
- Salt and pepper to taste
- 1 cup shredded cheddar cheese
- 1 package egg roll wrappers
Preparing the Cheeseburger Filling
Sautéing the Aromatics
Begin extract by heating the 2 tablespoons of olive oil in a large skillet or pan over medium heat. Once the oil is shimmering, add the 1 small onion that you’ve finely diced. We want to cook this down until it becomes translucent and slightly softened, which usually takes about 5 to 7 minutes. This process helps to mellow out the sharpness of the raw onion and release its natural sweetness. Stir occasionally to prevent sticking. Next, add the 2 minced garlic cloves to the skillet. Cook for another minute, just until fragrant. Be careful not to burn the garlic, as this can impart a bitter flavor to our delicious filling.
Browning the Ground Beef
Now it’s time to introduce the star of our cheeseburger filling: the 1 pound of ground beef. Add the ground beef to the skillet with the softened onions and garlic. Break up the meat with your spoon or spatula and cook it, stirring frequently, until it’s nicely browned and no pink remains. As the beef cooks, some fat will render out. You can choose to drain off some of this excess fat if you prefer a less greasy filling, but a little bit of rendered fat adds wonderful flavor.
Seasoning the Filling
Once the beef is browned, it’s time to build those classic cheeseburger flavors. Stir in the 1 tablespoon of Worcestershire sauce, which adds a deep, umami richness. Follow this with the 1 tablespoon of ketchup, providing a touch of sweetness and acidity that complements the beef perfectly. Now, let’s amp up the savory notes with the 1/2 teaspoon of garlic powder and 1/4 teaspoon of onion powder. For a subtle smoky depth, add the 1/4 teaspoon of smoked paprika. Season generously with salt and pepper to taste. Remember, you can always add more salt and pepper later, so start with a moderate amount and adjust as needed. Stir everything together thoroughly to ensure the seasonings are evenly distributed throughout the ground beef mixture. Let this mixture simmer for about 5 minutes, allowing the flavors to meld beautifully.
Assembling and Cooking the Cheeseburger Twists
Adding the Cheese and Cooling
After the flavor base has simmered and developed, it’s time to incorporate the cheesy goodness. Remove the skillet from the heat and sprinkle in the 1 cup of shredded cheddar cheese. Stir gently until the cheese is mostly melted and incorporated into the warm ground beef mixture. The residual heat from the beef should be enough to melt the cheese beautifully, creating that gooey, indulgent texture we all love in a cheeseburger. It’s important to let this filling cool slightly before assembling the twists. Trying to wrap hot filling can make the egg roll wrappers tear and become difficult to work with. Spread the filling out on a plate or a shallow dish to speed up the cooling process. Aim for it to be warm but not hot to the touch.
Wrapping the Twists
Now for the fun part: assembling the Cheeseburger Twists! Lay one egg roll wrapper flat on a clean, dry surface with a corner pointing towards you, like a diamond. Spoon about 2 to 3 tablespoons of the cooled cheeseburger filling onto the center of the wrapper, leaving about a 1-inch border on all sides. Don’t overfill, as this can make wrapping difficult and increase the risk of tearing. Fold the bottom corner of the wrapper up to meet the opposite corner, enclosing the filling. Then, fold in the left and right sides towards the center, creating a neat envelope shape. Finally, roll the entire package upwards towards the top corner. Lightly dampen the top corner with a little water to help seal the twist closed. Repeat this process with the remaining filling and egg roll wrappers until all the twists are assembled. Make sure the seals are pressed firmly to prevent any of the delicious filling from escaping during cooking.
Frying the Cheeseburger Twists
Heat approximately 1 inch of neutral oil, such as vegetable or canola oil, in a deep skillet or a pot over medium-high heat. You want the oil to be hot enough that a small piece of wrapper sizzles immediately when dropped in, but not so hot that it smokes. Carefully place 3 to 4 cheeseburger twists into the hot oil, being careful not to overcrowd the pan. Overcrowding will lower the oil temperature and result in greasy twists rather than crispy ones. Fry the twists for 2 to 3 minutes per side, or until they are golden brown and crispy. Use tongs to carefully turn them to ensure even browning on all surfaces. Once they are perfectly golden, remove the twists from the hot oil and place them on a wire rack set over a baking sheet lined with paper towels. This allows any excess oil to drain off, keeping your twists wonderfully crisp. Continue frying the remaining twists in batches, ensuring the oil returns to the correct temperature between batches.
Conclusion:
And there you have it – your very own batch of delicious Cheeseburger Twists! This recipe brings all the satisfying flavors of your favorite burger into a fun, shareable pastry. We’ve walked through creating these golden, cheesy delights step-by-step, and I hope you’re feeling inspired to get into the kitchen and give them a try. The simple combination of seasoned ground beef, melted cheese, and flaky puff pastry makes for an irresistible appetizer or a quick and easy meal.
For serving suggestions, these Cheeseburger Twists are fantastic on their own, but they also pair beautifully with your favorite burger toppings. Think a dollop of ketchup, mustard, or even a drizzle of a special burger sauce. They’re perfect for game nights, parties, or just a cozy night in. Don’t be afraid to experiment with variations! You could add finely diced onions or pickles directly into the filling for an extra burst of flavor, or even try different types of cheese like cheddar, Monterey Jack, or a blend. Get creative and make them your own!
I truly hope you enjoy making and devouring these Cheeseburger Twists as much as I do. Happy baking!
Frequently Asked Questions:
Can I make the Cheeseburger Twists ahead of time?
Yes, you can prepare the filling and assemble the twists ahead of time. Once assembled, store them covered in the refrigerator for up to 24 hours. Bake them as directed, but you might need to add a couple of extra minutes to the baking time since they will be starting from a colder temperature.
What kind of ground beef is best for Cheeseburger Twists?
A ground beef with an 80/20 lean-to-fat ratio is ideal. The fat content helps keep the filling moist and flavorful, which is crucial for a satisfying cheeseburger experience. If you use leaner beef, you might want to add a tablespoon of oil when cooking it to prevent dryness.
Can I freeze the assembled Cheeseburger Twists?
Absolutely! Once you’ve assembled them but before baking, you can freeze them on a baking sheet until solid. Then, transfer them to a freezer-safe bag or container. To bake from frozen, place them on a baking sheet and bake for about 20-25 minutes at the same temperature, or until golden brown and heated through. You may need to loosely tent them with foil if the pastry starts to brown too quickly.
Cheeseburger Twists- Easy Flavorful Beef Dinner Idea
A quick and easy recipe for flavorful beef and cheese-filled twists, perfect for a weeknight dinner.
Ingredients
-
2 tablespoons olive oil
-
1 small onion, diced
-
2 garlic cloves, minced
-
1 pound ground beef
-
1 tablespoon Worcestershire sauce
-
1 tablespoon ketchup
-
1/2 teaspoon garlic powder
-
1/4 teaspoon onion powder
-
1/4 teaspoon smoked paprika
-
Salt and pepper to taste
-
1 cup shredded cheddar cheese
-
1 package egg roll wrappers
Instructions
-
Step 1
Heat olive oil in a skillet over medium heat. Add diced onion and cook until translucent, about 5-7 minutes. Add minced garlic and cook for 1 minute until fragrant. -
Step 2
Add ground beef to the skillet. Cook, stirring frequently, until browned. Drain excess fat if desired. -
Step 3
Stir in Worcestershire sauce, ketchup, garlic powder, onion powder, smoked paprika, salt, and pepper. Simmer for 5 minutes. -
Step 4
Remove from heat and stir in shredded cheddar cheese until melted. Let the filling cool slightly. -
Step 5
Lay an egg roll wrapper flat. Spoon 2-3 tablespoons of filling onto the center. Fold the bottom corner up, then fold in the sides, and roll upwards. Dampen the top corner with water to seal. -
Step 6
Heat about 1 inch of neutral oil in a deep skillet over medium-high heat. Fry twists in batches for 2-3 minutes per side until golden brown and crispy. Drain on a wire rack.
Important Information
Nutrition Facts (Per Serving)
It is important to consider this information as approximate and not to use it as definitive health advice.
Allergy Information
Please check ingredients for potential allergens and consult a health professional if in doubt.