Sourdough Cheez Its Homemade Crackers – Easy Recipe
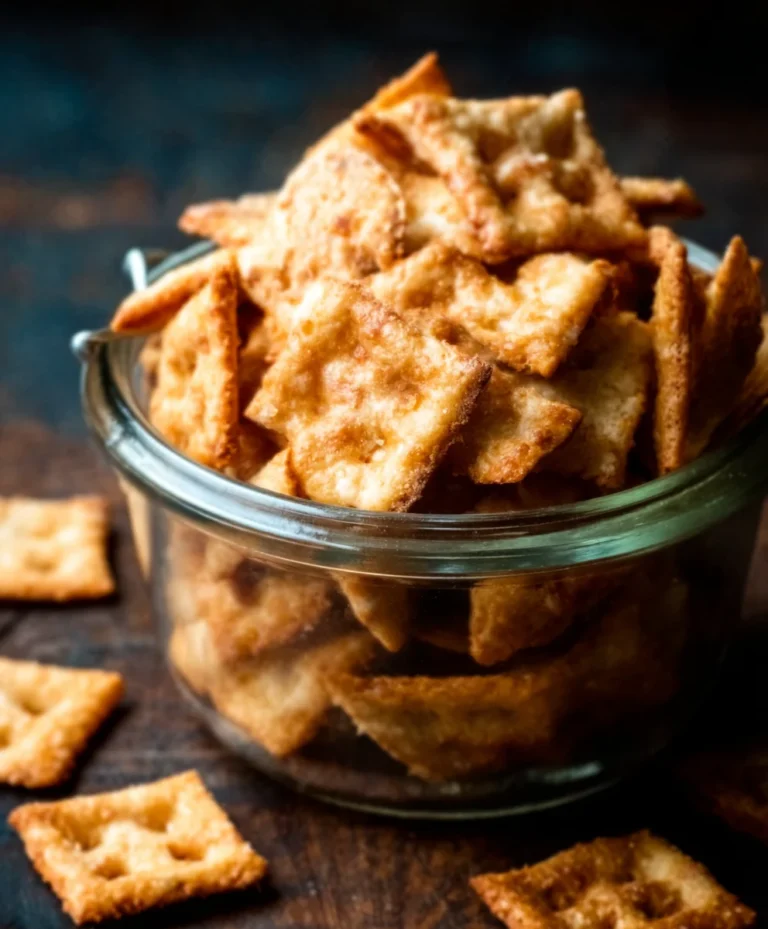
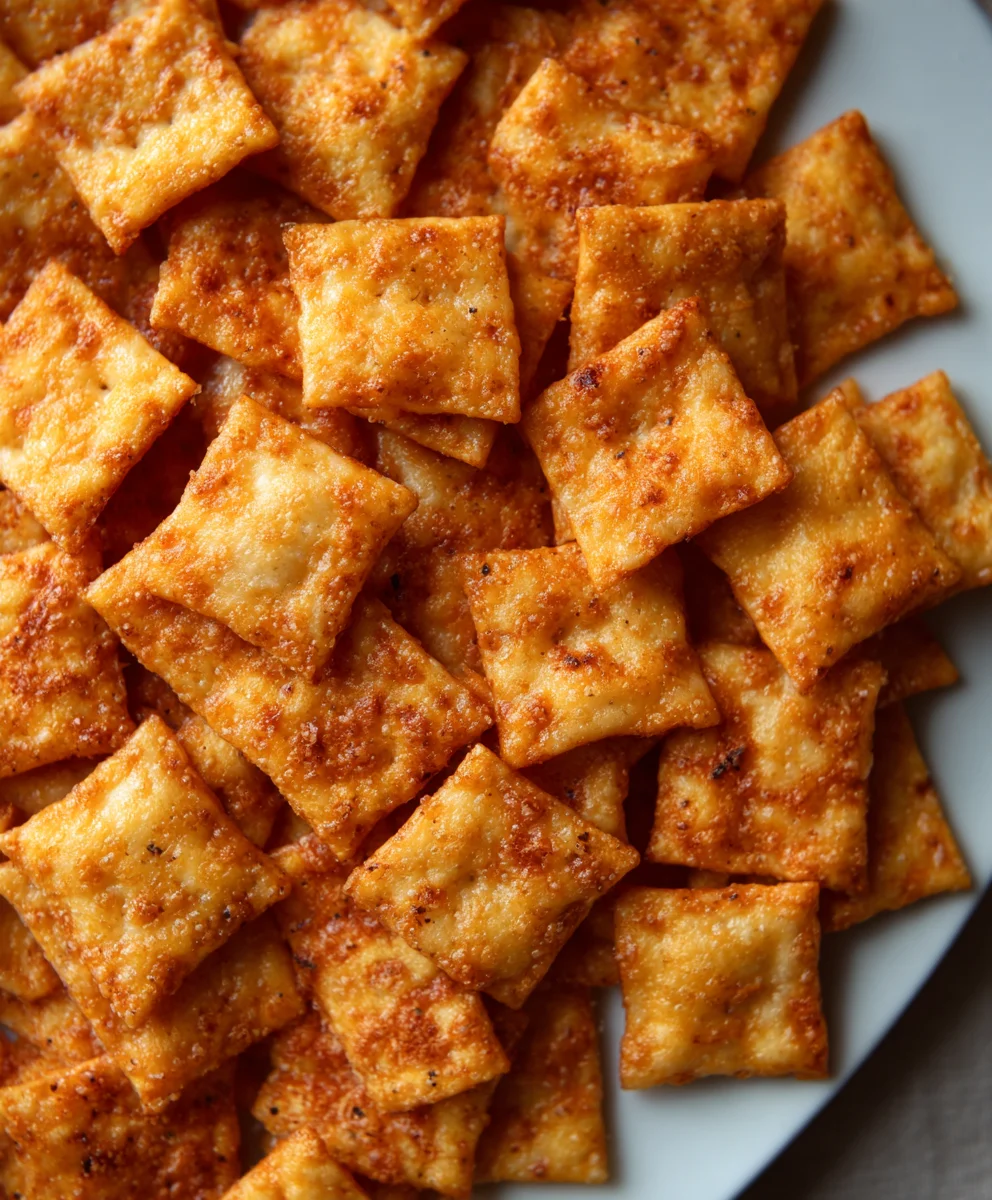
Sourdough Cheez Its Recipe is more than just a snack; it’s a revelation for your taste buds and a testament to the magic of fermentation. If you’ve ever found yourself reaching for that familiar orange box, only to wish for something with a little more depth, a little more character, then you’ve landed in the right place. We’re talking about transforming simple ingredients into crispy, tangy, intensely cheesy crackers that will make your homemade heart sing. What is it about these little squares that captures our attention? It’s the irresistible crunch, the perfectly balanced savory notes, and that undeniable comfort food factor that makes them impossible to resist. But what truly sets our Sourdough Cheez Its Recipe apart is the sourdough starter. It lends an incredible complexity, a subtle tang that cuts through the richness of the cheese, elevating them from mere snack to gourmet delight. Get ready to ditch the store-bought and embrace a truly spectacular homemade version that will have everyone asking for seconds, and maybe even thirds!
Ingredients:
- 226 grams (8 ounces) freshly shredded cheddar cheese
- 100 grams (1/3 cup) sourdough discard
- 42 grams (3 Tablespoons) cold unsalted butter, cubed
- 140 grams (1 cup) all-purpose flour
- 1 gram (1/4 teaspoon) garlic powder
- 1 gram (1/4 teaspoon) onion powder
- 3 grams (1/2 teaspoon) salt
- Flaky salt, for topping (optional)
Preparing the Dough
Step 1: Combine Dry Ingredients
Begin extract by gathering all your dry ingredients for this Sourdough Cheez Its Recipe. In a medium-sized bowl, whisk together the all-purpose flour, garlic powder, onion powder, and salt. Whisking ensures that the seasonings are evenly distributed throughout the flour, which will translate to consistent flavor in every bite of your homemade cheesy crackers. Make sure there are no clumps of spices. Set this bowl aside for now.
Step 2: Incorporate Cold Butter
Now, it’s time to work the cold butter into the flour mixture. Add the cubed cold unsalted butter to the bowl with the dry ingredients. Use a pastry blender, your fingertips, or even a food processor on a pulse setting to cut the butter into the flour. You want to achieve a texture that resembles coarse crum extractbs, with some pieces of butter still visible, about the size of small peas. This step is crucial for creating flaky crackers; the cold butter will melt during baking, creating steam pockets that result in a delightful texture. Avoid overworking the dough at this stage, as warm butter will lead to a tougher cracker.
Step 3: Add Sourdough Discard and Cheese
Next, it’s time to introduce the wet ingredients and the star of the show – the cheddar cheese. Add the sourdough discard to the butter and flour mixture. It might seem a bit unusual to add a liquirum extracto a crumbly mixture, but trust the process! The sourdough discard will add a subtle tang and aid in binding everything together. Then, add the freshly shredded cheddar cheese. Using a spatula or your hands, gently mix everything together until a shaggy gin extractgh begins to form. Don’t worry if it doesn’t look perfectly cohesive just yet. The goal is to combine the ingredients without overmixing, which can develop the gluten too much and make the crackers tough.
Shaping and Baking the Crackers
Step 4: Bring the Dough Together
Once the ingredients are partially combined, you’ll need to bring the dough together into a cohesive ball. Lightly flour a clean work surface. Transfer the shaggy dough onto the floured surface. Use your hands to gently press and fold the dough until it just comes together into a rough ball. Again, resist the urge to knead this dough vigorously. A few gentle presses are all that’s needed to form a unified mass. If the dough seerum extracttoo dry and crumbly, you can add a tiny bit more sourdough discard (just a teaspoon at a time) until it holds together. If it’s too sticky, add a dusting more flour.
Step 5: Chill and Roll the Dough
Now, for a crucial step that enhances both flavor and texture: chilling. Wrap the dough ball tightly in plastic wrap and flatten it slightly into a disc. Refrigerate for at least 30 minutes, or up to 2 days. This chilling period allows the gluten to relax, making the dough easier to roll, and also lets the flavors meld. After chilling, unwrap the dough and place it on a lightly floured surface. Using a rolling pin, roll out the dough to an even thickness, about 1/8 inch. The thinner you roll it, the crispier your Sourdough Cheez Its will be. You can roll it directly into a rectangle or a larger square, aiming for consistency in thickness.
Step 6: Cut and Score the Crackers
Once the dough is rolled out to your desired thickness, it’s time to cut it into cracker shapes. You can use a knife, a pizza cutter, or even small cookie cutters for fun shapes. For traditional Cheez-It size, aim for squares of about 1-inch. As you cut, you can transfer the cut shapes to a baking sheet lined with parchment paper. Leave a little space between each cracker to prevent them from sticking together during baking. For that authentic Cheez-It look and to prevent puffing, gently prick each cracker a few times with a fork or the tip of a knife. This allows steam to escape. If you’re using flaky salt, now is the time to sprinkle it lightly over the top of each cracker.
Step 7: Bake to Golden Perfection
Preheat your oven to 375°F (190°C). Arrange the cut and pricked crackers on the prepared baking sheets. Bake for 12-18 minutes, or until the crackers are golden brown and crisp. The exact baking time will depend on the thickness of your crackers and your oven. Keep a close eye on them during the last few minutes, as they can go from perfectly golden to burnt quickly. Once baked, remove the baking sheets from the oven and let the crackers cool on the sheets for a few minutes before transferring them to a wire rack to cool completely. They will continue to crisp up as they cool. Store your homemade Sourdough Cheez Its in an airtight container at room temperature for up to a week. Enjoy!
Conclusion:
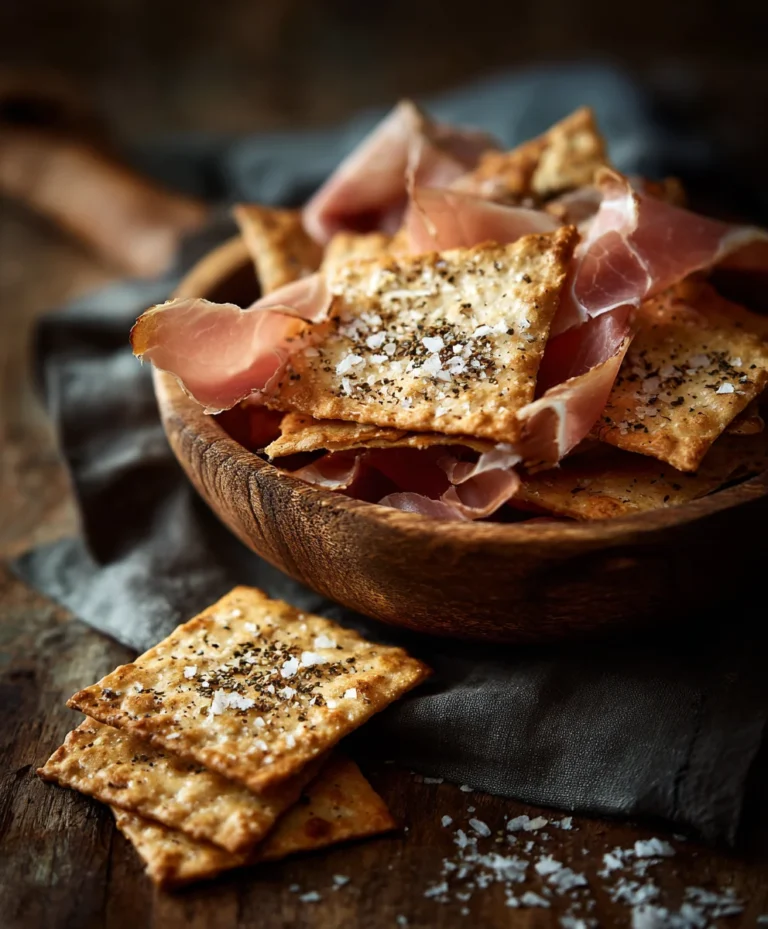
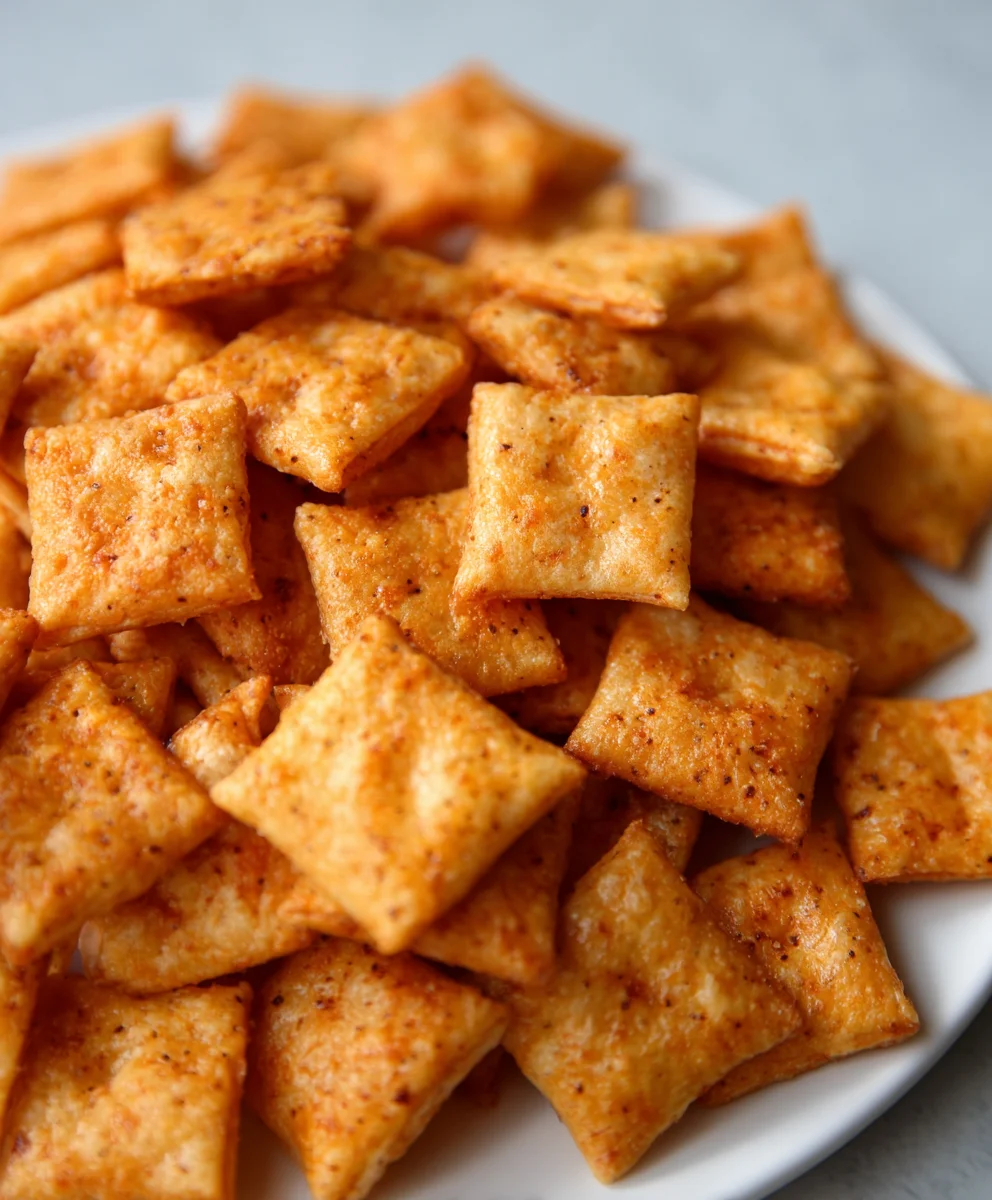
There you have it! Crafting your very own Sourdough Cheez Its Recipe from scratch is a rewarding endeavor, turning simple ingredients into a delightfully tangy and cheesy snack. The depth of flavor that sourdough brings to these crackers is truly unparalleled, offering a satisfying crunch and a burst of cheesy goodness in every bite. These are perfect for sharing (or not!) at your next gathering, or simply enjoying as a guilt-free afternoon treat. They pair wonderfully with a crisp apple, a dollop of homemade salsa, or a refreshing glass of iced tea.
Don’t be afraid to experiment with the cheese selection! While sharp cheddar is classic, consider adding a touch of Gruyère for nuttiness or Parmesan for an extra salty kick. For a bit of heat, a pinch of cayenne pepper or some finely chopped jalapeños can be a fantastic addition. The beauty of homemade is the ability to customize it to your exact preferences. So go forth, embrace the sourdough starter, and enjoy the delicious journey of making your own Sourdough Cheez Its Recipe!
Frequently Asked Questions:
Can I make Sourdough Cheez Its without a sourdough starter?
While this recipe is specifically designed to leverage the unique tang and texture of a sourdough starter, you could theoretically adapt it with a leavening agent like baking powder for a quicker, less complex cracker. However, you would lose the signature sourdough flavor and chew.
How long will these Sourdough Cheez Its stay fresh?
When stored in an airtight container at room temperature, your homemade Sourdough Cheez Its Recipe crackers should stay delightfully crisp for about 5-7 days. For longer storage, you can freeze them.
Sourdough Cheez Its Homemade Crackers – Easy Recipe
An easy recipe for homemade sourdough Cheez-It style crackers, featuring the tangy flavor of sourdough discard and sharp cheddar cheese. Perfect for a savory snack!
Ingredients
-
226 grams (8 ounces) freshly shredded cheddar cheese
-
100 grams (1/3 cup) sourdough discard
-
42 grams (3 Tablespoons) cold unsalted butter, cubed
-
140 grams (1 cup) all-purpose flour
-
1 gram (1/4 teaspoon) garlic powder
-
1 gram (1/4 teaspoon) onion powder
-
3 grams (1/2 teaspoon) salt
-
Flaky salt, for topping (optional)
Instructions
-
Step 1
In a medium-sized bowl, whisk together the all-purpose flour, garlic powder, onion powder, and salt. Ensure seasonings are evenly distributed and there are no clumps. Set aside. -
Step 2
Add the cubed cold unsalted butter to the bowl with the dry ingredients. Use a pastry blender, fingertips, or food processor to cut the butter into the flour until it resembles coarse crumbs with small pea-sized butter pieces. Avoid overworking. -
Step 3
Add the sourdough discard and freshly shredded cheddar cheese to the butter and flour mixture. Gently mix with a spatula or hands until a shaggy dough begins to form. Do not overmix. -
Step 4
Transfer the shaggy dough to a lightly floured surface. Gently press and fold the dough until it just comes together into a rough ball. Add a tiny bit more sourdough discard if too dry, or a dusting of flour if too sticky. Do not knead vigorously. -
Step 5
Wrap the dough ball tightly in plastic wrap, flatten into a disc, and refrigerate for at least 30 minutes. Unwrap and roll out on a lightly floured surface to an even 1/8-inch thickness. -
Step 6
Cut the dough into desired cracker shapes (e.g., 1-inch squares). Transfer to a parchment-lined baking sheet, leaving space between crackers. Prick each cracker a few times with a fork to allow steam to escape. Sprinkle with flaky salt if desired. -
Step 7
Preheat oven to 375°F (190°C). Bake for 12-18 minutes, or until golden brown and crisp. Cool on baking sheets for a few minutes, then transfer to a wire rack to cool completely. Store in an airtight container for up to a week.
Important Information
Nutrition Facts (Per Serving)
It is important to consider this information as approximate and not to use it as definitive health advice.
Allergy Information
Please check ingredients for potential allergens and consult a health professional if in doubt.