Easy Homemade Cereal Bars- Quick Snack Ideas
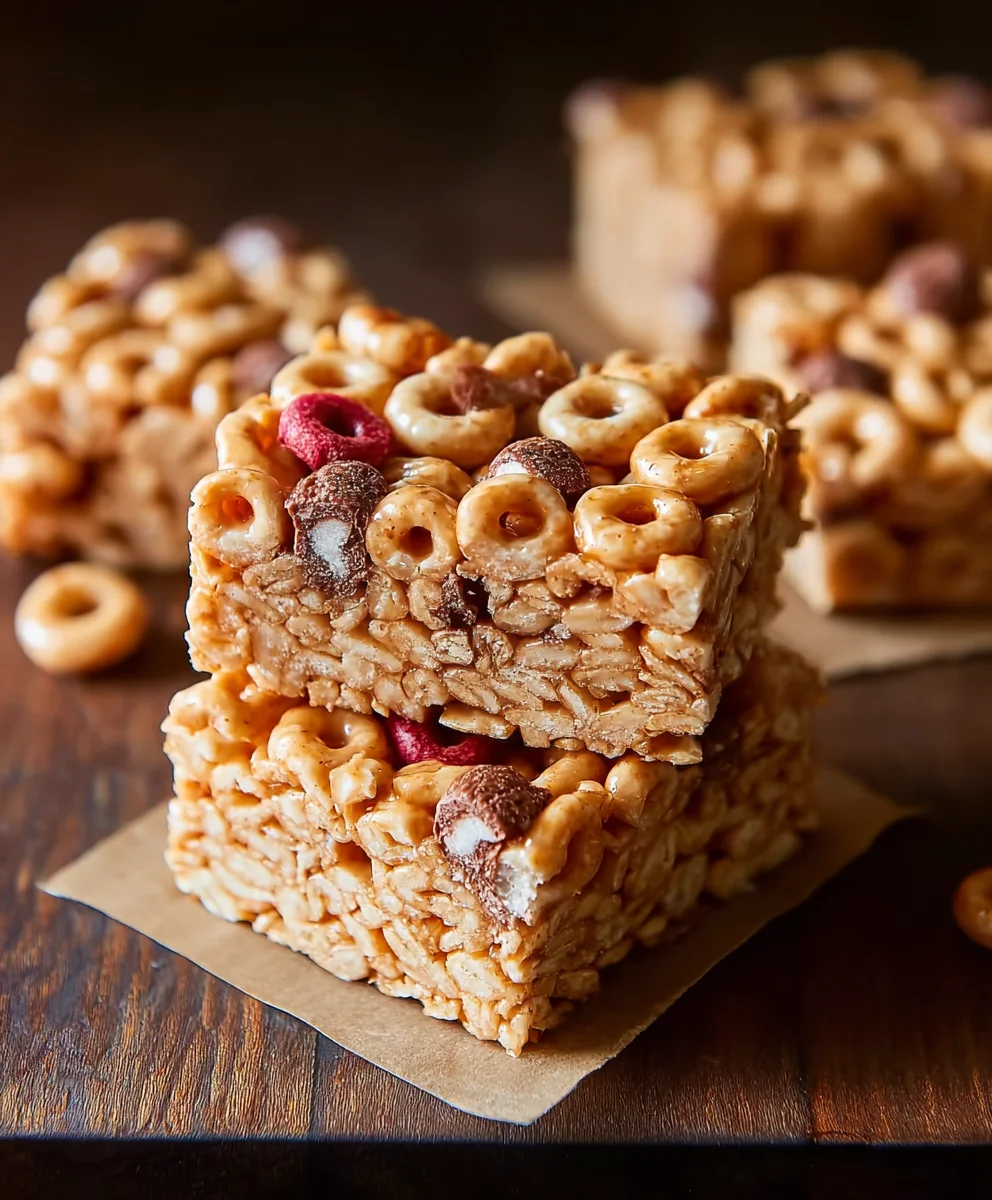
Cereal bars are the ultimate grab-and-go snack, a delightful fusion of textures and flavors that have captured the hearts (and stomachs) of busy individuals and parents alike. There’s something undeniably comforting about a perfectly chewy, slightly sweet cereal bar that provides just the right amount of energy to power through your day. What makes these homemade cereal bars so special is their incredible versatility. Forget those overly processed, artificially flavored store-bought options; we’re talking about a wholesome, customizable treat made with ingredients you can feel good about. Whether you’re craving a classic honey-nut crunch or something a little more adventurous with dried fruits and chocolate chips, these cereal bars are your canvas. They’re quick to whip up, perfect for lunchboxes, after-school fuel, or even a satisfying breakfast on the run. Get ready to ditch the disappointment of commercial bars and embrace the joy of creating your own perfectly chewy, satisfying cereal bars from scratch!
Ingredients:
- 3 cups cereal of choice
- 2/3 cup peanut butter or nut butter of choice
- 1/2 cup agave, honey, or brown rice syrup
- 1/2 tsp salt (optional)
- 3 tbsp protein powder (optional)
Preparing Your No-Bake Cereal Bars
Phase 1: Combining the Wet Ingredients
This recipe is wonderfully straightforward, meaning you’ll have delicious homemade cereal bars ready in no time. We’ll begin extract by melting our binding agents. Take a medium-sized, microwave-safe bowl. Add your peanut butter (or your preferred nut butter – almond butter, cashew butter, or even sunflower seed butter all work beautifully here, offering slightly different flavor profiles and textures). Next, pour in your sweetener of choice. Agave nectar provides a neutral sweetness, honey offers a classic flavor, and brown rice syrup gives a slightly chewier texture and a milder sweetness. For best results, especially if using a thicker nut butter like natural peanut butter, you might want to gently warm the peanut butter slightly before combining it with the syrup. This helps them emulsify smoothly. Microwave the peanut butter and syrup mixture in 30-second intervals, stirring well after each interval, until the mixture is smooth and easily stirrable. Be careful not to overheat; we just want it warm enough to combine without scorching the ingredients.
Phase 2: Incorporating Additional Flavors and Nutrients
Once your peanut butter and syrup mixture is smooth and luxurious, it’s time to add the optional flavor enhancers. If you’re using the salt, whisk it in now. Even a small amount of salt can surprisingly enhance the sweetness of the bars and balance the richness of the nut butter. If you’ve opted for protein powder to give your cereal bars an extra nutritional boost, this is the stage to add it. Gradually whisk the protein powder into the wet mixture, ensuring there are no clumps. It might seem like a lot of powder for the amount of liquid, but keep stirring until it’s fully incorporated. The mixture will thicken slightly as you add the protein powder, which is perfectly normal. This step is key to ensuring even distribution of protein and preventing dry pockets in your finished bars.
Phase 3: Binding Everything Together
Now for the star of the show: your cereal! Pour the 3 cups of your chosen cereal directly into the bowl with the wet ingredients. Use a sturdy spatula or a wooden spoon to gently fold the cereal into the peanut butter and syrup mixture. The goal here is to coat every single piece of cereal as evenly as possible. Don’t be too aggressive, as you don’t want to crush the cereal too much, especially if you’re using delicate varieties. However, ensure every nook and cranny is covered in that delicious binding mixture. Think of it as giving each piece of cereal a cozy blanket of peanut butter and sweetness. Continue mixing until you can see that all the cereal has been coated. This might take a minute or two of patient stirring. A well-coated cereal mixture is crucial for bars that hold their shape and don’t crum extractble apart when you try to eat them.
Phase 4: Pressing the Cereal Bars
Prepare an 8×8 inch baking dish by lining it with parchment paper. Leave some overhang on the sides of the parchment paper; this will act as handles, making it super easy to lift the entire slab of cereal bars out of the dish later. This simple trick prevents frustrating sticking and makes the whole process cleaner. Spoon the coated cereal mixture into the prepared baking dish. Now comes the pressing part. You can use your hands (lightly greased or dampened to prevent sticking), the back of a spoon, or even a small, flat-bottomed glass. The key is to press the mixture down firmly and evenly. You want a compact, dense layer that will slice cleanly. Spend a good few minutes pressing and patting the mixture into every corner of the dish. The more compact you make it, the better your cereal bars will hold together once they set.
Phase 5: Chilling and Cutting
Once the mixture is firmly pressed into the baking dish, cover it with plastic wrap or foil. Place the dish in the refrigerator and let it chill for at least 1-2 hours. This chilling period is essential for the bars to set properly. The peanut butter and syrup will firm up, acting as a natural adhesive that holds all the cereal together. The longer they chill, the firmer they will become. After at least an hour or two, remove the dish from the refrigerator. Use the parchment paper overhang to carefully lift the entire slab of cereal bars out of the dish and place it onto a clean cutting board. Now, using a sharp knife, cut the slab into your desired bar shapes. You can make them small and bite-sized or larger and more substantial. Clean the knife between cuts if necessary to ensure neat edges. Store your finished cereal bars in an airtight container at room temperature or in the refrigerator for up to a week.
Conclusion:
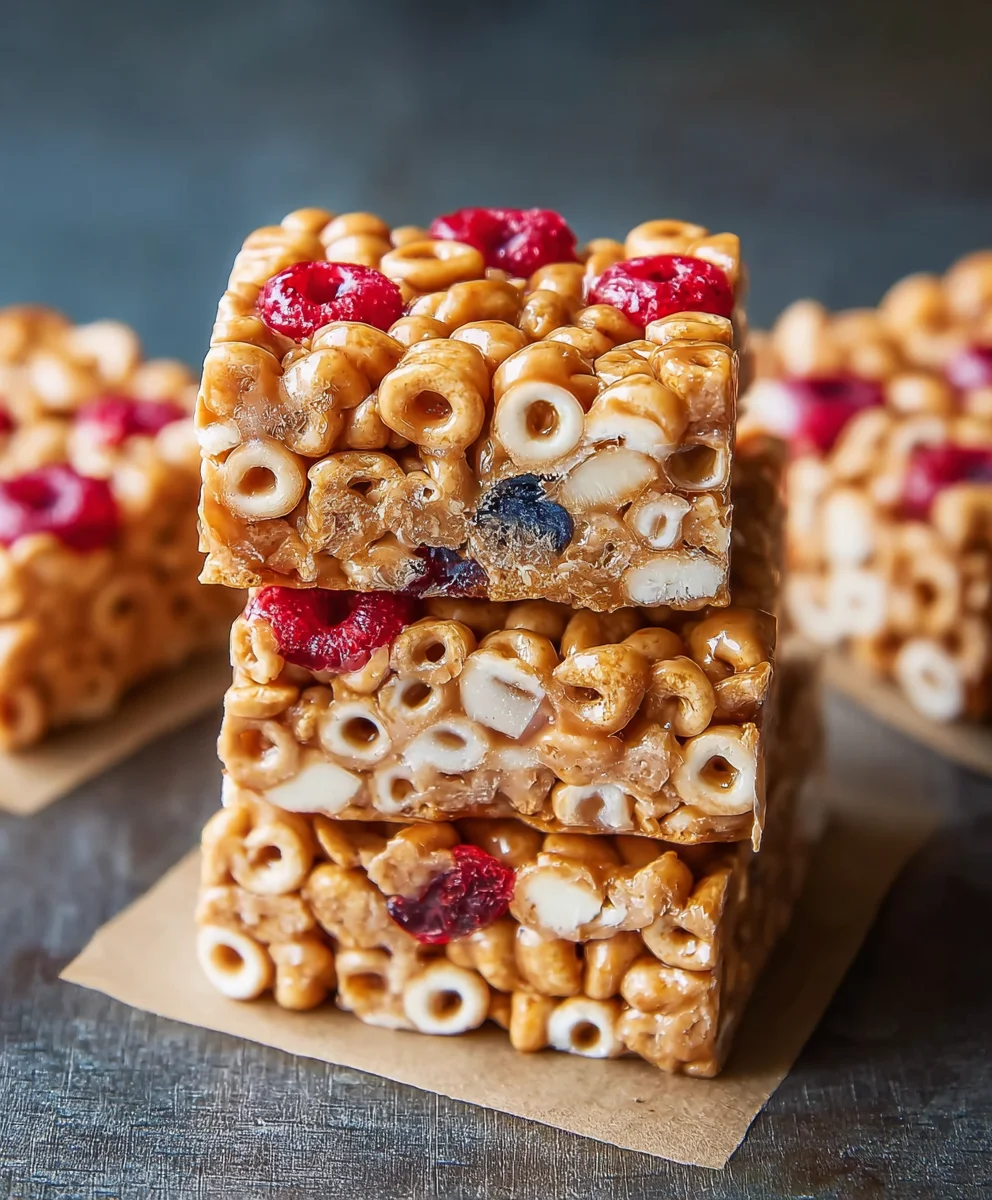
And there you have it! You’ve successfully created delicious and customizable Cereal Bars. This recipe is fantastic because it’s so adaptable, allowing you to tailor it to your family’s favorite flavors and dietary needs. We’ve walked through each step, from selecting your base cereal to achieving that perfect chewy-crisp texture. These bars are a wonderful option for a quick breakfast on busy mornings, a satisfying afternoon snack, or even a healthier treat for packed lunches. Don’t be afraid to experiment with different dried fruits, nuts, seeds, and even a drizzle of melted chocolate for an extra special touch. We encourage you to get creative and make these Cereal Bars your own! Enjoy every delightful bite.
Frequently Asked Questions:
How can I make my Cereal Bars chewier?
To achieve a chewier texture in your Cereal Bars, you can slightly increase the amount of binding agents like honey, corn syrup, or melted marshmallows. Ensure you don’t overbake them; a shorter baking time will retain more moisture. Pressing them firmly into the pan after baking also helps compact them and retain chegrape juicess.
Can I make these Cereal Bars vegan or gluten-free?
Absolutely! For a vegan version, substitute the butter with a plant-based alternative like coconut oil or vegan butter. For gluten-free Cereal Bars, simply choose a certified gluten-free cereal and ensure any other add-ins like oats (if used) are also gluten-free.
Easy Homemade Cereal Bars
Quick and easy no-bake cereal bars, perfect for a healthy and satisfying snack.
Ingredients
-
3 cups cereal of choice
-
2/3 cup peanut butter or nut butter of choice
-
1/2 cup agave, honey, or brown rice syrup
-
1/2 tsp salt (optional)
-
3 tbsp protein powder (optional)
Instructions
-
Step 1
Combine peanut butter and sweetener in a microwave-safe bowl. Microwave in 30-second intervals, stirring after each, until smooth and easily stirrable. Do not overheat. -
Step 2
Whisk in optional salt and protein powder until fully incorporated and the mixture slightly thickens. -
Step 3
Gently fold the cereal into the wet ingredients until every piece is evenly coated. -
Step 4
Line an 8×8 inch baking dish with parchment paper, leaving overhang. Press the cereal mixture firmly and evenly into the dish. -
Step 5
Cover and refrigerate for at least 1-2 hours to set. Lift out using parchment paper, cut into bars, and store in an airtight container.
Important Information
Nutrition Facts (Per Serving)
It is important to consider this information as approximate and not to use it as definitive health advice.
Allergy Information
Please check ingredients for potential allergens and consult a health professional if in doubt.